What are Notices and when do I use them? Present users with important resources - NDAs, surveys, codes, etc.
This article applies to Team and Legacy editions.
When running a testing program, you’re bound to run into an occasion where you’ll want your users to fill out essential profiling forms or be presented with important messaging. The question is, how can you ensure your users see or complete these mandatory items?
Table of Contents:
- What are Notices?
- What are Notices used for?
- How do I create a Notice?
- How do I create an Agreement notice or NDA?
- How do I remove a Notice?
- Some users report not seeing Notices, but not all? What's happening?
- How do I check to see if a participant logged in recently?
- How can I preview Notices in my Community and Project?
- Contact us!
- Notes
What are Notices?
The Centercode platform allows you to mark various resources as mandatory for your user(s) when they log in -- we call this "setting a resource as a Notice." When a particular resource is marked as a Notice, it will force users to complete/view the selected resource before moving forward.
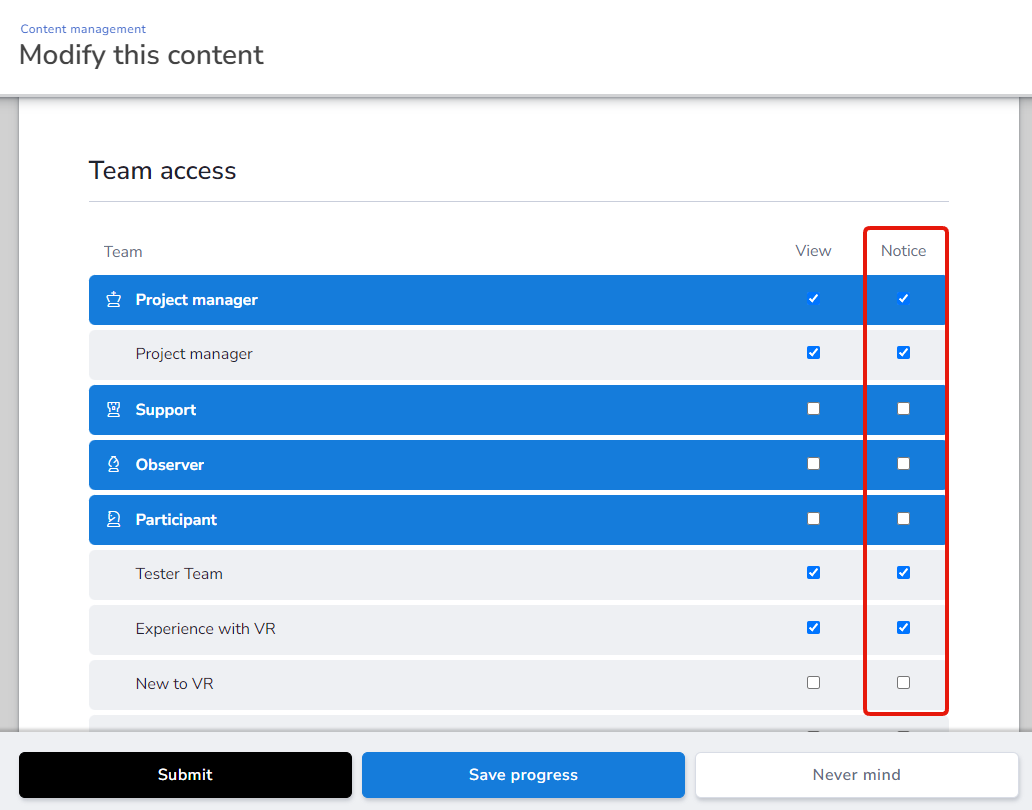
A Notice is a setting in each resource type that can be toggled on or off for the team(s) of your choice via the Team Access block. When the Notice box is checked on, the team(s) selected will be presented with the resource you’ve configured. Where these Notices populate will depend on which layer of the Centercode platform they’re configured.
- Community Notices will populate directly after the user logs in and before the user reaches your Community Homepage.
- Project Notices will populate after navigating into each Project and before the user reaches your Project Homepage.
Once a Notice has been seen or completed by a user, that Notice will no longer populate for them. However, you can set a Notice to be Recurring, which causes the Notice to repopulate every time your designated team(s) log in.
There are three main types of Notices you can configure within Centercode:
- Form Notices revolve around User Profiles, Test Platforms, and Surveys. These types of Notices require users to fill out the presented form/questionnaire before proceeding.
- Content Notices are used for presenting information such as participation guidelines or release information. These can be designed to have an interactive aspect, such as requiring a digital signature to proceed, but are typically non-interactive.
- Notice Macros execute a designated action upon your users, such as adjusting their team, either statically or conditionally. The assigned action will take place when the user has navigated through the Notice.
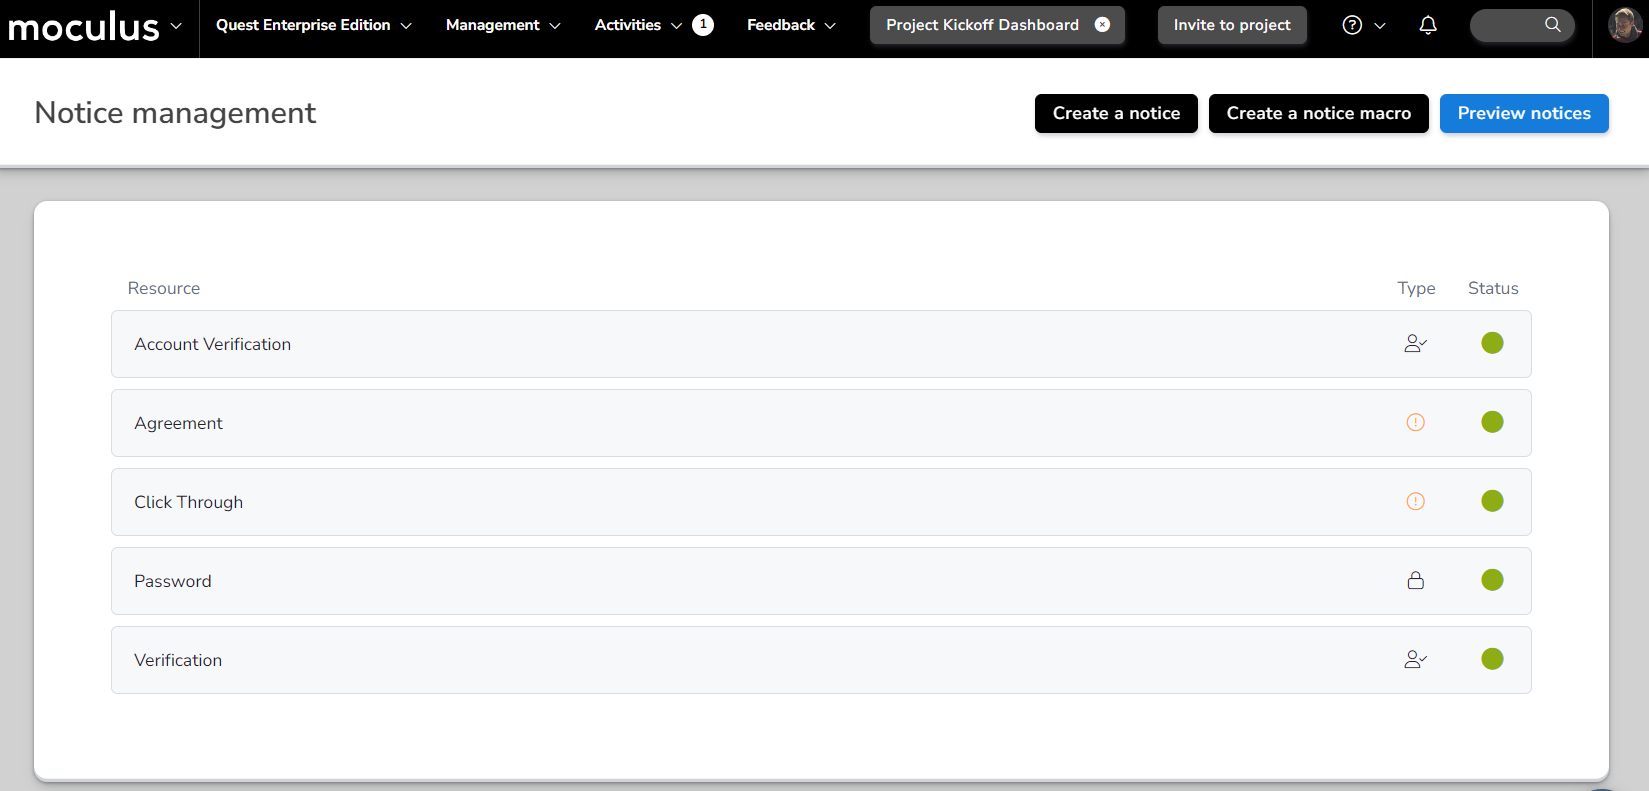
Once you have decided which resources you would like to appear as Notices for which team(s), it’s time to configure the order in which they’ll appear. We call the order in which your users navigate through these mandatory resources the Notice Chain. To adjust your Notice Chain, click Community Administration > Notices for community notices or Management>Notices for project notices. From here, you’ll be able to drag and drop your Notices into the desired order. You’ll also be able to preview the Notice process for your team(s) to see how their navigation path will flow. Additionally, Notice Management is where you’ll create Notice Macros, a powerful automation tool.
What are Notices used for?
Presenting users with important information
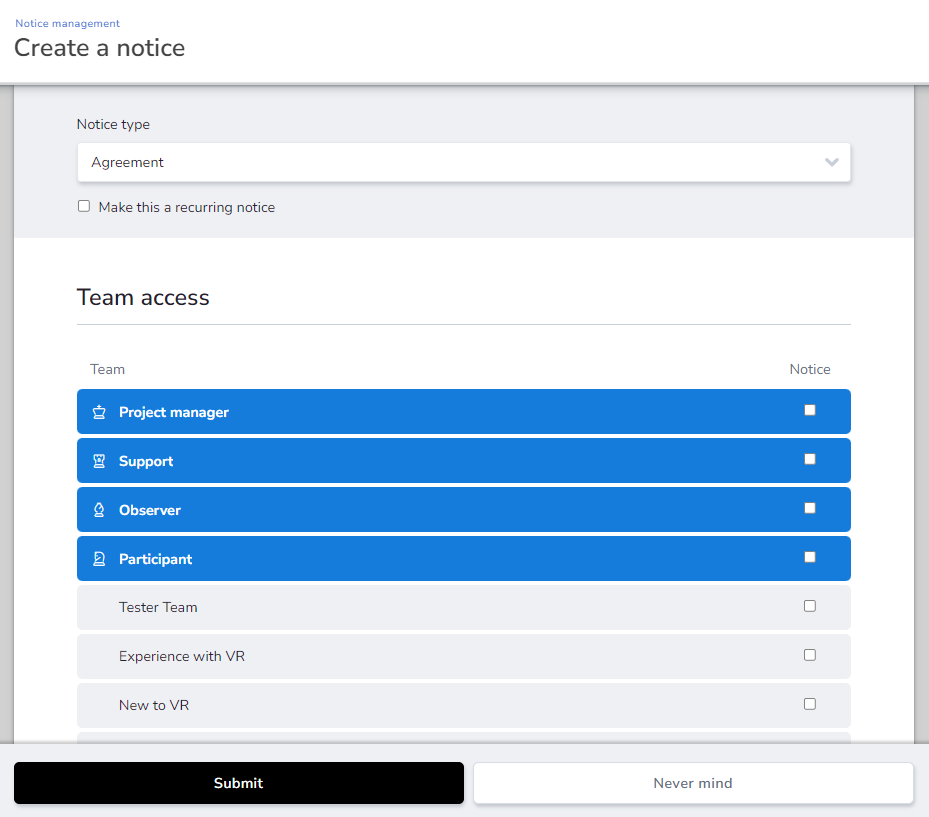
Have some breaking news you need to present to your testers? Maybe you’d like them to sign an NDA before fully accepting them as participants in your Project? Within the Content tool, you have the option to set up the following types of Notices. To do this, modify the existing Content and scroll down to the Team Access section. Check the box in the Notice column for the team(s) who will see this Notice. Finally, select which type of Notice should be used and click Submit.
- Agreement - This Notice type requires the user to enter their username/password to digitally Agree to the details included in the Content presented.
- Block - This Notice type halts the user’s progression into the Community or Project level.
- Click Through - This Notice type can be passed by simply clicking on a button at the bottom of the form and is typically used to relay important information.
- Password - This Notice type requires the user to enter a custom password in order to continue into the Community or Project.
- Yes/No - This Notice type will prompt users with information followed by a Yes or No button, that can be used in conjunction with a Notice Macro to do varying actions to the user based on which response they select.
Important Note - Yes/No Notices will continue to populate upon login as long as the user continually selects "No". Once the user selects "Yes" as their answer, the data engine will update to "Yes" and the Notice will not populate again (unless set to recurring). - Account Verification - This Notice Type will prompt Users to verify select contact information, which can include any of the contact information collected during community account creation that is marked as shown or required (Collecting Contact Information on Account Creation).
Gathering mandatory information
Requiring users to fill out profiling information when they join your portal is vital to running a successful Customers Validation program. Having this information will allow you to segment your users demographically and technically, leading to easier recruiting, better reporting, and better insight into your product. Any form type (User Profile/Test Platform/Surveys) can be set as a Notice by checking the Notice box in the Team Access block. Unlike Content Notices, Form Notices only have one type of Notice setting - once selected, users will be required to complete the form to continue.
Notice Macros - Automatically sorting users into segmentations
Segmenting your users can make your Customer Validation program easier to manage. However, manually segmenting users can take time. Luckily, you can configure a Notice Macro to do the heavy lifting for you. A Notice Macro utilizes User Macros. A macro is a single instruction that expands automatically into a set of instructions to perform a particular task. A Notice Macro will perform its action when users are confronted by the page containing the Notice Macro within the Notice Chain. (Read more here)
How do I create a Notice?
Any resource that's created, you must set a Team Access to that resource. Check the Notice box by the Team you want to be forced to interact with your resource.
How do I create an Agreement Notice or NDA?
To create an Agreement Notice or Non-Disclosure Agreement in Centercode, you will start by selecting the Agreement Content type when creating Content. After adding an agreement title, you'll have the option to designate it as a Digital Agreement. This selection determines how users will access the content, which will require a digital signature before they are allowed to proceed in the community or project.
Within the agreement, you can incorporate rich text, including Dynamic Tags, to personalize the document with user information. Once digitally signed, a precise copy of the agreement at the time of signing is archived in the Digital Agreement Center for record-keeping and reference.
How do I remove a Notice?
Since Notices are settings in each resource type that can be toggled on or off for the team(s) of your choice via the Team Access block, all you must do is uncheck the Notice box on the associated resource. For example, if you want a Survey to not appear as a Notice for your users or for a particular team, you'll uncheck the Notice box and submit the page.
Some users report not seeing Notices, but not all. What's happening?
A very common issue when working with participants is that some participants report not seeing the Notices that you're expecting them to complete, but not all. If you're finding that they're the outliers and your users are generally completing your notices, you'll want to check 2 areas:
- Check to see if your participant has logged in recently. If they haven't, please ask they do.
- Review your Notice for appropriate Team Access.
How do I check to see if a participant logged in recently?
You can simply search the user account in the knowledge base search bar. Type their name, username, or email and allow the field to populate results, then click into them. From there, scroll down to check their last login.
How can I preview Notices in my Community and Project?
The purpose of previewing the Notice process for a specific Team is to confirm that users navigate through your Notice Chain in the particular order that you desire without having to create a "tester" account. This allows you to edit your notice chain on the fly if a change is required. That said, it is always recommended to have a tester account at the ready to view the exact experience a customer will have.
Notices can be set at both the Community and Project levels. Users will encounter notices that are configured at the community level before they navigate into any projects. To preview your Notice chain, follow these steps:
- Click on your Community logo > Community management > Notices (Community Level Notices) or Management > Notices (Project Level Notices) in the navigation bar.
- Click on the Preview notices button
- Select the Team or Teams of your choice to review their current Notice Chain

Important Notes:
- Previewing the Notice Chain will show you when each Notice will occur in regards to when a user enters the Community, Arrives at the Community Home Page, and Arrives at the Project Home Page.
- The Notice Chain can also be viewed when looking at a Community or Project Opportunity under Preview onboarding (Notices). The notices shown will be in regards to the Team or Teams selected, similar to the Preview Notices process.
- Macros can also be tested in the Notice Preview by clicking on True or False. Clicking True will show you what happens if the True condition of your macro is met. Clicking False will show you what happens if the False condition of your Macro is met.
Contact us!
Notices are a powerful tool within Centercode that can be utilized to significantly reduce administrative overhead, ensure your users are presented with vital information, guarantee users fill out essential questionnaires, and more. If you run into any issues while configuring your Notices, please let us know! We’d be happy to guide you through this process and address any other questions you may have. Feel free to reach out to us via in-site chat or help@centercode.com.
Notes:
- I'm assuming a user. Why can't I see their Notices?
When assuming a User in your portal, you will skip the entire Notice Chain at both the Community and Project layers of the portal. This is designed to allow you to verify configuration beyond the Notice Chain and avoid impacting the user’s navigation path while assuming their account. - Notice Macros will run “behind the scenes” when users encounter them on the Notice Chain meaning they will not be aware any action is being taken on their account.
- When selecting the Notice Type within the Notice Management tool, available types are based upon areas that exist at that level of the site (i.e. Content Notices would not be available unless a Content Type exists within Content Management).
- If you’re noticing that certain users are logging into your Community or Project, but not completing notices, it’s implied that the user simply has left the page without choosing to continue forward. The Notice will still appear when the user attempts to access your Community or Project again.
- Notice Macros are part of the Notice Chain. Notice Macros will perform its action in the order that the Notice Macros are placed. Please see your Notice Management tool to re-order your Notices. For example, you'll want your Block Notice to occur after your Qualification Survey. That way, your survey will be available to be taken by your users, but then need to be blocked in order for their responses to be analyzed. Having the Block occur before the survey would result in those users not having access to your survey.