The Test Plan Management page provides an organized view of scheduled test phases and their associated features. Admins can track, create, and modify test plans including managing scheduled testing periods and feature-specific feedback settings. Each phase has a timeline and features within each phase are categorized based on testing requirements.
Accessing Test Plan Management
- From within your project, click the Management menu
- Select Test plan
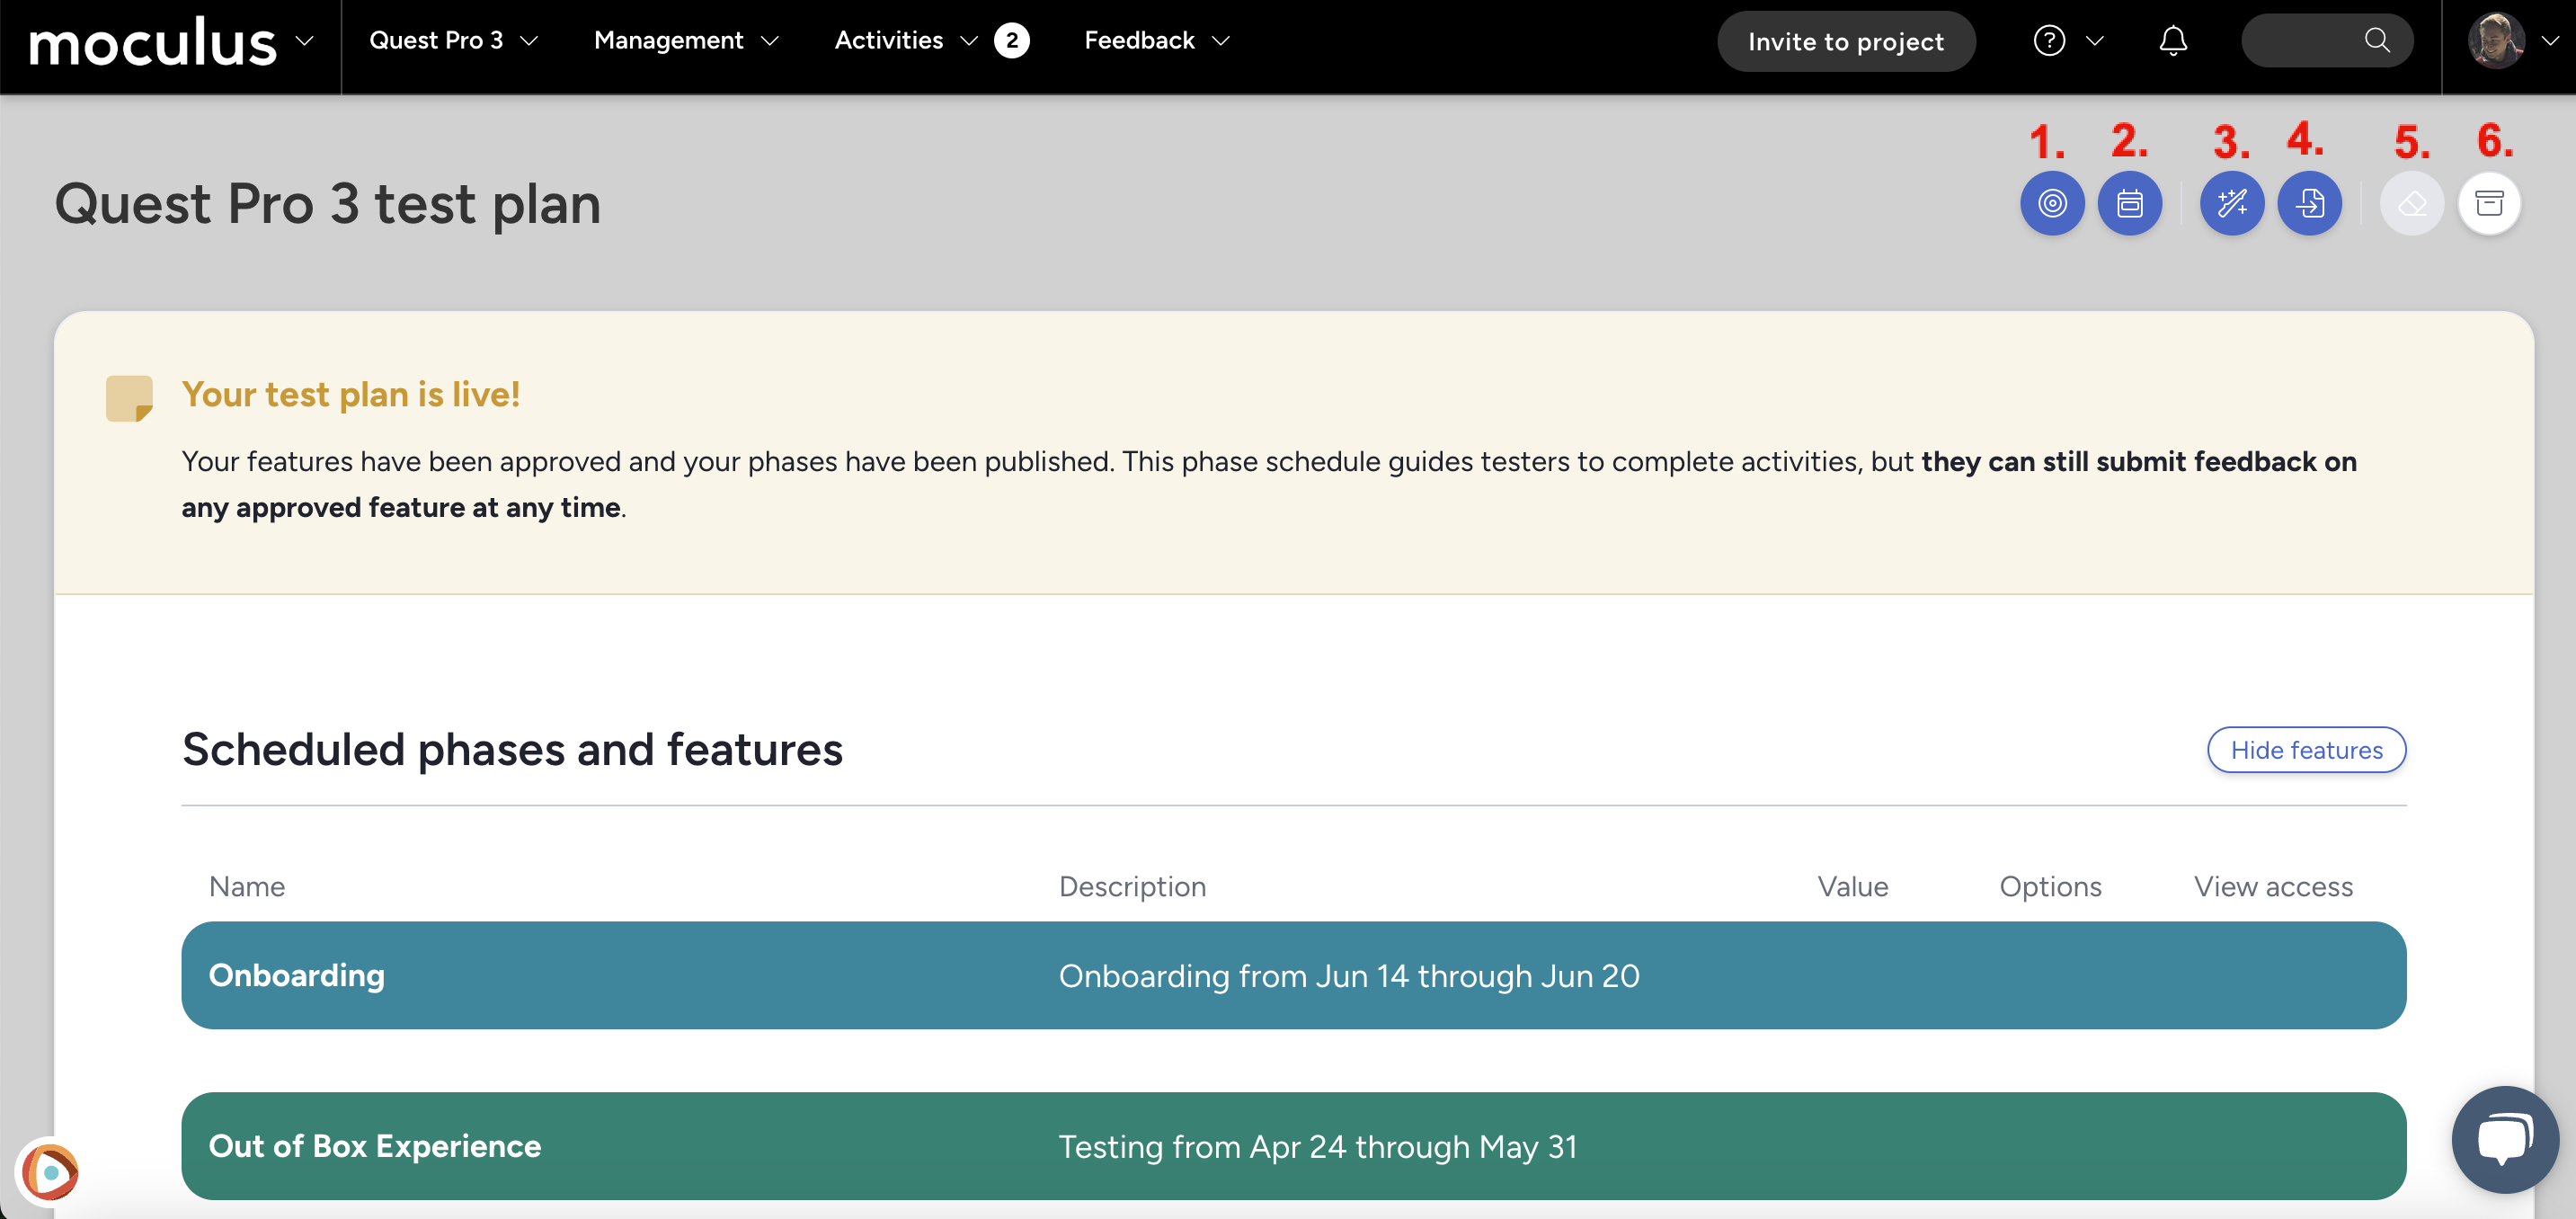

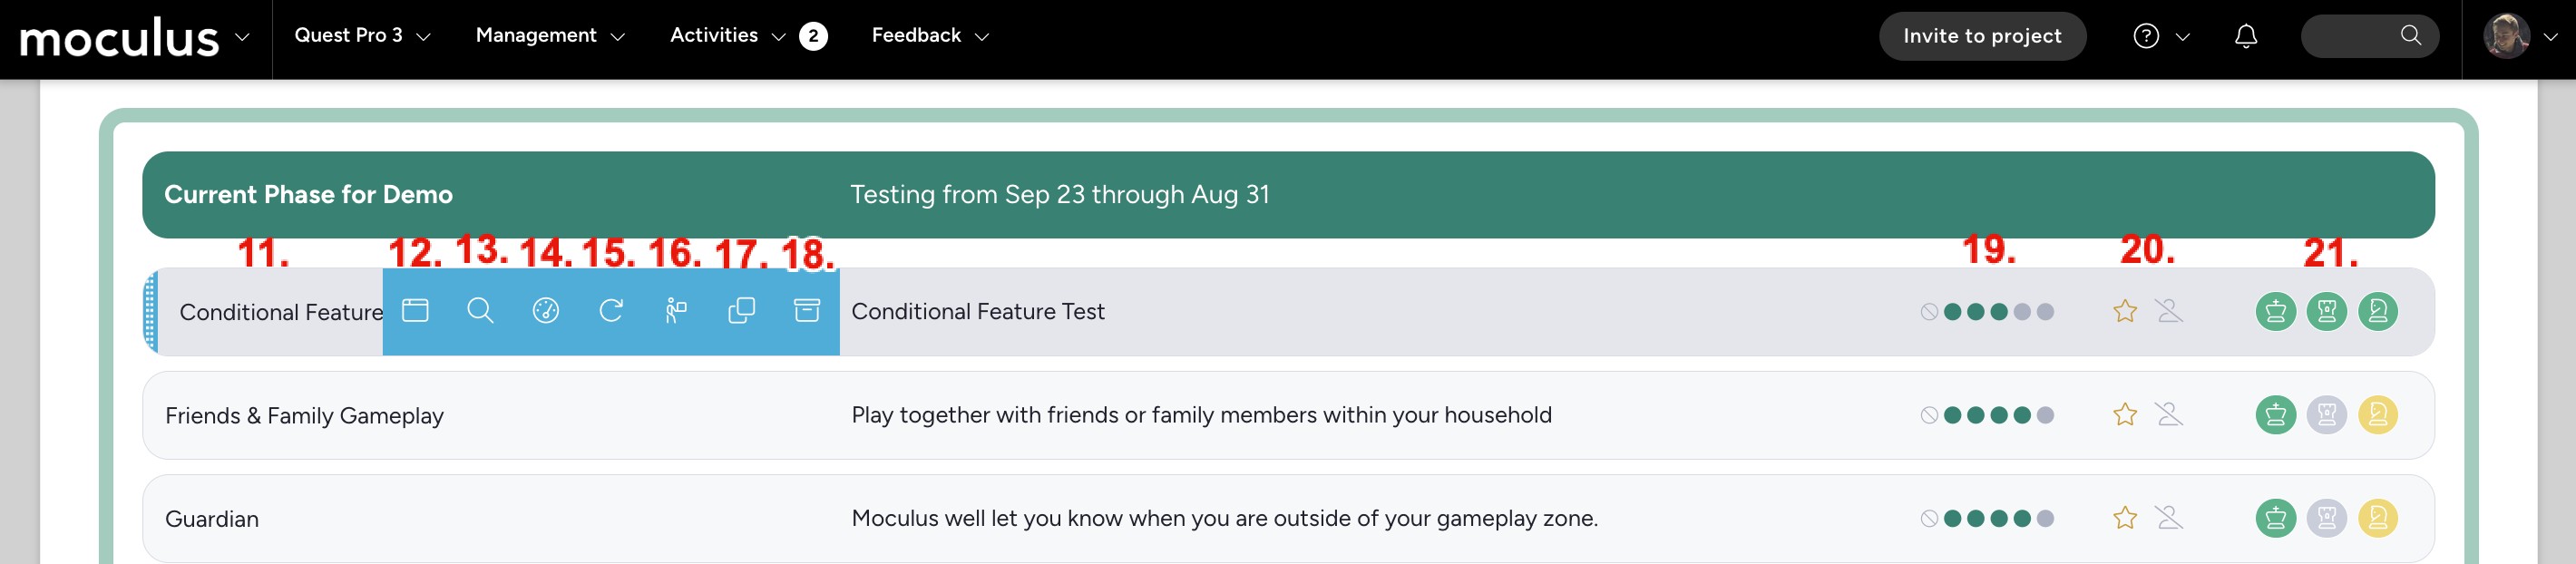
Create a feature: Define a new feature activity to be tested, including its description, objectives, and expected outcomes.Add a phase: Structure your test plan by setting specific time-frames for testing different features and completing the associated activities.Generate test plan with AI: Automatically create a structured test plan based on project details and objectives using AI-powered recommendations.Import test plan via file: Upload an existing test plan from a file to quickly populate test phases and features.Remove unapproved/unpublished items: Clean up your test plan by deleting draft or unapproved features and phases before publishing.View archive: Access and review past test plans, including completed phases and historical testing data.Modify phase: Edit the details of an existing test phase, including its name, schedule, and associated settings.Add new feature to existing phase: Add additional features to an active test phase for evaluation and feedback collection.Phase dashboard: View an overview of the current phase's status, including tester engagement, feedback trends, and progress tracking.Archive phase: Move a completed or inactive test phase into the archive, preserving data while removing it from the active test plan view.Modify feature: Edit a feature’s details, such as its description and criteria.Quick modify feature option: Quickly make adjustments to a feature without entering the full edit interface.View feature: Display the full details of the published feature, including its description.Feature dashboard: View an overview of a feature’s performance, tester feedback, and any associated issues or improvements.Retest feature: Re-open a feature for additional testing, allowing admins to gather further insights from testers.Move feature to a new phase: Transfer a feature from its current test phase to a different one.Clone feature: Duplicate an existing feature, enabling reuse in different test phases.Archive feature: Move a completed or inactive feature into the archive, preserving its data while removing it from the active test plan.Feature value: Assign a value to each feature which helps the system determine whether it should be prioritized, de-prioritized, or neither.Collect satisfaction/require activity: Configure whether testers must complete certain activities and/or provide satisfaction ratings before progressing.Feature access: Control which teams have visibility permissions for a specific feature.