Customize text within your Centercode implementation to support localization and translations.
This article applies to Pro, Team, and Legacy editions.
Within Centercode you have the ability to change the terminology throughout your site to better match your personal preference and support localization. This can be done via the String Set Management tool at the Community level. Strings support custom HTML, typically used to include font colors, sizes, and styles.
To Change Individual Text
This method is used to customize some strings, but not all due to how the high amount of manual effort it would require.
For example, if you want to refer to Surveys as Questionnaires or Project Tools as Delta Tools, you would manually change a handful of system strings using these instructions.
If you're looking to translate /localize your Projects and/or Community, please skip to the next section.
From the Community Homepage:
- Click the Community logo > Community configuration > Custom strings
- Click the table cell of the String Set you wish to Modify (typically the base Community or Project Strings).
- Click the Enable find-replace link in the upper right corner of the page.
- Enter text from a string text (partial or full) you wish to Modify in the Find In Source search field and click Find to the right of the search field.
- Locate the String you would like to change, and enter desired text into the Click to modify... field to the right of the String.
- Click the OK button below the field when you are finished.
Exporting Centercode Stringsets for Translation
This option is for localization / translation purposes. You must export all strings as a spreadsheet, making the translations on that generated spreadsheet (outside of Centercode), and import the translated strings back into Centercode.
From the Community Homepage:
- Click the Community logo > Community configuration > Custom strings
- Hover over your Stringset you wish to change. You may need to create a new stringset with the + sign.
- Click Export (refer to section below)
- For localization, export All Strings or User Facing Strings
Once you've exported your Centercode strings spreadsheet with the methods in the previous section, you'll need refer to Column C and add your to translated text to Column B. Please ignore any remaining columns - in this use case, they're not needed.
In the generated spreadsheet:
- Column A - Identifier - is the Centercode identifier associated to the string; you can use the identifier to individually target that string in the previous section.
- Column B - New String Value - is where you'll add your translated string .
- Column C - Original String Value - is the original string/text/terminology from Centercode. Please refer to Column C for translations to be added to Column B.
- If there are any strings you'd like unchanged, you may leave their row in Column B blank.
- Once finished, concatenate or combine the identifiers with the translation text, comma separated. For example, ct_300CharMax,Máx. 300 caracteres
Managing the Import: Adding Translations into your Stringset
Once you've translated your exported spreadsheet.
From Stringset Management:
- Hover your Stringset or create a new one
- Click Import
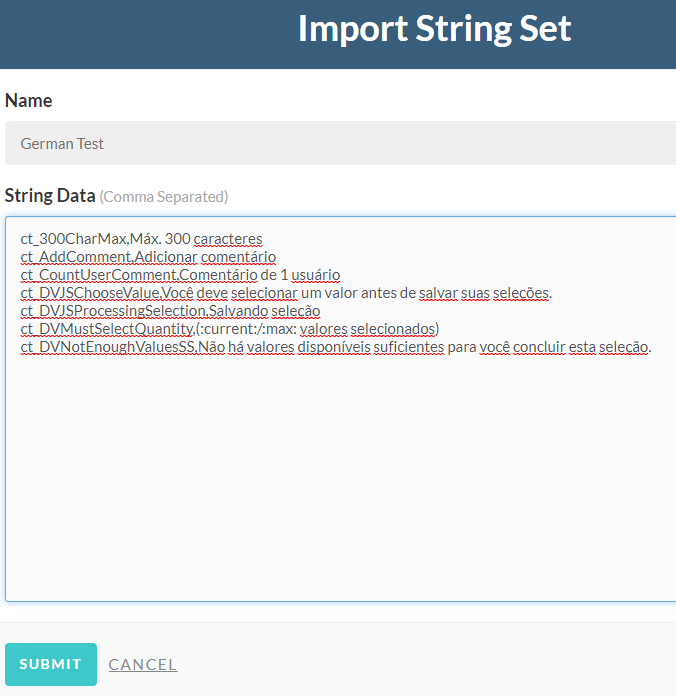
- Add identifiers with translations, comma separated, and one per line. See example below:
(Note: Since the import tool is looking for comma separation, strings that contain commas in the body need to be in quotation marks)
Applying Translated Stringsets
Now that you're finished creating your translated string sets, you can now apply them to existing Projects via Project Settings (Management > Project configuration > Project settings) or by selecting the string set when creating a new project.
Making your Feedback Comments PII-Safe with Strings
To ensure your feedback comments are compatible with external systems like JIRA, Centercode provides two types of Strings: one for displaying comments within the platform and another for exporting or integrating those comments externally. By using the appropriate String, you can safeguard your feedback when transferring it between systems. Follow the steps below to identify and update the correct Comment String.
From the Community Home:
- Access Community configuration > Custom strings in the navigation bar
- Click the appropriate string set
- Click the name of the appropriate Project String Set
Note: Most communities only have one "Default English Project" String Set, but you may have multiple. - Click Enable find-replace in the top-right corner
- Search the String Set for: fb_VFAllCommentTextExport to target externalized comments
The string itself should look like this: :name: (:date:) said:{lf}:comment:
Modifying the string
Now that you've identified the string, removing the PII is as simple as removing ":name:" from the Current (Target). From the search results in Step 5 above:
- Copy the following: (:date:) said:{lf}:comment:
- Click into the right-hand column where it says Click to modify
- In the new text field, paste your new String, then click OK
Notes
- If you're needing assistance identifying your string, you can enable a string identifier. To enable a string identifier, you would need to add it to the end of the current page URL, along with the value "1". For example, using the string identifier &string_ident, you would add &string_ident=1 to the end of the current page URL. To disable the string identifier once you've identified the needed string, you would instead assign a value of "0" to the variable and add it to the end of the current page URL. For example: &string_ident=0. This would disable the string identifier.
- If you encounter an error when importing strings back into Centercode, you may have encountered the character limit. Please import strings back in batches of under 100,000 characters.
- Strings can be modified via other methods as well. From any given page in the site, you can click the Modify Strings link on the bottom right of the screen to access the strings that can specifically appear on that page. Repeat steps 5 and 6 from above to modify any of them that you like. This can be a quick and convenient way to modify something such as a header, footer, term, text, or other string that you notice while navigating your site.
- You can only Modify the Strings (which overwrites how they appear in the site). You can never change the Base String defaults.
- You can Modify the Strings that appear outside the secure areas of the site (such as the Login or Lost Credential areas) via the same method above. These strings are also part of the Community level String Set being used.
- This PII-Safe Feedback comment String is one of many that are cached in the Centercode database, meaning it will require a refresh from the Centercode side. This refresh occurs automatically at midnight (Pacific) every night. As such, you won't observe the changes you've made until the following day.