This article applies to Team and Legacy editions.
Product Verification prevents Users from submitting feedback or viewing activities until they confirm they have received the test unit and/or software through a widget on their Project Homepage. Product Verification can also provide helpful guidance to Users who have not received the test unit and/or software.
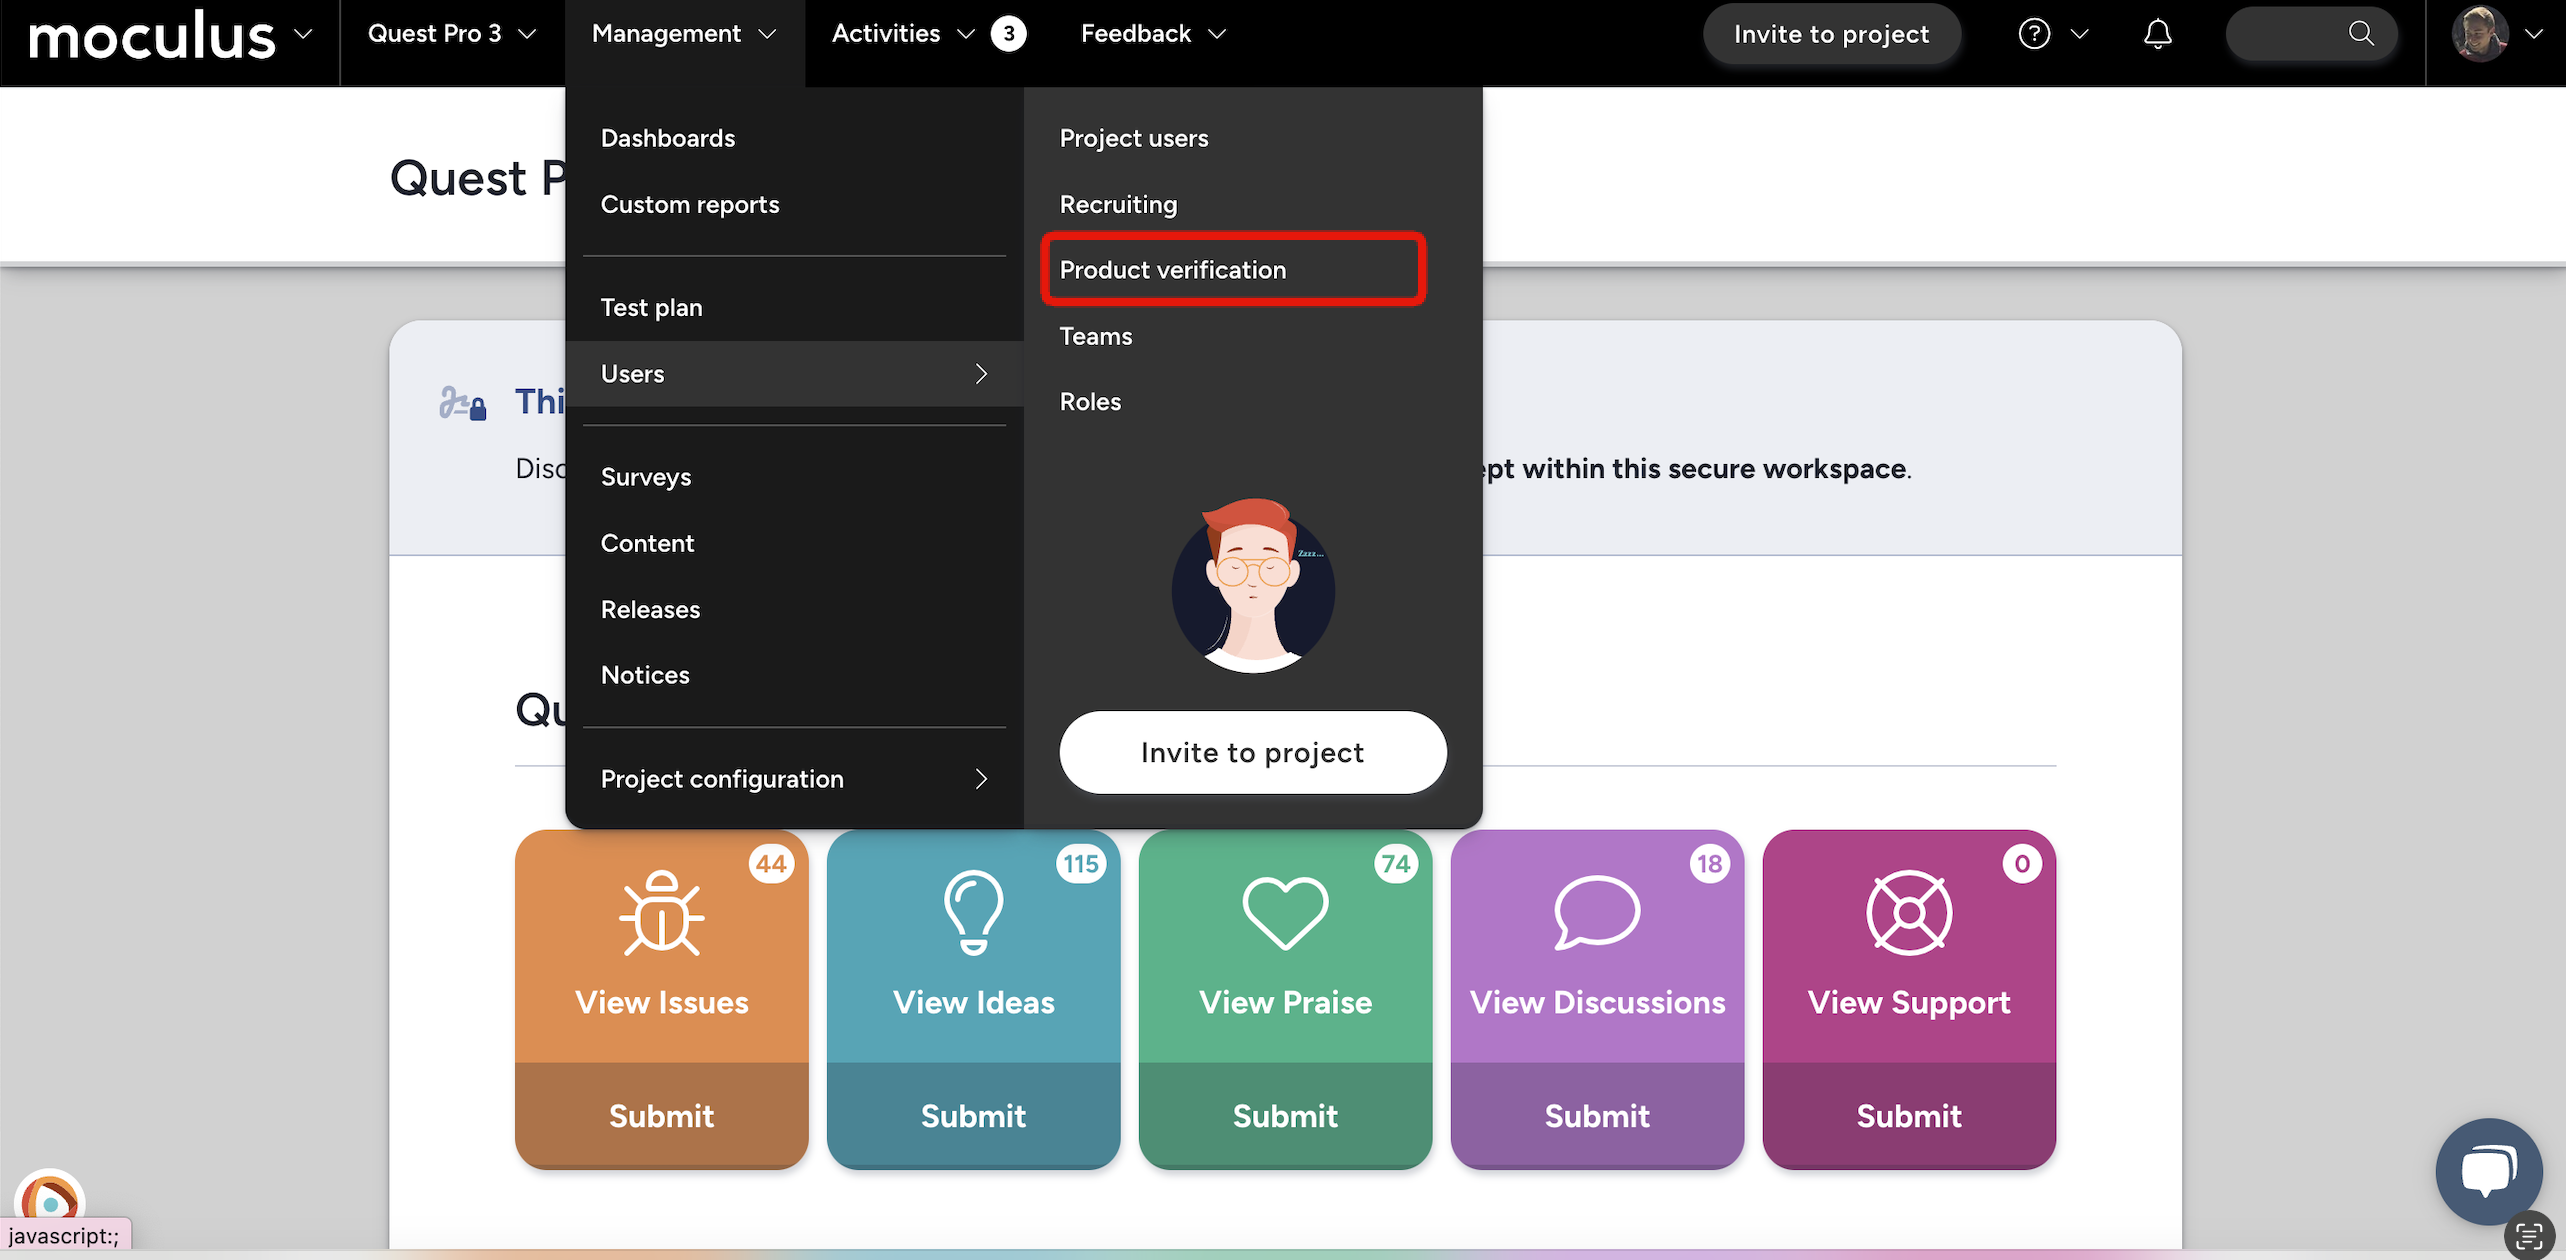
Accessing Product Verification
- From within your project, click the Management menu
- Click Users
- Select Product verification
Configuring Product Verification
- Select your desired verification response and customize your User response message
- Check or uncheck Team access
- Click the Submit button at the bottom of the page when satisfied.
You have successfully enabled Product Verification. A verification prompt will now appear on the homepage for the selected team(s), under their current visible set of homepage content.
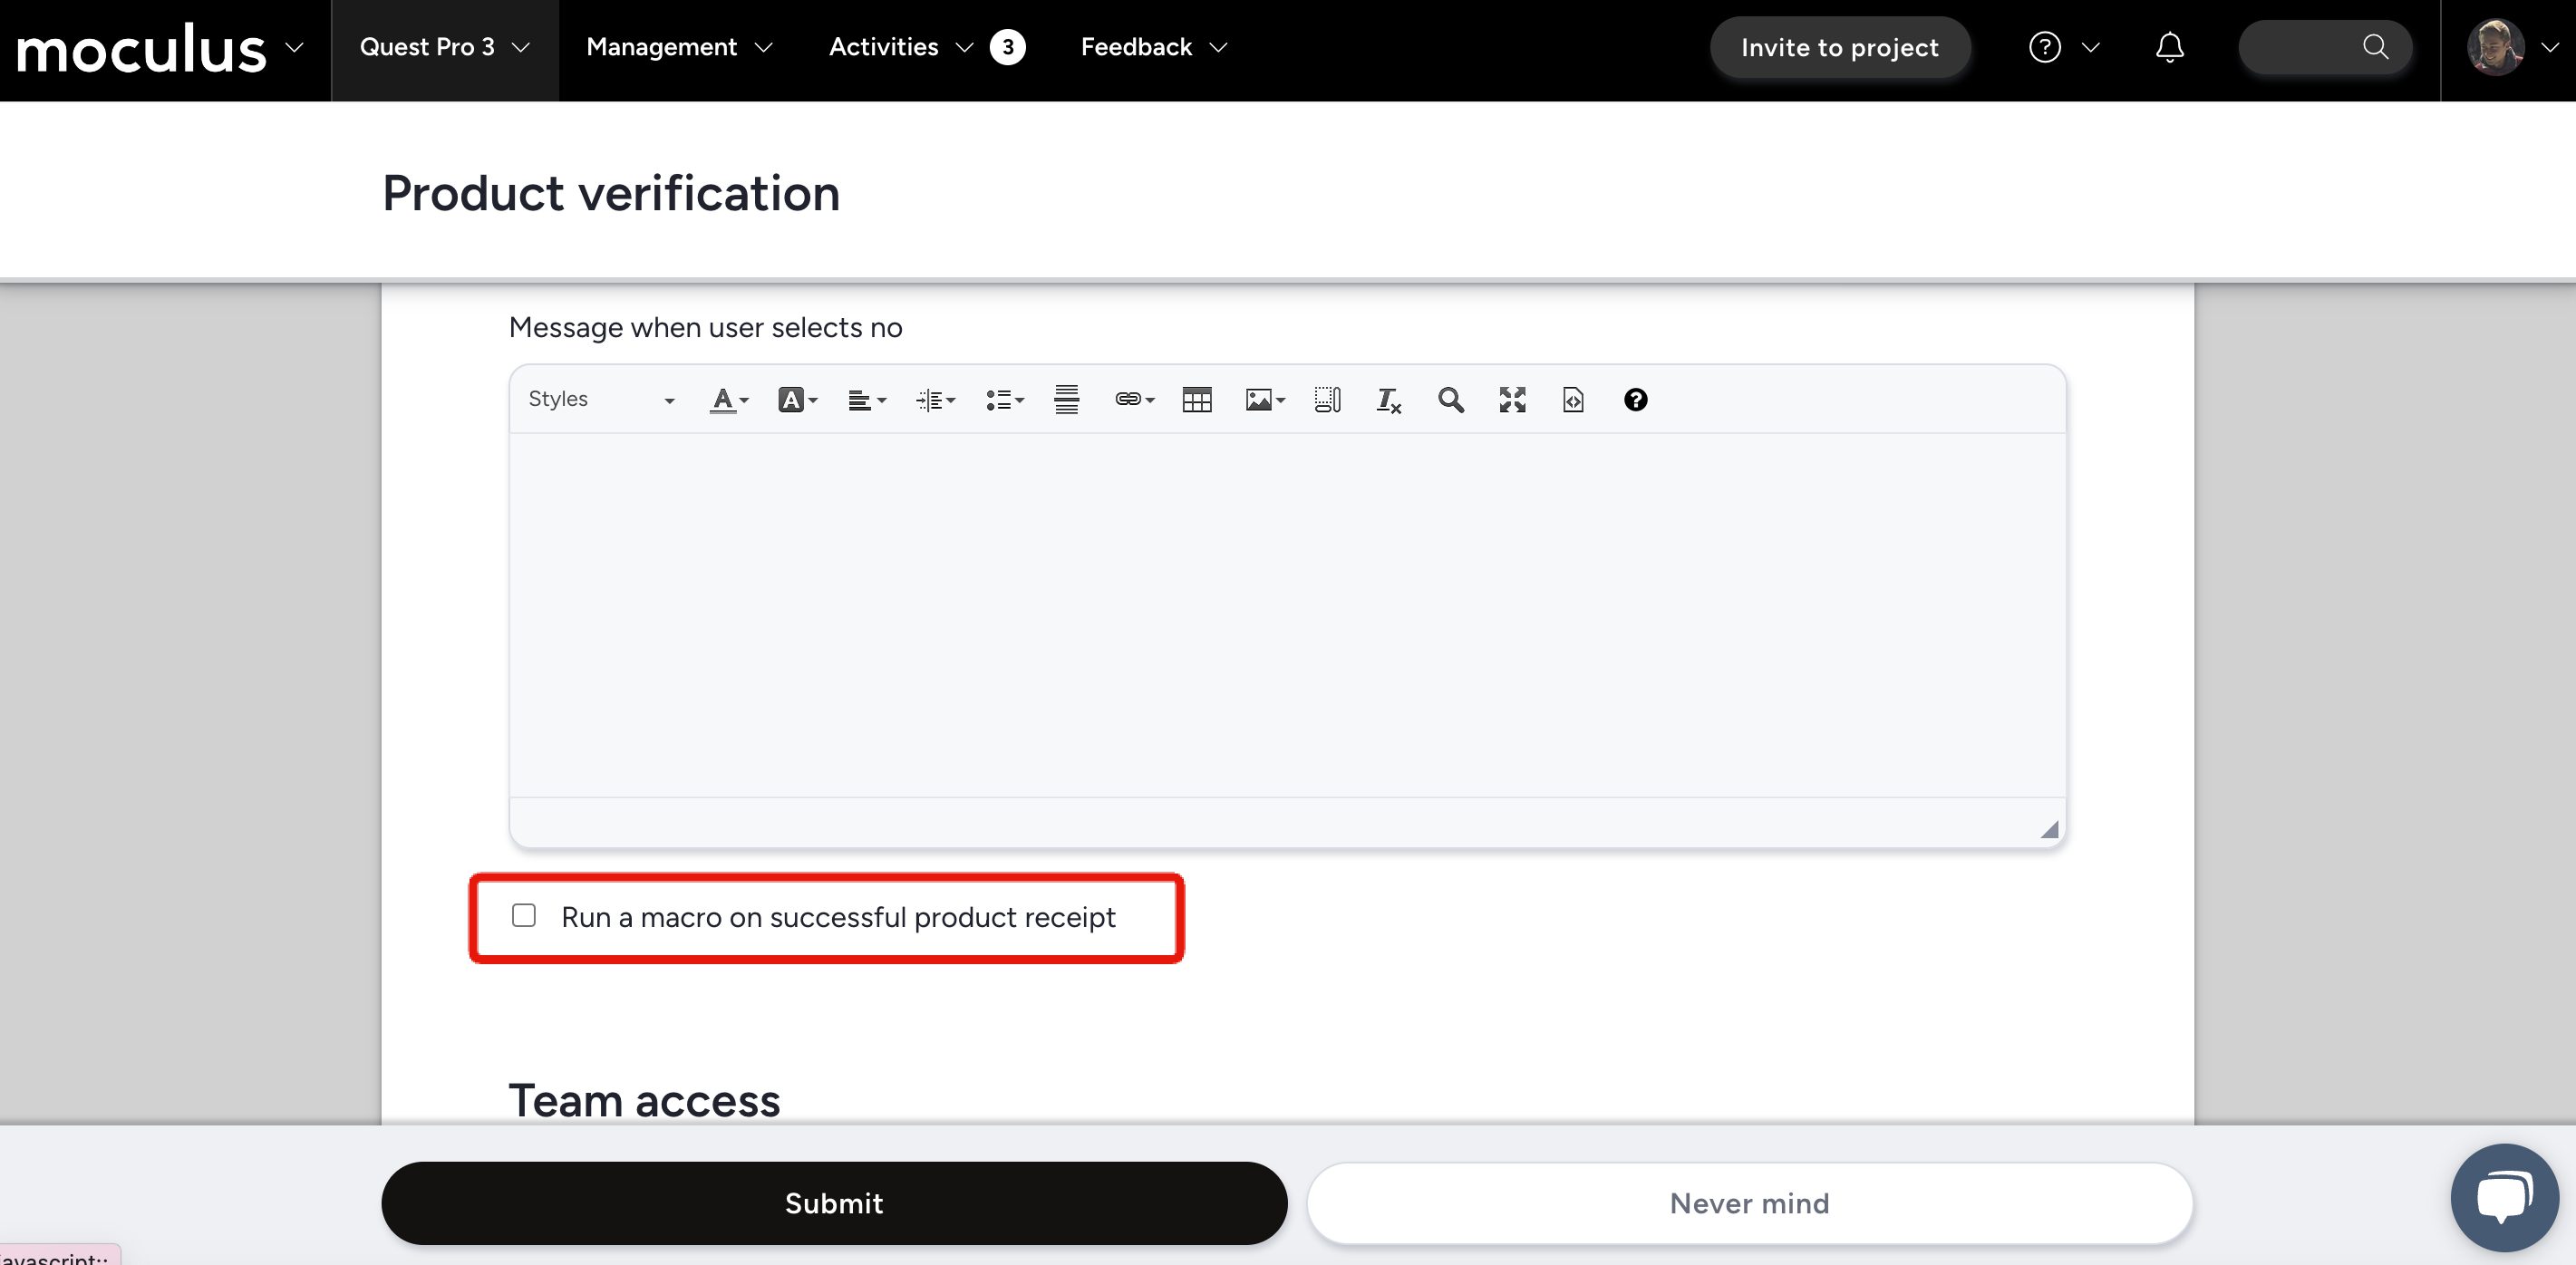
User automation built into Product Verification
Oftentimes, admins want to take immediate action when a user has acquired the test product. This may include granting access to project resources, sending email notifications to stakeholders, and more. Amid the Product Verification options, you can choose to leverage automation based on the user’s positive response by checking the “Run a macro on successful product receipt” checkbox.
As with Notice Macros, choose the “Static” macro type to run a chosen Macro for any user who indicates that they received your product. Selecting “Conditional” will check additional filter conditions before running any Macros.
Notes
- Product Verification responses cannot be reset.
- Macros that affect the User’s Team(s) will potentially impact their Notice experience.
- Product Verification occurs at the end of the Notice chain
For a detailed explanation of Macros, see this article.