This article applies to Team and Legacy editions.
A user profile is typically designed to collect personal or demographic data from your community users. This data can then be used to generate reports, filters/views, or manipulated to categorize users or track specific user details. The data is also generally used to find information about users that would qualify them to take part in specific projects.
- Learn more about building a form in Centercode here!
Accessing User Profiles
-
Click the Community logo in the top-left navigation menu
-
Click Community management
-
Select User profiles
Create a User Profile:
- Click the Create a user profile link at the top of the page.
- Add a Title, assign the profile to a Group, set Team access, and select any options you'd like in the Customize section.
- Customize Options
Set team access by individual element:Enable the ability to set access/visibility to each form element by team (vs. setting access to the whole form).Run macro on submit:Execute a macro when the profile is submitted by the user.Save as template:Save the existing profile so it can be cloned during the creation of an additional user profile.
- Customize Options
- Click the Next button at the bottom of the page.
- Select the desired Element type and then fill in the settings for that element.
- Click the Submit button at the bottom of the page to confirm.
- Repeat steps 4-5 until you have added all desired elements.
- Click the Return to form button when satisfied to complete the process of adding Elements and return to the form.
- Click the Publish button at the bottom of the page.
You have successfully created a user profile.
Modify a User Profile:
- Click the desired User profile to edit form elements.
- Mouse over the element you'd like to change and click the Modify (pencil) button.
- Make desired changes, then click Submit.
You have successfully modified a user profile.
Note: From the user profile management page, mouse over the User Profile and click the Modify (Pencil icon) to make changes to the Group, Title, Team access, and Customize options.Remove a User Profile:

- Hover over the desired user profile and click the Archive button to archive the profile.
- Click View archive in the upper right.
- Hover over the table cell of the desired user profile and click the Remove (X) button.
- Click Yes when asked if you'd like to remove this item to confirm the removal.
You have successfully removed a user profile.
Step 1 is only necessary if the user profile is active, an inactive profile can be deleted directly from the User Profile Archive.
Create a User Profile Group
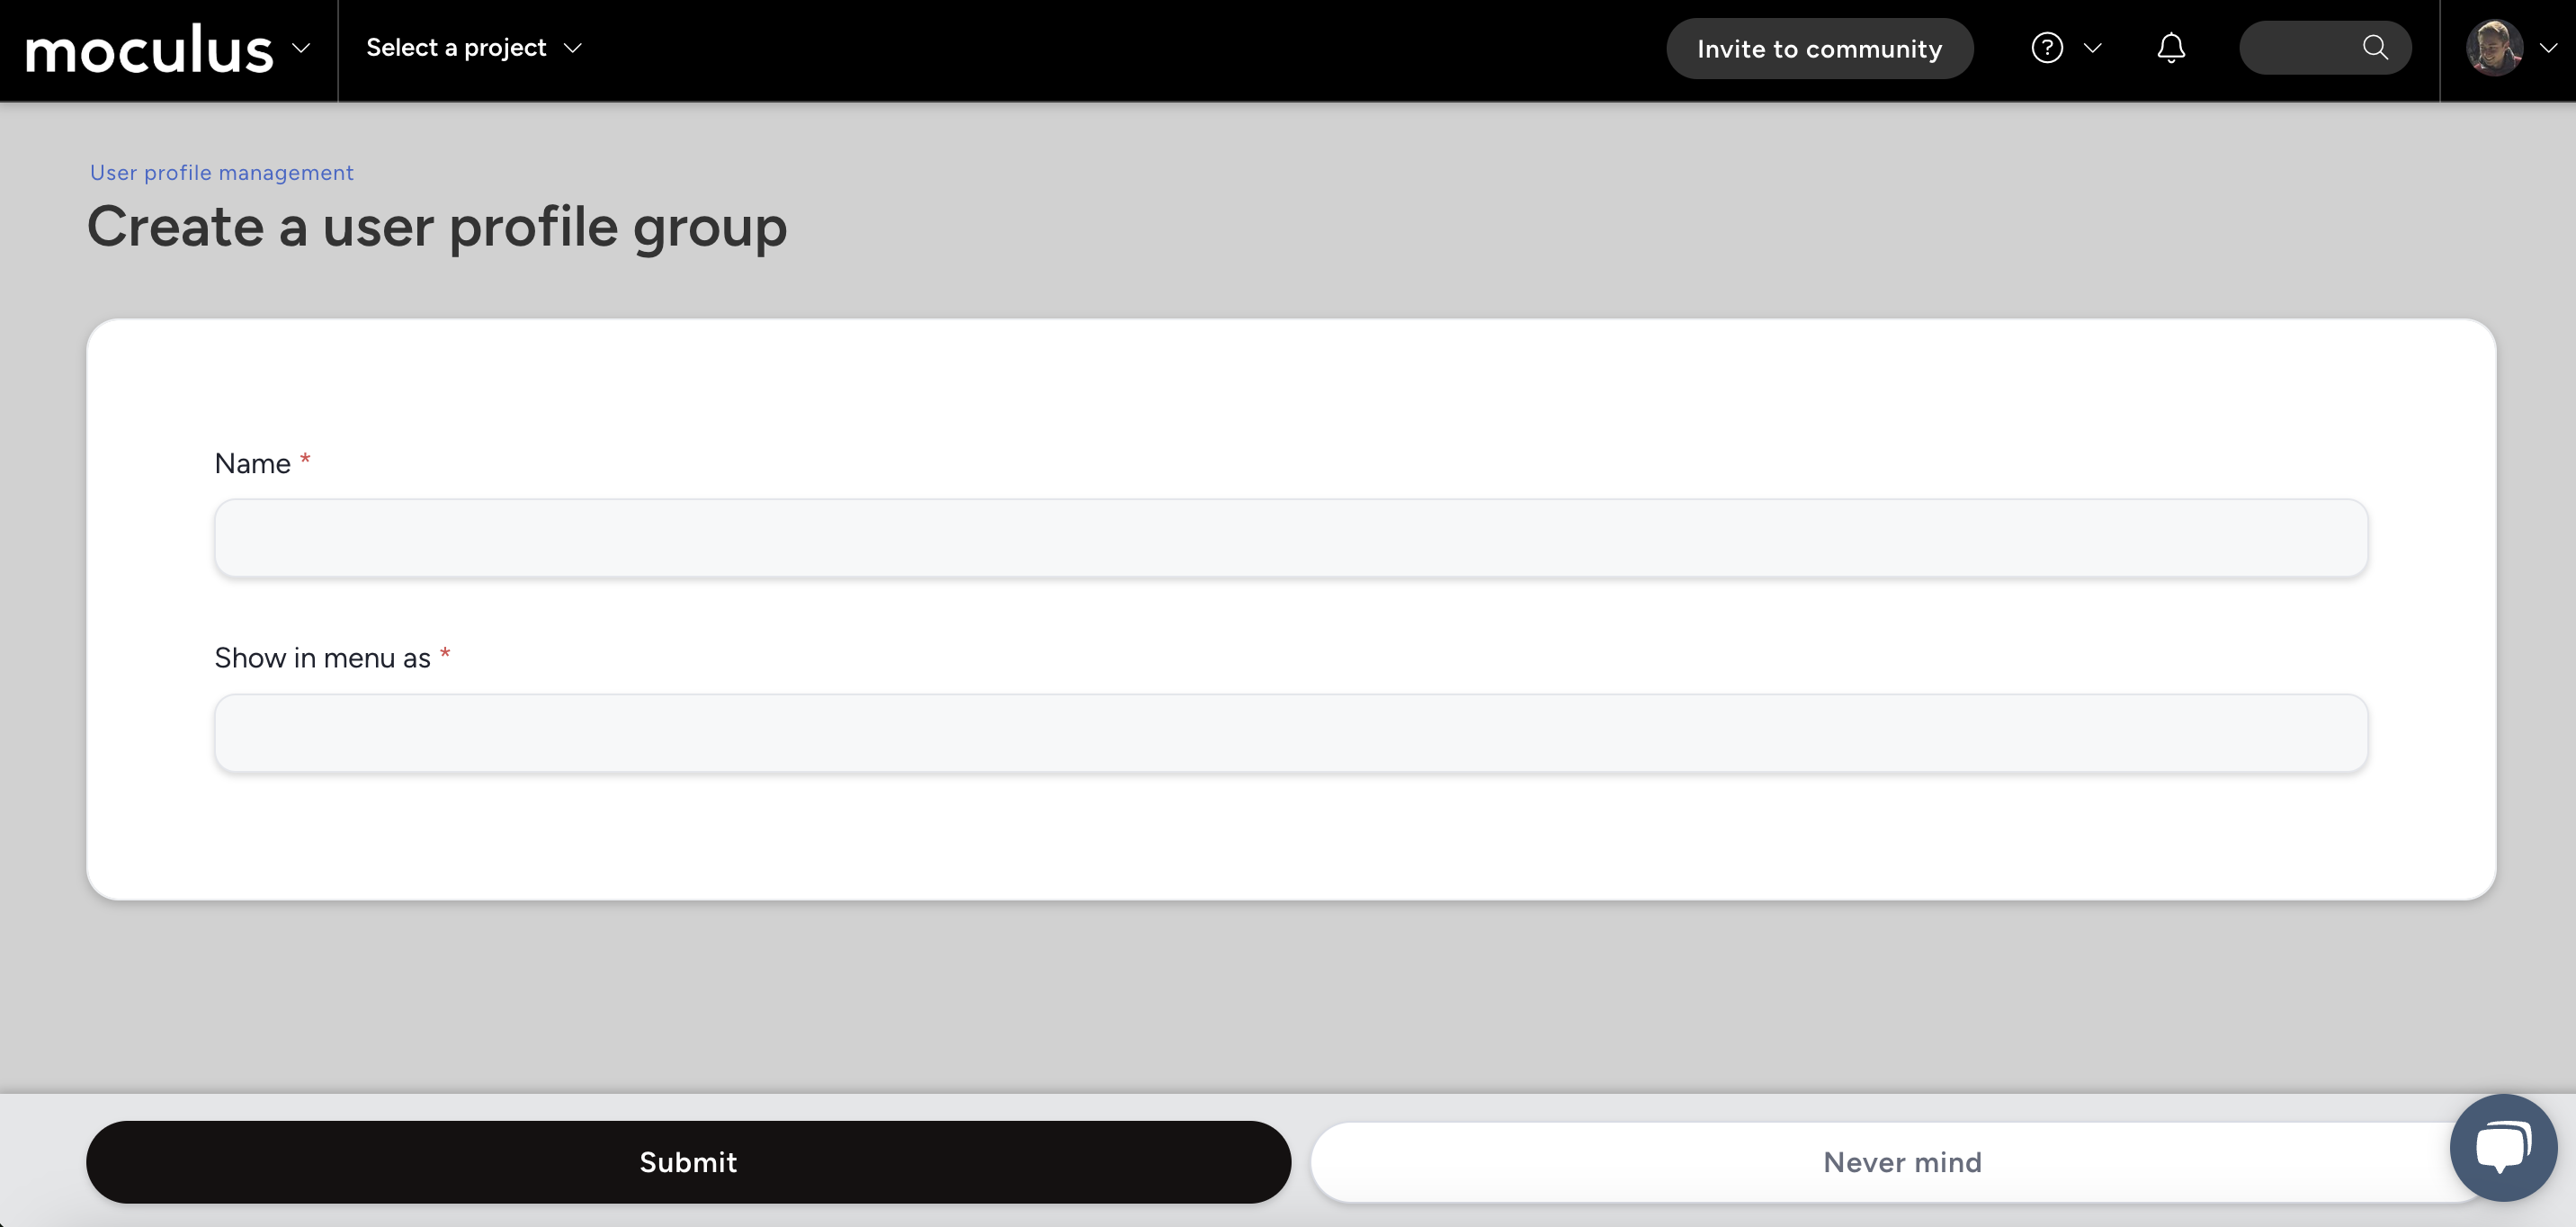
A user profile group is a category for organizing multiple profiles under one section in the User profiles menu. This helps admins manage different types of profiles (e.g., "Demographics," "Testing Equipment").
- From the User profile management page, click the Create a user profile group button at the top of the page to get started.
- Give the group a name and define how it will show up in the menu.
- Click Submit
- To assign a user profile to a group, mouse over the user profile, click the Modify (pencil icon) and select a the appropriate option from the Group drop-down.
Requirements
- Manage community role
Notes
- Once created and active, end-users who have access to submit the user profile will be able to complete their user profile automatically using the form that you built above!