How to give access to submit and/or triage feedback to appropriate teams via Roles and Workflow
This article applies to All editions.
When it comes to Feedback, there are potential 4 platform areas to check for appropriate configuration and it's often a combination of the following:
- Teams
- Feedback roles
- Workflow
- Element level access
Teams and Feedback roles grant access to Submit feedback, while Workflow controls the feedback’s lifecycle and how it’s addressed. Element level access is an optional setting that controls how certain teams may view and modify your Feedback or Survey form.
Teams
Check and ensure that the user who is having feedback submission issues is on the correct team(s). A common issue is that the user is not on your main tester team.
For example, the user is on the iOS team, but not on the Beta Testers team. Once added to the main tester team, they will have the appropriate access to submit feedback.
Feedback roles
Feedback Roles are a static set of named Access Roles, available per Feedback Type, allowing Project Managers granular control over accessing Feedback within their Projects. These Roles only pertain to Feedback, usually including Issues, Ideas, and Support. Please refer to this article for other Feedback Role definitions.
To access Feedback Roles from the Project Homepage:
- Click Management> Project configuration > Feedback types in the upper navigation bar
- Hover over the Feedback Type you wish to modify
- Click the Modify pencil
- Click the Feedback Roles button in the main body area
- Choose the appropriate Team Type from the drop-down menu
- Adjust the Feedback Roles for each team using the Project Team Key to the right of the table
- Click the Submit button to confirm any changes

Note: You must have "Submit feedback" enabled before a team will be presented in Workflow and be allowed to create or modify any feedback.
Workflow
Workflow determines how teams can modify or submit feedback. Statuses are used to identify the lifecycle state your feedback is in. Ownership destination refers to the team responsible for that feedback based on its Status and the team that moved it to that stage in its lifecycle.
- Click Management > Project configuration > Feedback types in the upper navigation bar
- Hover over the Feedback Type you wish to modify
- Click the Modify pencil
- Click Workflow
- Under the corresponding Team, check ON Statuses appropriate for the desired access and Workflow.
For example, you want your Tester team to have access to submit New feedback. You want Support to be able to access Open for Discussion, Need More Information, Under Review, Fixed, etc. - Choose an appropriate Owner Destination from the drop-down menu. A common use-case is for your Tester team to assign ownership to the Beta Support team.
- Click the Submit button to confirm.
A typical configuration can be found here. This shows your primary Participants team can only submit new feedback with Beta Support (Internal Members) being responsible for that New feedback. Beta Support can then change the status of feedback they own to all available to them (In Progress, Closed, etc.).
Element level access
Available in Feedback types’ or Surveys’ advanced options, element level access allows you to choose which Teams have View and Modify access for each form element. For example, all of your testers have access to basic Bug form questions, but the technical questions are provided only to the tech-savvy, separated via Team.
If improperly configured, users may see form elements they shouldn’t be seeing or not even see any elements at all.
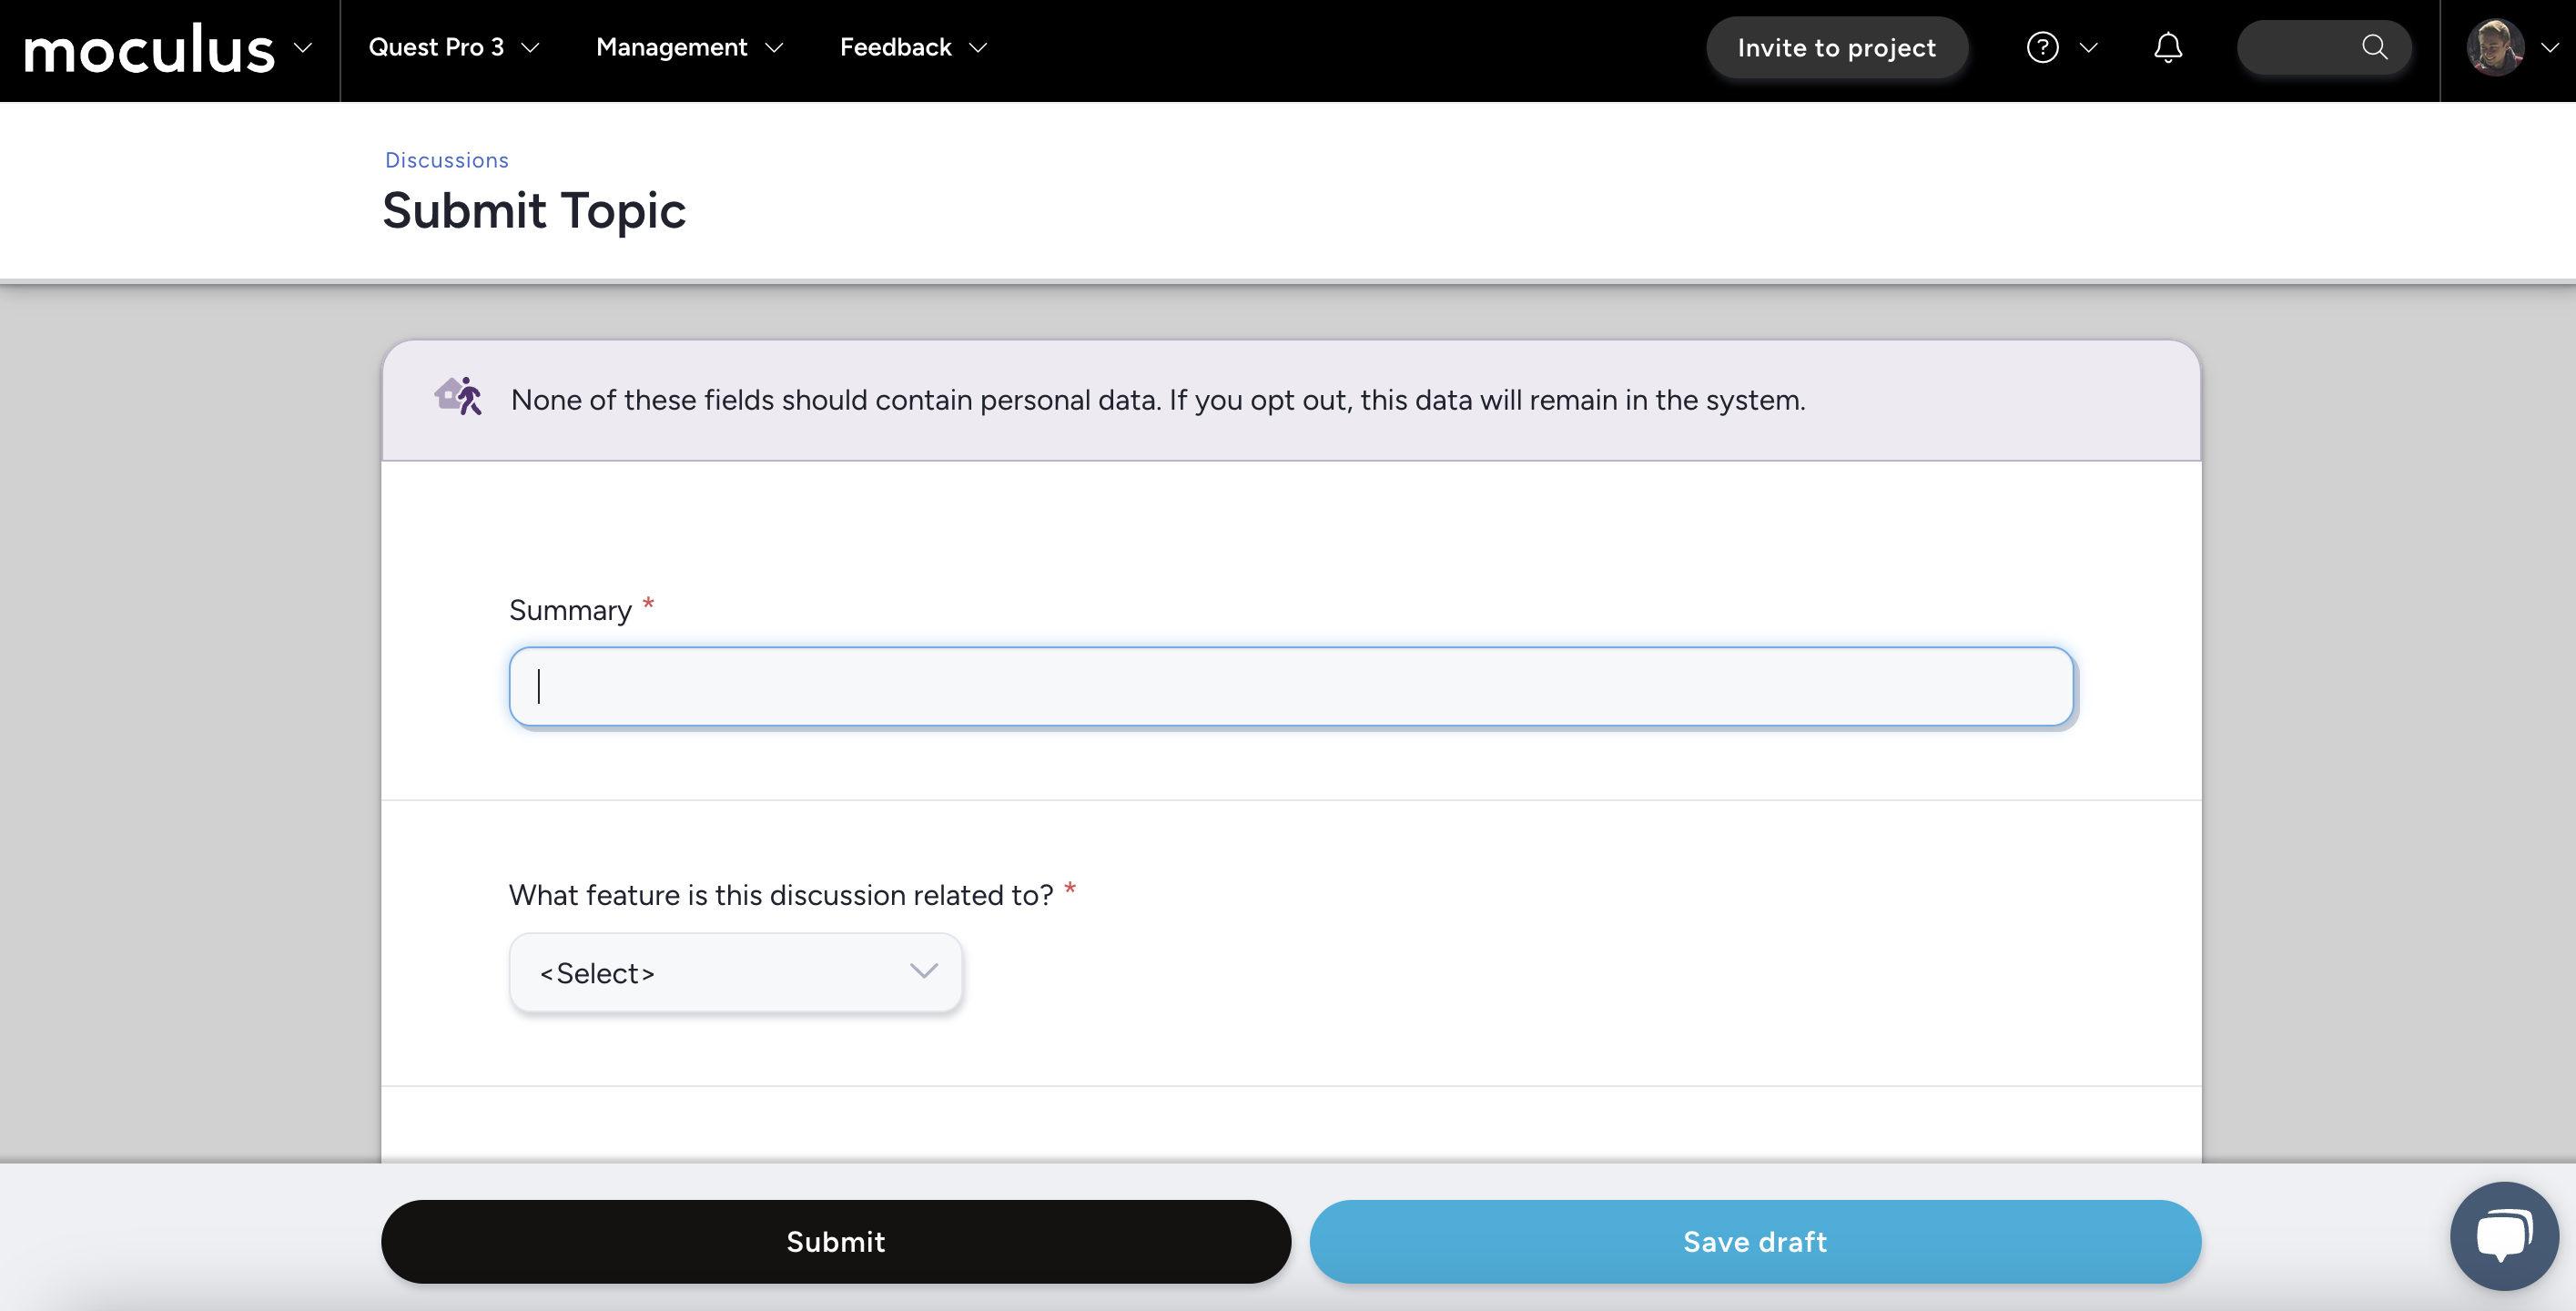
With element level access on, a Team without access will see only certain form elements that cannot have their access changed (such as Feature) and the submit/save draft buttons:
To check your Element level access in Feedback:
- Click Management > Project configuration > Feedback types in the upper navigation bar
- Hover over the Feedback Type you wish to check
- Click the Modify pencil
- Click Feedback properties
- Scroll down to see if Set team access by individual element is checked
If Element level access is already on, you’ll want to audit your form to ensure appropriate access.
- Click Management > Project configuration > Feedback types in the upper navigation bar
- Click on the Feedback Type
- Click the top right Switch to overview button
- Hover over the Modify and View access icons to ensure your Teams have appropriate access
- Click the icon to enable the entire Team Type on or off (notes below) or click on each element to view and adjust Team Access
Green = entire team type has access
Yellow = some teams of this type have access
Grey = no teams of this type have access
Missing submit button
If a Team does not have access to any Statuses, the "Submit" button in the left-hand menu won’t display for them (shown below).
- Your Team(s) must have access to submit at least the "New" Status in your Feedback Type's Workflow (steps 1-6 below)
- and at least 1 "Access" role in the Feedback Type's Role tool (steps 7-8 below)
From the Project Homepage:
- Click Management > Project configuration > Feedback types in the upper navigation bar
- Hover over your Feedback Type
- Click the Modify pencil
- Click Workflow
- Identify any Teams missing New status and grant access
- Click Submit
- Click Feedback roles
- Ensure an "Access" role is enabled for your teams - toggle on if missing, then submit the page