Using the Project Dashboard and Cross Project Labels tools to report metrics across Projects
This article applies to Team and Legacy editions.
What are Project Dashboards?
Project Dashboards allow you to create and export reports to view metrics across all of your projects, leveraging standard Filter and View concepts used across your Centercode implementation.
What are Cross Project Labels?
Cross Project Labels are unifying labels created by Community Admins and used to identify similar resources across projects that may not use the same vocabulary. For example, Feedback types in separate projects that might be titled differently (such as Issues, Problem Reports, and Bugs) can all be unified under the "Bug Reports" Cross Project Label to open up the ability to Report on them across Projects.
Cross Project Labels also allow for custom data points to be reported on in Project Dashboards.
Unifying Cross Project Labels can be used in regards to the following tools:
- Feedback
- Content type
- Release type
- Surveys
- User management filters
- Feedback management filters
- Teams
How do I create a Cross Project Label?
Note: You must be a Community Administrator to access the Cross Project Labels tool at the Community Level.
Although Cross Project Labels are meant to be used in Projects, they're created at the Community level. By default, Centercode will provide you with some very basic Cross Project Labels as templates but you can create your own custom labels. To do so...
From the Community Homepage:
- Click the Community Logo > Community configuration
- Click Cross-project labels
- At the bottom of the page, select the New label type the drop-down list
- Enter the desired New label name
- Click the Add new label button at the bottom of the page
How do I assign a Cross Project Label in my project?
Once you have created a few Cross Project Labels at the Community level, or have decided to use the basic templates that come pre-populated, you can then assign them to Resource Types, Surveys, Teams, Feedback, or Filters in your Project.
To assign a Cross Project Label to a Resource Type...
- Click on Management in the navigation bar
- Click on either Content or Releases in the main body area
- Click on the Content type or Release type Bar of your choice
- Check the "Apply cross-project label" box
- Select a Label from the drop-down menu and Submit
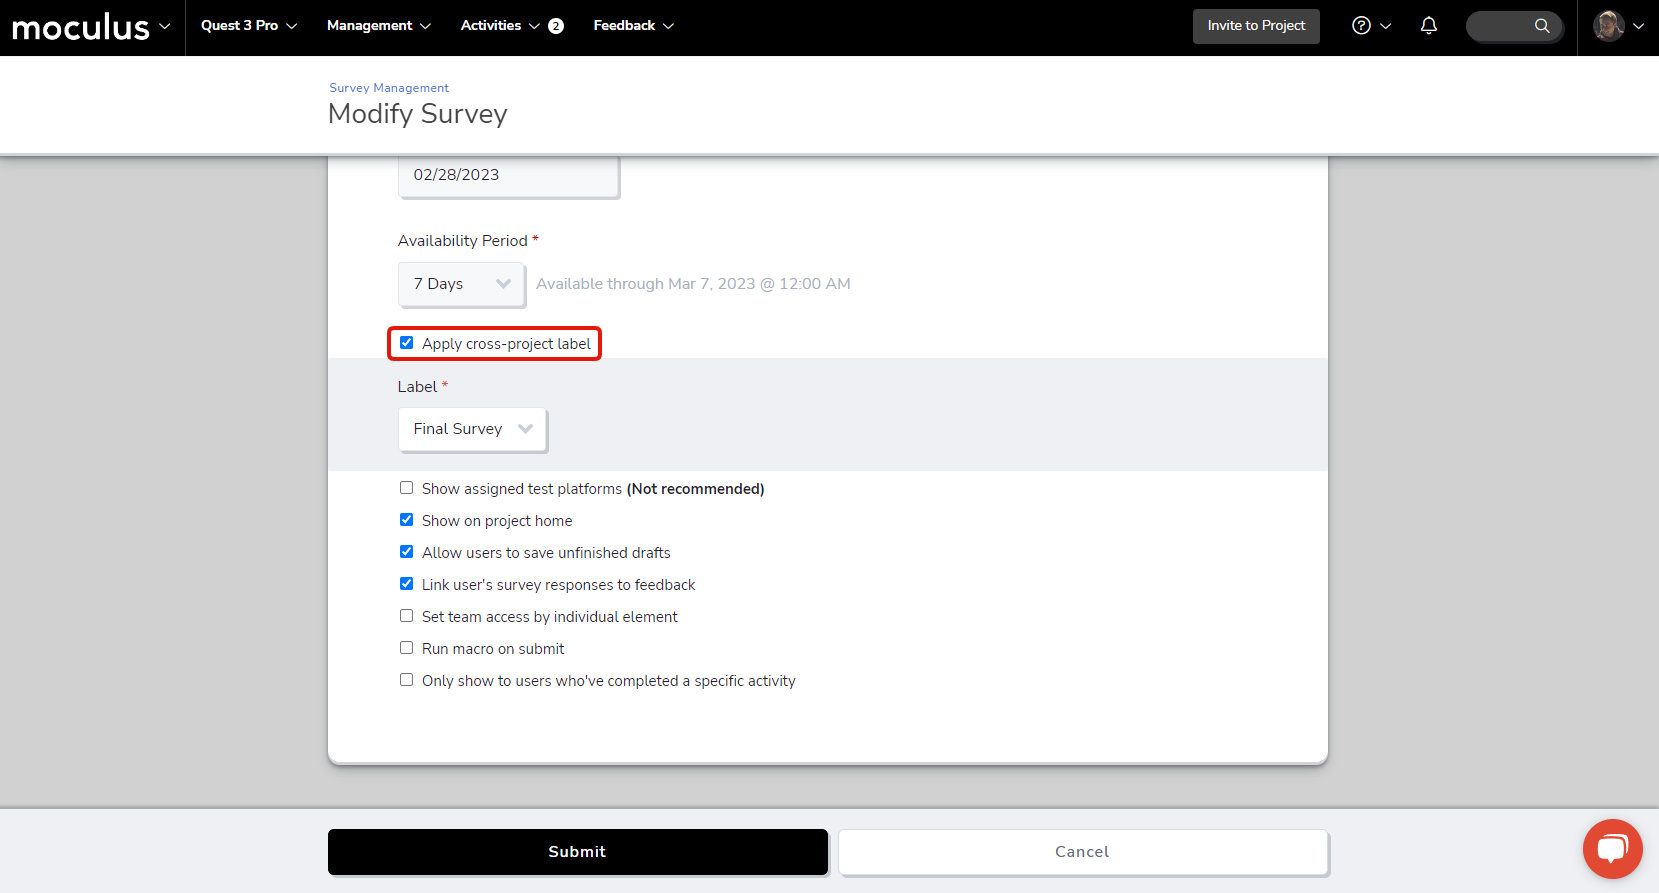
 To assign a Cross Project Label to a survey
- Click on Management in the navigation bar
- Click on Surveys in the main body area
- Hover over the Survey of your choice and click the Modify pencil icon
- Check the "Apply cross-project label" box
- Select a Label from the drop-down menu and Submit
 To assign a Cross Project Label to a team...
- Click on Management in the navigation bar
- Click on Teams in the main body area
- Click on the Team of your choice
- Check the "Apply cross-project label" box
- Select a Label from the drop-down menu and Submit
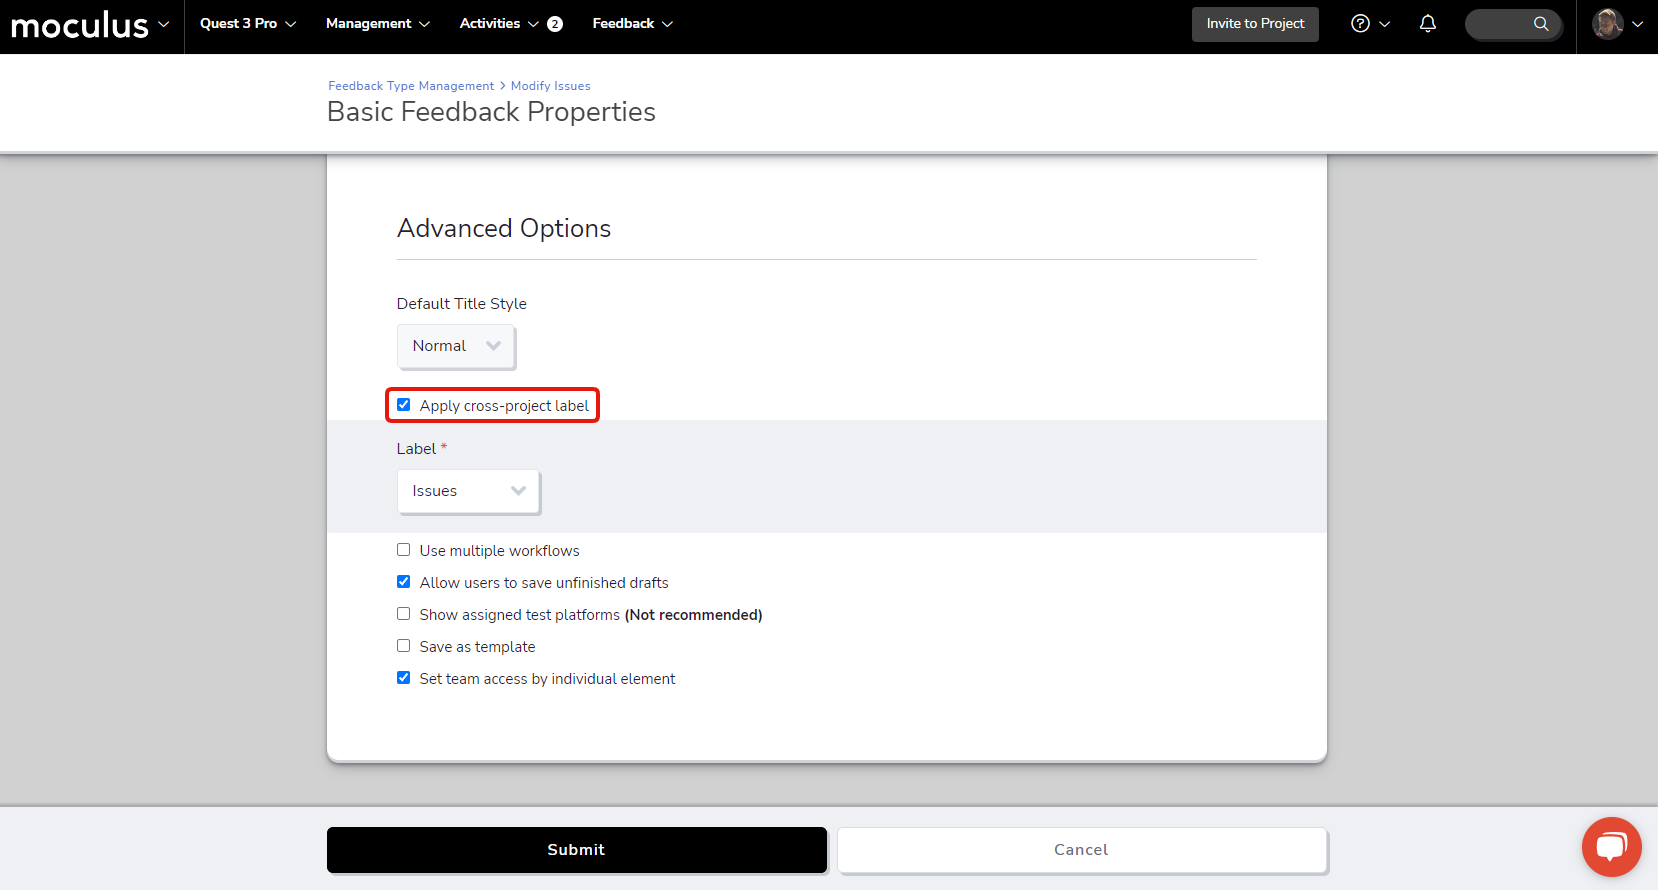
 To assign a Cross Project Label to a Feedback type...
- Click on Management > Project configuration > Feedback types in the navigation bar
- Hover over the Feedback of your choice and click the Modify pencil icon
- Click on Basic feedback properties
- Scroll down to the Advanced options section
- Check the "Apply cross-project label" box
- Select a Label from the drop-down menu and Submit
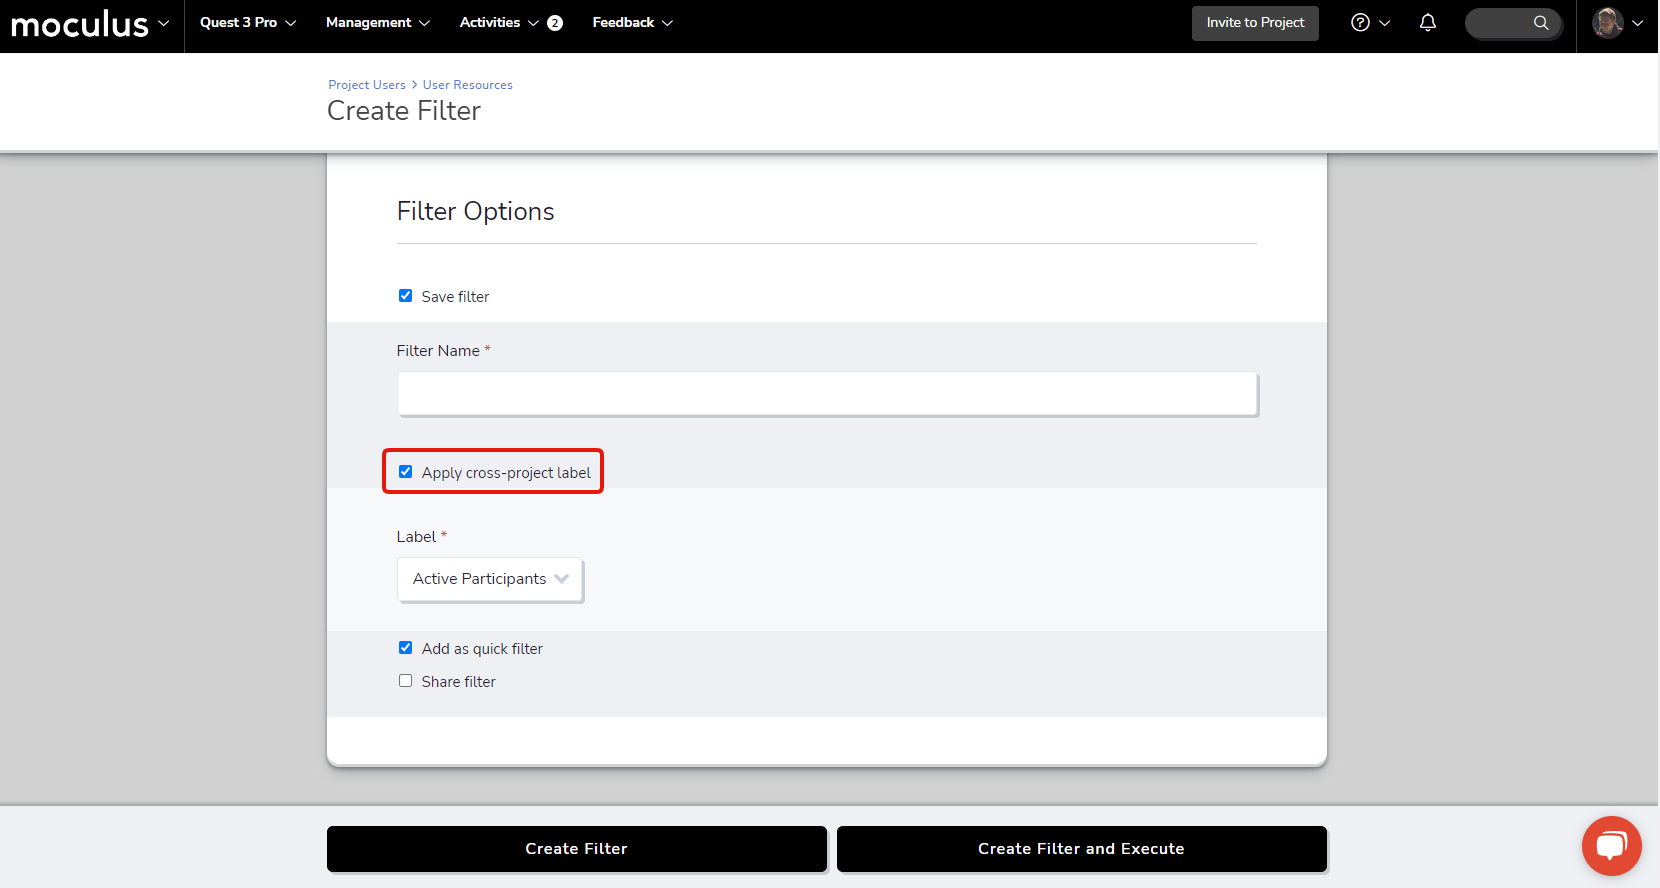
 To assign a Cross Project Label to a User Filter or Feedback Filter...
- Navigate to User resources or Feedback resources in the User or Feedback Type menus
- Create a new Filter or select a pre-existing Filter and click the Modify pencil
- Scroll down to the Filter options section
- Click the "Save filter" box
- Check the "Apply cross-project label" box
- Select a Label from the drop-down menu and Update Filter
 Reporting on Cross Project Labels
Once Cross Project Labels have been created and configured into your Projects, you can then create Reports focused on metrics across those Projects to compare, or even better, view the effectiveness of your Customer Validation program as a whole.
- Click Community management > Community reports
- Click Create a report element at the bottom of the page
- Select "Projects" as your Datasource
- Select your data - Add items to include in the report element. Different styles will be available based on the type and quantity of selected items. These are your columns of data.
- Add filter - Limit the report element to a specific subset of results. Continue with No Filter for all results. These are your rows of data. A common filter is Survey - Complete = Yes
- Pick a style - Visual presentation of your report element. Available styles are determined by the data items selected.
- Name report element and choose a destination. Save as a New Report can be built upon and distributed, or added to an existing report.
- Click Submit to proceed to the next page.
- Name your Element
- Click Submit to save and generate your Report.
Important notes:
- Once created, these labels can be applied to various items within a Project, and then used within the Community level Project Dashboards or Community Reports to see data across your Projects.
- Each unique Cross Project Label can only be associated with one item in each Project. If you assign a "Bug Reports" Cross Project Label to your "Issues" Feedback type, it cannot be assigned to any other Feedback types in that Project.
- When removing an existing Cross Project Label, the system will prompt you regarding where the label is currently in use, and thus what will be affected if you remove the label. Be careful when removing an existing Cross Project Label, as it could already be in use across many Projects!