This article applies to Team and Legacy editions.
User scoring via Custom user scoring can be a useful addition to any Delta program. While Centercode's built-in Tester Impact™ scoring is a great out-of-the-box way to identify active testers submitting valuable feedback, establishing your custom scoring system for your users allows you to easily (and automatically) identify top contributors or noncompliant participatory based on criteria that YOU define. As a Community administration tool, you’ll find the Custom User Scoring configuration at the Community level, but options to use Scoring at both the Community and Project scopes.
This article covers the following:
- Managing Custom user scoring values
- Scoring core users individually
- Enabling User Scoring in Centercode's Project Template
- Creating your own Custom user scoring system
- Merging custom user scores
Important best practices notes
- Community points should be used to track overall user contribution or major, program-level milestones of account activity.
- Project points should track user contribution throughout individual Projects. Project points can then be used as guidance for Community points at the end of a phase or when ending the project. This allows you to develop a fully profiled and scored panel of engaged testers for easier tester recruitment.
User Scoring consists of Custom user scoring - individual values representative of positive (feedback submission, excellent participation, special events) or negative (non-compliance, NDA breach, non-responsiveness) user account milestones. Separated by the Community and Project scope, you’ll leverage the individual Custom user scoring to add points to your user accounts for scope-specific intentions like tester participation quality at the Community level or providing a high-quality feedback within a Project.
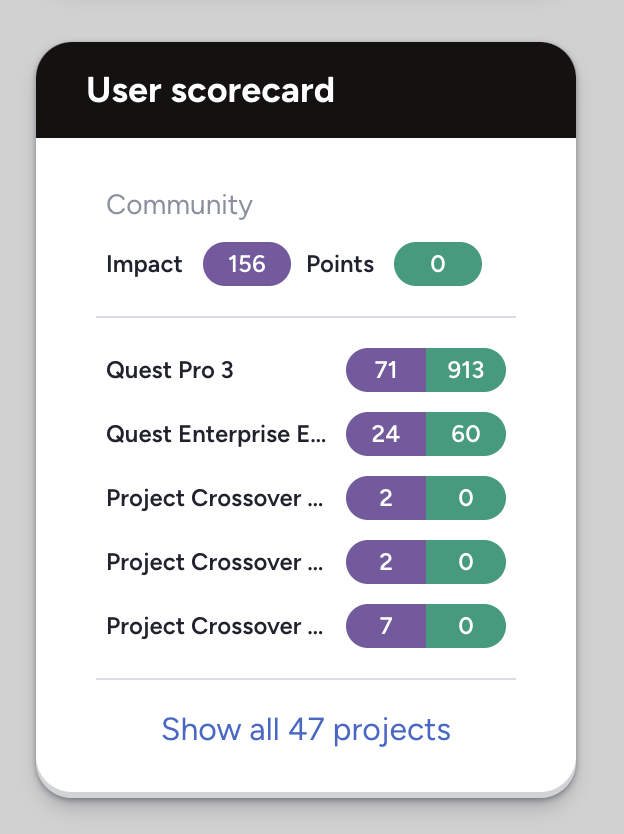
Creating Custom user scoring lets you fine-tune your User Scoring program system beyond what’s provided in the Centercode Templates. Once User custom scores have been established, they can be applied to any User account manually via User Summary and automation.
Creating and updating your existing Custom user scoring values
Creating new Custom user scores lets you fine-tune your User Scoring program system beyond what’s provided in the Centercode Templates. User scoring consists of Custom user events - individual values representative of positive (feedback submission, excellent participation, special events) or negative (non-compliance, NDA breach, non-responsiveness) user account milestones.
Separated by the Community and Project scope, you’ll leverage the individual Custom user events to add points to your user accounts for scope-specific intentions like tester participation quality at the Community level or providing a high-quality bug report within a Project.
To create or update your existing user scoring:
- Click your Community logo > Community configuration > Custom user scoring
- Adjust Community and Project scopes to suit your scoring processes
- Use default options to utilize our recommended Custom user events
- Create new Custom user events and fill out the required fields if desired
- Merge to update the selected rank to a new value if desired (see notes down below)
How to add points to users individually
As your Delta program progresses, you may find yourself in need of adjusting individual user points based on performance and participation. User Summaries contain the Add note or rank menu where you can manually adjust user points at both scopes.
To manually adjust a user’s points:
- From your Project or Community homepage, search the user via Knowledge Base Search or User management to access the user’s summary
- Select the overall Community or appropriate project from the dropdown in the upper right
- Select the Add note or rank in the lefthand menu
- Select the Custom rank to apply from the dropdown menu
- Feel free to add a comment, which can utilized via Filters and Views
- Click OK to save
Access user’s summary to add Project and Community scoring
How to enable custom user event automation
Use Centercode's scoring best practices
The Delta Test available in your portal contains User and Feedback Macros for you to utilize. A Macro is a single instruction that expands automatically into a set of instructions to perform a particular task. In this use case, we're adjusting the user score. The User Macro provided grants users +1 point for logging in daily. The Feedback Macros provided grant users +points for providing verified Issues, Ideas, and Praise.
These macros simply need to be activated if your Project is based on the Delta Template, which distills decades of collective Delta testing experience and proven methodologies into a framework. Feel free to adjust any settings and preferences to suit your needs.
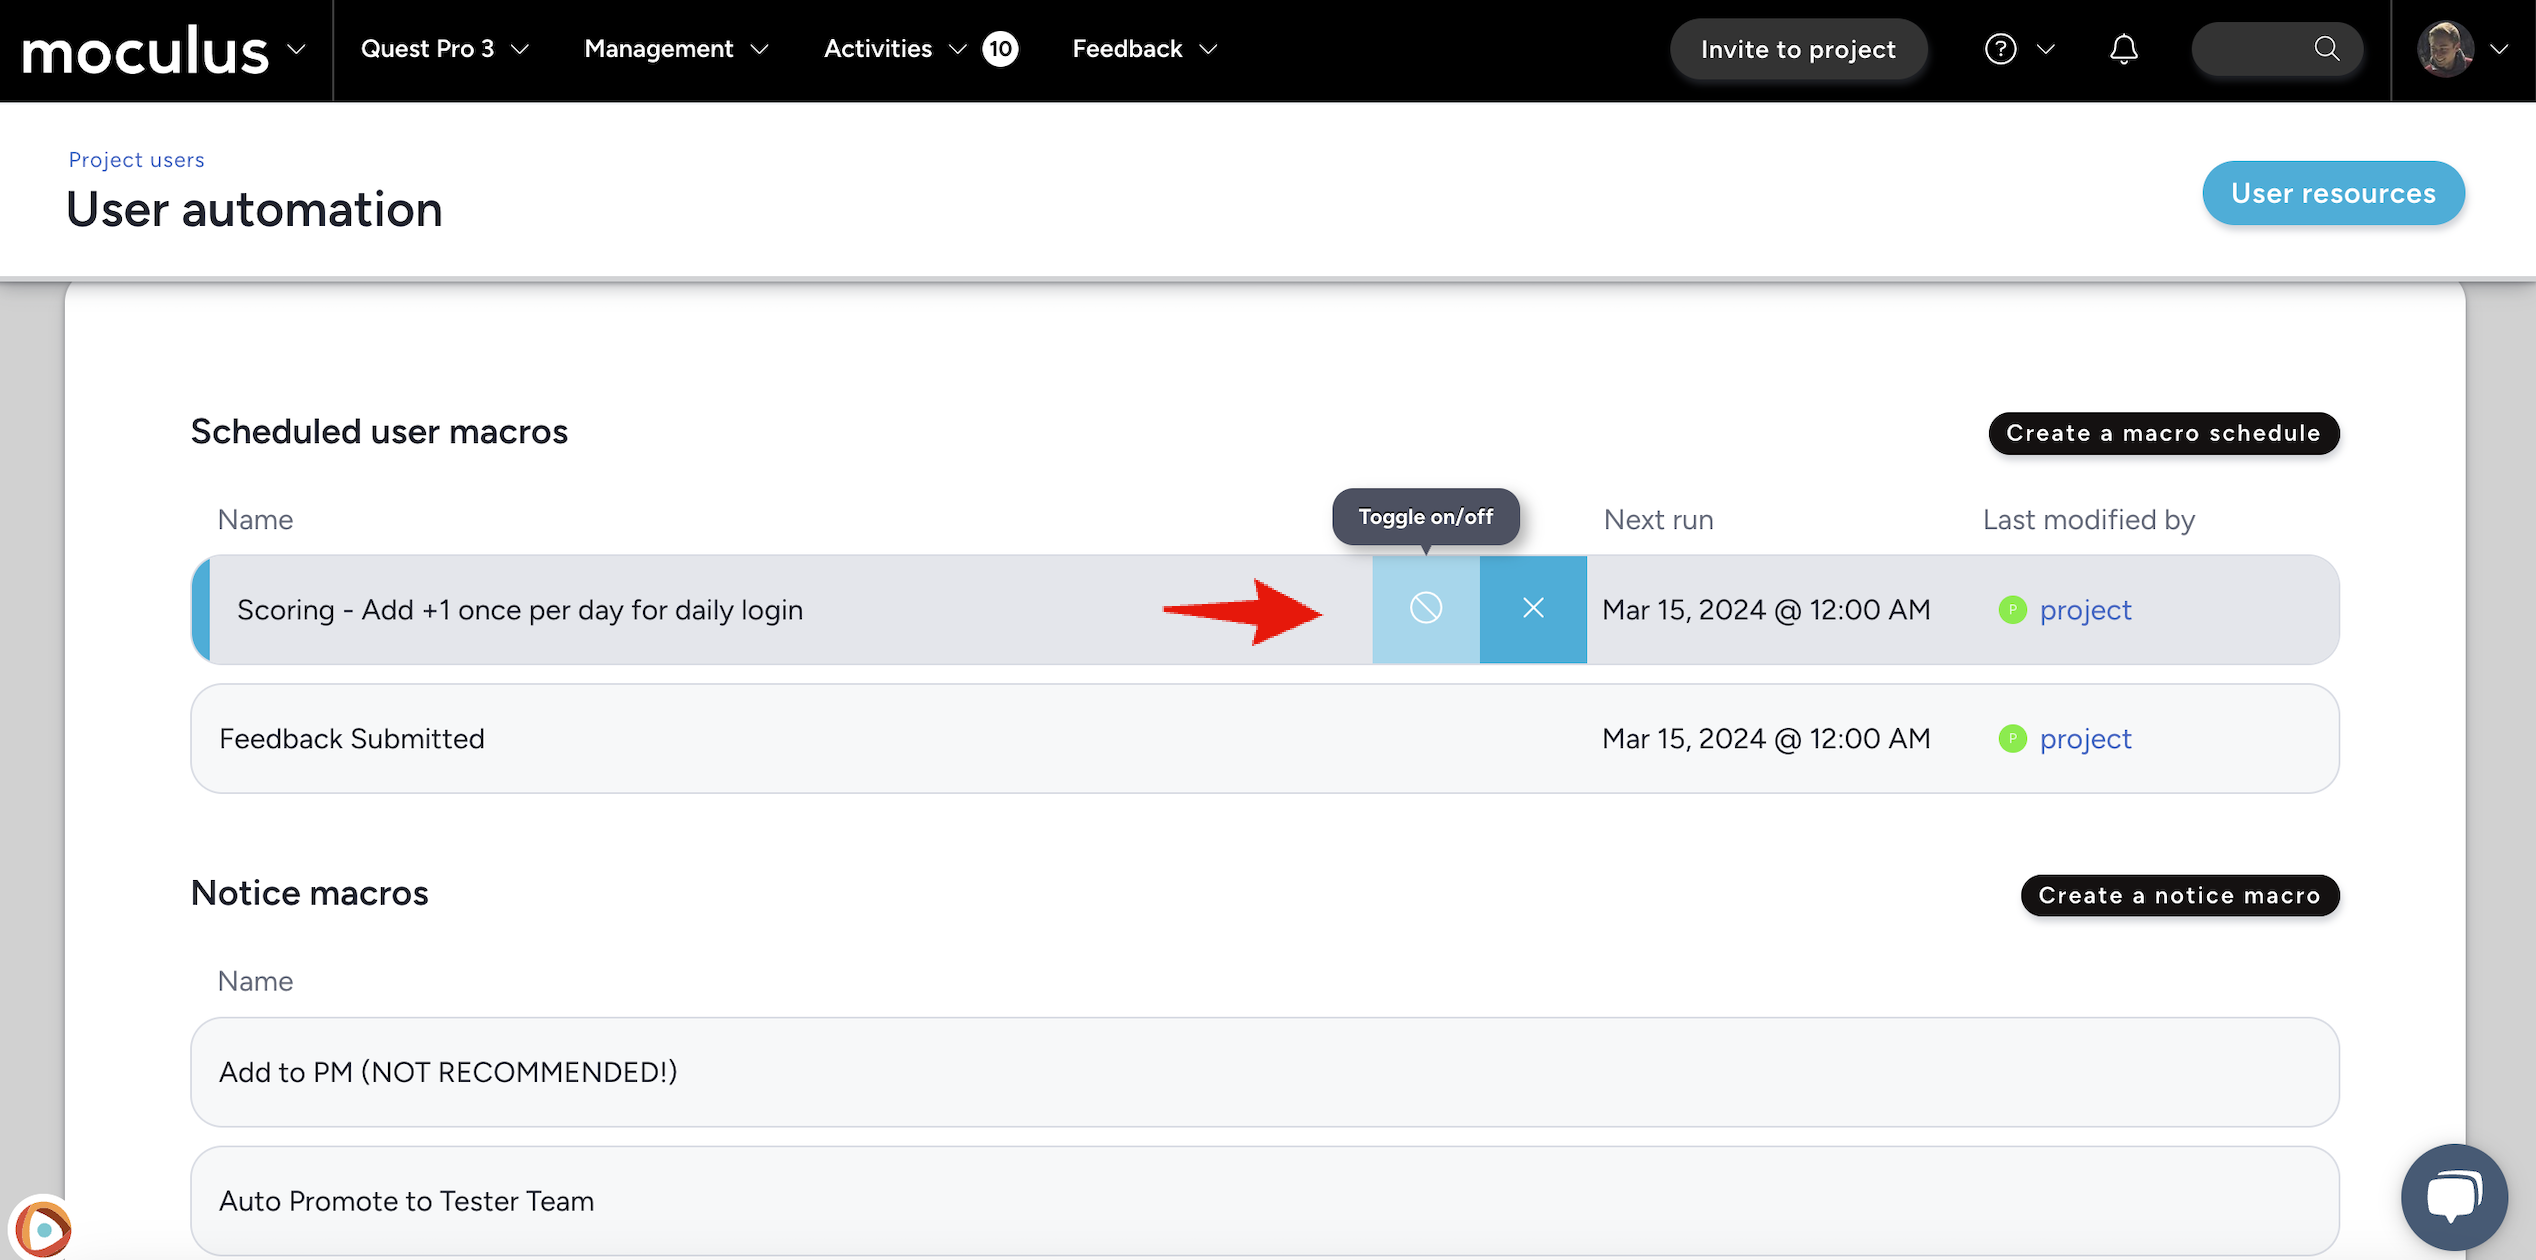
To activate or edit User macros:
- Click Management > Users > Project users
- Click User automation
- Click Create a macro schedule to create a new scheduled macro (if desired)
- Hover over and click Toggle Status to toggle a macro between Active and Inactive (bar will be darker grey and italicized)
To activate or edit Feedback macros:
- Click Management > Project configuration > Feedback types
- Click on the desired Feedback type
- Click Automation
- Click Create a macro trigger to create a new triggered macro (if desired)
- Hover over and click toggle status to toggle a macro between active and inactive (the bar will be darker grey and italicized)
Activate provided macros to start scoring users!
Creating your own custom user event scoring system
If you'd like to create your own Custom user event scoring system instead of utilizing the one provided in the Centercode project template, you must create your own Macros and Automation. This is considered an advanced configuration and requires an understanding of Macros, Automation, and Filters.
What is a Macro?
A macro in Centercode is a singular object that performs a sequence of predetermined outputs or actions. Macros can be used to automate repetitive tasks and save time by performing those tasks at a click, on a schedule, or on certain events. In this example, you're creating a Macro to apply a Project or Community score to your users. Note that Macros don't run by themselves. They need something to tell them when to run, like a schedule, trigger, Notice, or other event. Repeat sections 1 and 2 below until you've completed your Project's scoring system.
You can find the Macros FAQ here.
1. Creating Macros
The first step in creating your own scoring system is to create your Macros. This is what you want to happen based on events, which will be in the following section.
From your navigation bar Management menu:
- Click Project configuration > Feedback types
- Hover over the Feedback Type and click the Modify pencil
- Click Resources
- Click Create a macro
- Check the Add rank option, choose the scope and rating
- Click Submit
2. Creating Macro Triggers
Now that your Macros are created, you must configure the events in which you want your macros to trigger.
From your navigation bar Management menu:
- Click Project configuration > Feedback types
- Hover over the Feedback Type and click the Modify pencil
- Click Automation
- Click Create a macro trigger
- Complete the required fields. It's important that these are configured correctly. Please reach out to Centercode Support through live chat if you're unsure of your configuration.
- Macro - apply the Macro from section 1 above
- Filter - create or apply an existing filter. This is the condition to be met in which your Macro is executed.
- Trigger Rate - Set On Submission or On Modify
- On Submission refers to the Macro being executed in relation to the Filter when the feedback is initially submitted. For example, a tester indicates that they're unable to continue testing one of your product's features.
- On Modify refers to the Macro being executed in relation to the Filter when the feedback is changed by a project administrator. For example, an admin adjusts a feedback ticket once they've verified its Severity.
- Click Submit
Note: The macro schedule is identical to the Macro trigger, but differs in its Trigger rate. You're allowed to select Hourly, Daily, Weekly, or Monthly, as well as start Time and Date.
Merging custom user scores
Merging Custom user events updates every instance of the old Custom user events, causing user scores to be recalculated based on the new value. This offers great flexibility when scaling your Custom user event system to meet the evolving goals of your growing Delta program or when simply cleaning up your list as a matter of housekeeping.
Example merging scenario
Merging Good Effort (+15) into Actively Engaged (+20) will update any pre-existing Custom user events and points for any instance of Good Effort (+15) previously granted to users.
Tester A - Community points - 40 points
- 2x Good Effort (+15)
- 1x Average Participation (+10)
Good Effort (+15) merged with Actively Engaged (+20)
Tester A - new Community score - 50 points
- 2x Actively Engaged (+20)
- 1x Average Participation (+10)
To Merge an existing Custom user score:
- Click your Community logo > Community configuration > Custom user scoring
- Hover over the cell of the Custom user score you'd like to merge (Note: some default Custom user scores are not available to remove or merge)
- Merge to update the selected rank to a new value if desired
- Merged Custom user scoring will update every use of the old Custom user score, causing user scores to be recalculated based on the new value.