This article applies to Team and Legacy editions.
This article covers Centercode's integration tool to allow Centercode to send emails and basic POST requires to an internal system outside Centercode. This serves as an alternative to Centercode's first-class Jira integration tool, which requires basic authentication through the web to your Jira instance. Jira's documentation for this function can be found here.
This tool heavily leverages Centercode's dynamic tag functionality. Dynamic tags are used to represent information that can vary each time an external destination is executed.
Accessing Feedback External Destinations
- From the project home, click Management
- Select Project configuration
- Select Feedback types
- Mouse over the desired feedback type and click Modify (pencil icon)
- Select External destinations
- Click Create an external destination
Requirements For Use
Use of the feedback external destination feature requires an extensive knowledge of the system(s) to which you are sending the feedback data, as well as its applicable technologies. These technologies may include:
- The inner workings of an HTML form.
- The capabilities of a system’s web services.
- The email capabilities of the receiving system or individual.
- An understanding of networking limitations or restrictions may also be necessary since many internal systems are not publicly available.
And finally, you may also want to have:
- A firm understanding of Centercode Feedback Types, as well as an understanding of Feedback Workflow, may also be necessary because feedback workflow is used to trigger an external destination.
Note: A Centercode user account having project manager access is required; feedback external destination is a feature available to all Centercode enterprise and standard edition customers.
Feedback Type Overview
Feedback types in Centercode are designed to collect various types of user input, most commonly issues and ideas. This document focuses on the issues feedback type, but the same principles apply to all others.
Unlike other forms in Centercode, feedback includes a customizable workflow, allowing you to:
-
Define ownership of feedback items.
-
Establish procedural rules from submission to closure.
-
Configure specific statuses to communicate with external systems.
To relay feedback information to an external system, Centercode uses an external destination, which determines how and where the data is transmitted.
Understanding External Destinations
An external destination in Centercode defines how the system communicates with external platforms. This includes connection details and the specific data being transmitted.
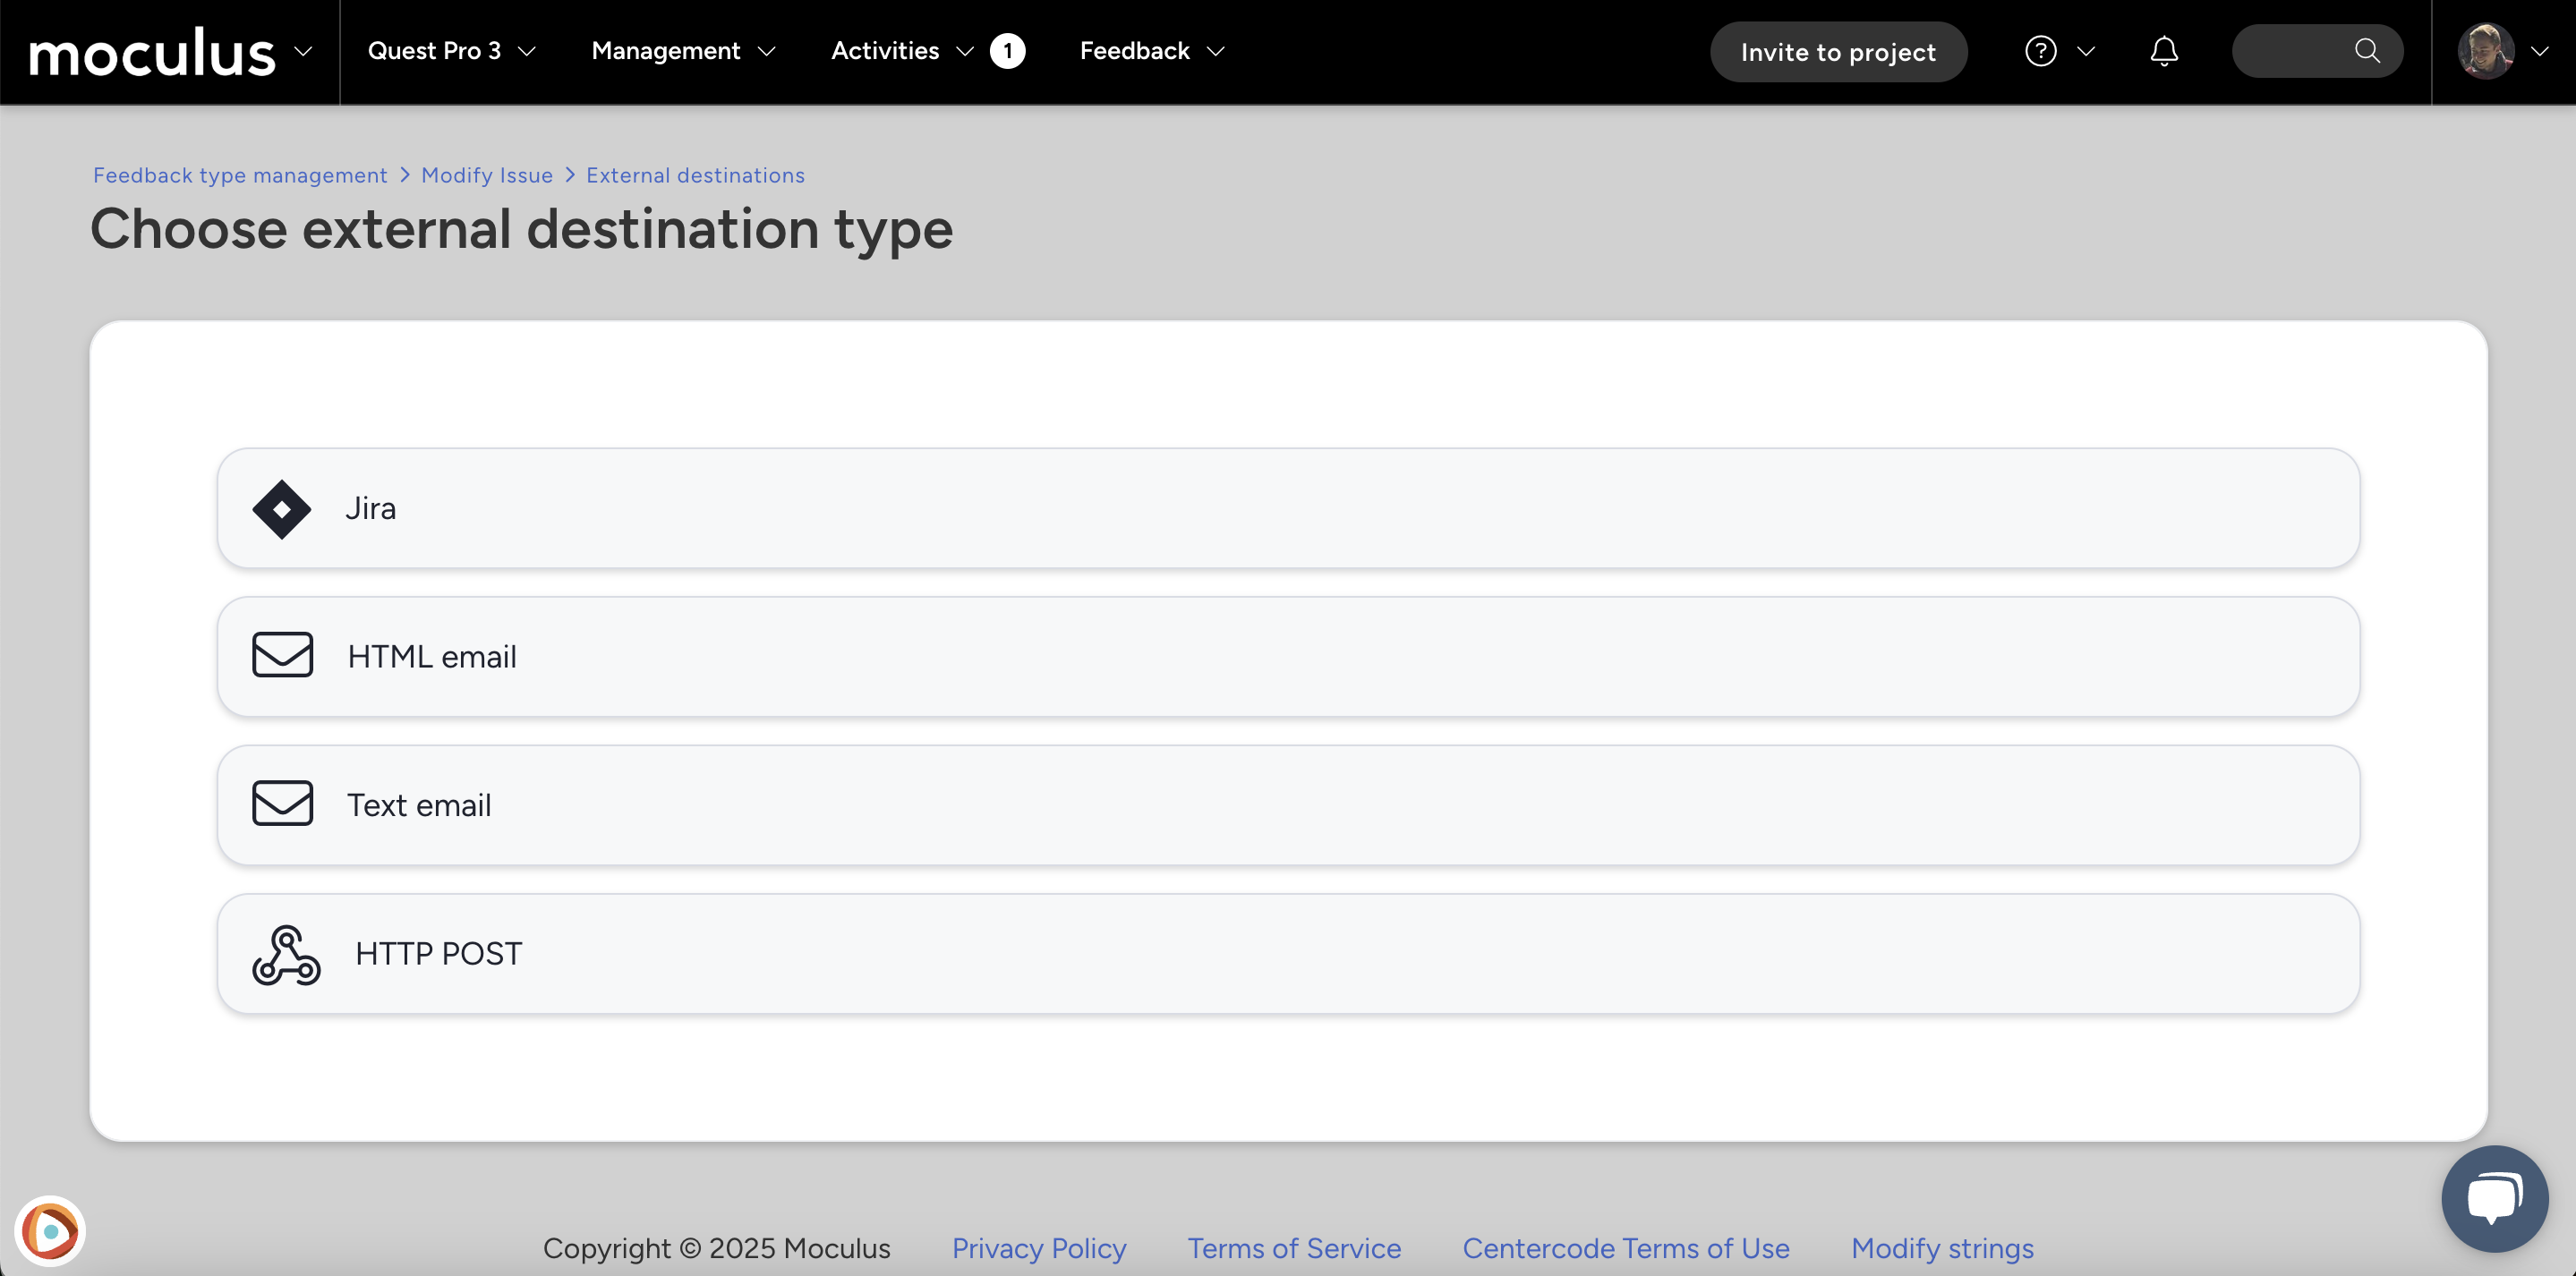
Centercode supports two types of external destinations:
-
Email: Sends information via email in either plain text or HTML format. This method is one-way only, meaning Centercode cannot receive replies from the external system. It serves as an alternative to Centercode’s built-in Jira integration. -
HTTP Post: Simulates a web form or web service interaction, enabling both data transmission and response retrieval. This method is useful for capturing reference IDs (e.g., Bug ID) from an external system within Centercode.
Important Considerations for HTTP Post
When an HTTP POST external destination is triggered:
-
The Centercode implementation server connects directly to the external system's web form or web service.
-
The end user’s browser remains connected to Centercode, not the external system.
-
If the external system is behind a firewall, server-to-server firewall rules may be required to allow communication.
Configure a New Email External Destination (Alternative to the First-Class Jira Integration)
- Click either HTML email or Text email
- Complete the required fields to configure the email template that Centercode will send to the inbox of your system. It's recommended to include dynamic tags in the subject and body of your email.
Title: Refers to the name of your integration only for identification purposes (does not impact your email).Recipient Email: Refers to the email addresses that will receive your emails.- Each address that you define here will receive its own individual email message, so these addresses will not be exposed to each other.
From name: Refers to the name that is sending your email.From/Reply email: Refers to the email address that's sending your email.Subject: Refers to the subject line of your email. You may include dynamic tags.Email content source: Choose between the standard email template format or raw HTML.Body: Refers to the structure of your email body. Please include dynamic tags.
Note: Some issue tracking systems use the "From email address" to identify a posting account.
Customization options
Included files: Any files attached to your feedback form will be included with your email message as a file attachment.
Note: This will only include files up to 10 megabytes.Send as text: Will eliminate the WYSIWYG editor from this page and will replace it with a plain text box. This option will also change the defined format of the resulting email message.Wrap dynamic fields: Some systems have a limit to the number of characters that can exist on any one ‘line’ within an email message. If your system has this limitation, then choose the Wrap dynamic fields option, then specify the maximum number of characters that can exist on one line of text in the Character wrap value field.
Note: This option should only be used if your system has this limitation, and should be set to a value within a few characters of your system’s limit. The lower this value, the more work the email sender will have to perform to process your message.
(Legacy) HTTP POST External Destination
The Legacy HTTP POST external destination allows Centercode to send data to external systems using HTTP POST. This method is commonly used for integrating with technical interfaces such as REST and SOAP web services. While this feature remains supported, users with enhanced integrations should refer to the Enhanced Integrations documentation for additional capabilities.
Note: This method does not support dynamic ‘GET’ parameters or dynamic URL components.
Configuring an HTTP POST External Destination
-
Select HTTP POST.
-
Enter a Title to identify the external destination.
-
(Optional) If authentication is required, select Use sign-in and provide the necessary Username and Password.
-
Note: This login does not support forms-based or custom authentication. Alternative authentication methods must be implemented separately.
-
-
Define the Post URL, ensuring it is the correct endpoint for data submission.
-
Note: The URL for displaying an HTML form is not always the same as the submission URL. Check the
<form action=>tag to confirm.
-
Configuring Post Headers
Interfacing with an HTML form
When sending data to an HTML form, use the POST header field to format the request. The format follows Name=Value pairs, separated by &. If non-dynamic values are used, they must be properly URL-encoded.
Example: If a form includes the following fields:
-
Title:Centercode Feedback Type -
User:Static User "Joe_Smith" -
Create:Static Value "submit"
The post header would be formatted as:
Title=<dynamic_tag>&User=Joe%5FSmith&Create=submitInterfacing with a web service
For web services accepting HTTP POST requests, headers must conform to specific formatting rules:
-
The
content-typeheader is always set toapplication/x-www-form-urlencoded. -
All dynamic values are URL-encoded.
-
The only supported HTTP method is
POST;GET,PUT, andDELETEare not supported.
Tip: Multiple dynamic tags can be assigned to a single item within the post header.
&description=<dynamic_tag>%20<dynamic_tag>Handling Data Returns
It is possible to extract response data from the external system and store it in a Centercode feedback form. This is useful for capturing reference numbers or other key identifiers for later use.
Adding a data return
-
Click Add new dynamic data return
-
Enter a Title to identify the data return configuration
-
Provide a Regular expression to extract the desired value from the response text
-
Select the Form element destination to store the extracted value
-
(Optional) Define a Default value if no match is found
Tip: To restrict Centercode users from modifying returned values, configure the feedback form element with View access only.
Using Regular Expressions
Regular expressions (regex) help isolate specific data within response text. When designing a regex pattern, ensure the target value has unique surrounding characteristics to prevent accidental matches.
Example: Parsing the phrase "unique characteristics" within an HTML response requires identifiable markers to ensure accuracy.
For a comprehensive regex tutorial, visit Regular-Expressions.info.