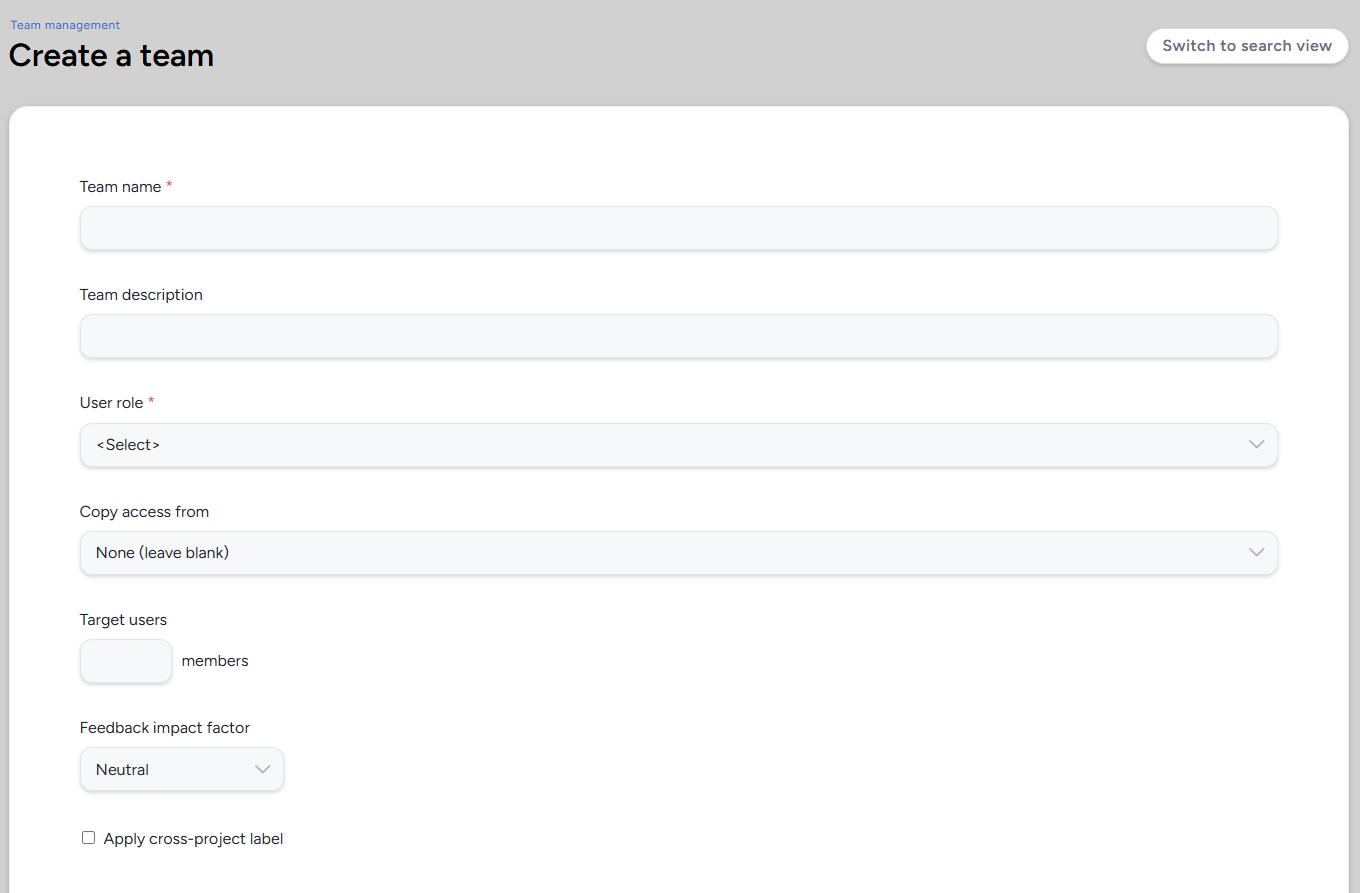
Team Details
Team Name (required): The name of the team as it will appear throughout the platform.
Team Description: An internal-only description of the team's purpose. Visible to admins only - not shown to users.
User Role (required): The role assigned to this team, which sets the default access level for every member. The roles available depend on whether you're creating a community or project team.
Copy Access From: Copies the access settings from an existing team in the current scope, including its user role, resource access, and feedback access. Select a team from the dropdown to pre-populate this team's access configuration. Leave blank to configure access manually.
💡 Ted Tip: I highly recommend selecting a team to copy access from rather than starting from scratch. Manually tracking down and assigning every resource and feedback permission to a new team is tedious and easy to get wrong. It's much faster to copy from a team with similar access and adjust from there.
Target Users: A numeric goal for how many users you want on this team. This is for your own tracking purposes only and has no effect on reporting or platform behavior.
Feedback Impact Factor: Controls whether this team's feedback receives additional weight when calculating the feedback impact score. Defaults to Neutral. See the Guide to Feedback Impact Scoring for a full explanation of how impact score weighting works.
Apply Cross-Project Label: Applies a community-level cross-project label to this team, allowing it to be grouped and tracked across projects for reporting purposes. Each label can only be applied to one team per project. See Cross-Project Labels Overview for more detail.
Team Members
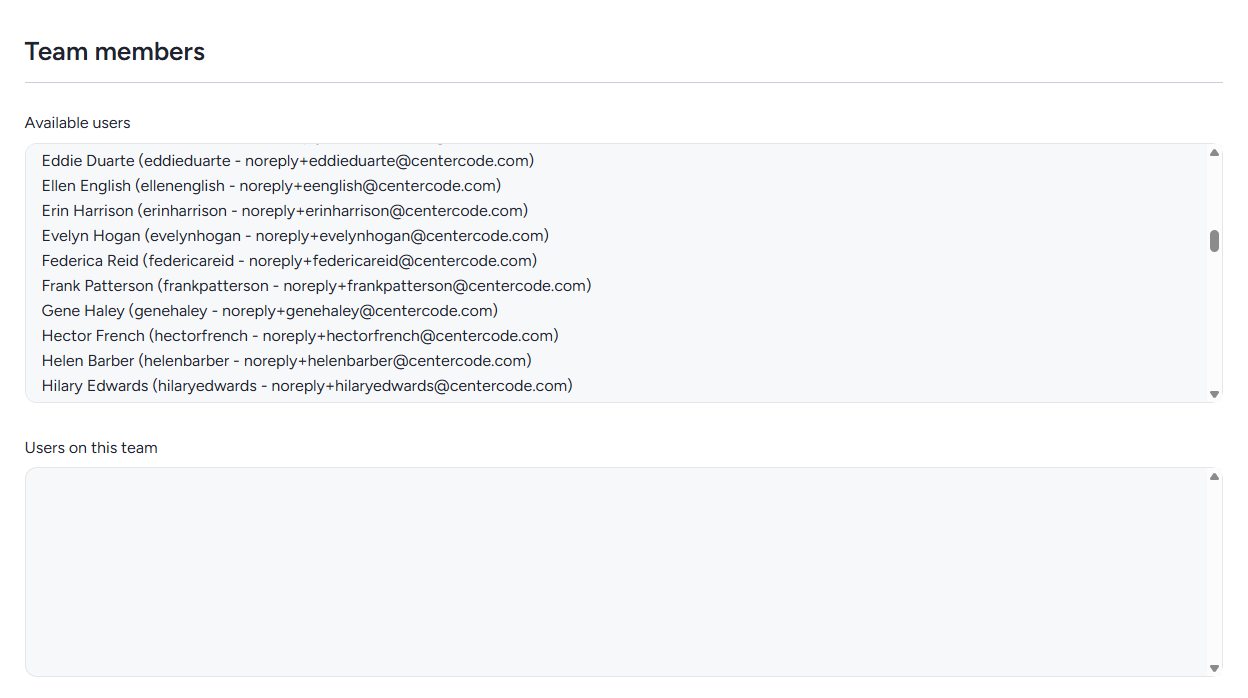
The bottom of the page lets you optionally add users to the team during creation. The left column shows available users in the current scope. The right column shows users currently assigned to this team.
Double-click a user in the left column to move them to the right column and add them to the team. Double-click a user in the right column to remove them.
The Switch to search/standard view button in the upper right can swap between two different interfaces you can use to find users.
💡 Ted Tip: I recommend skipping the Team Members section during initial setup. In most cases you'll be adding users to teams via recruiting, macros, or individual user summaries rather than manually here. Adding members one at a time is useful for small admin teams, but for participant-scale teams it's not the right tool.
Notes
- To add users to a team in bulk after creation, use the
Importfunction on the Team Management page. - Access settings can be updated after creation from the Team Management page.
- For a full breakdown of user roles at each scope, see What Are Centercode's User Roles and Access Levels?
- For more on how teams control resource access, see Centercode Basics: Understanding Centercode's Access Control.