Setting up a Google Cloud Project (Optional)
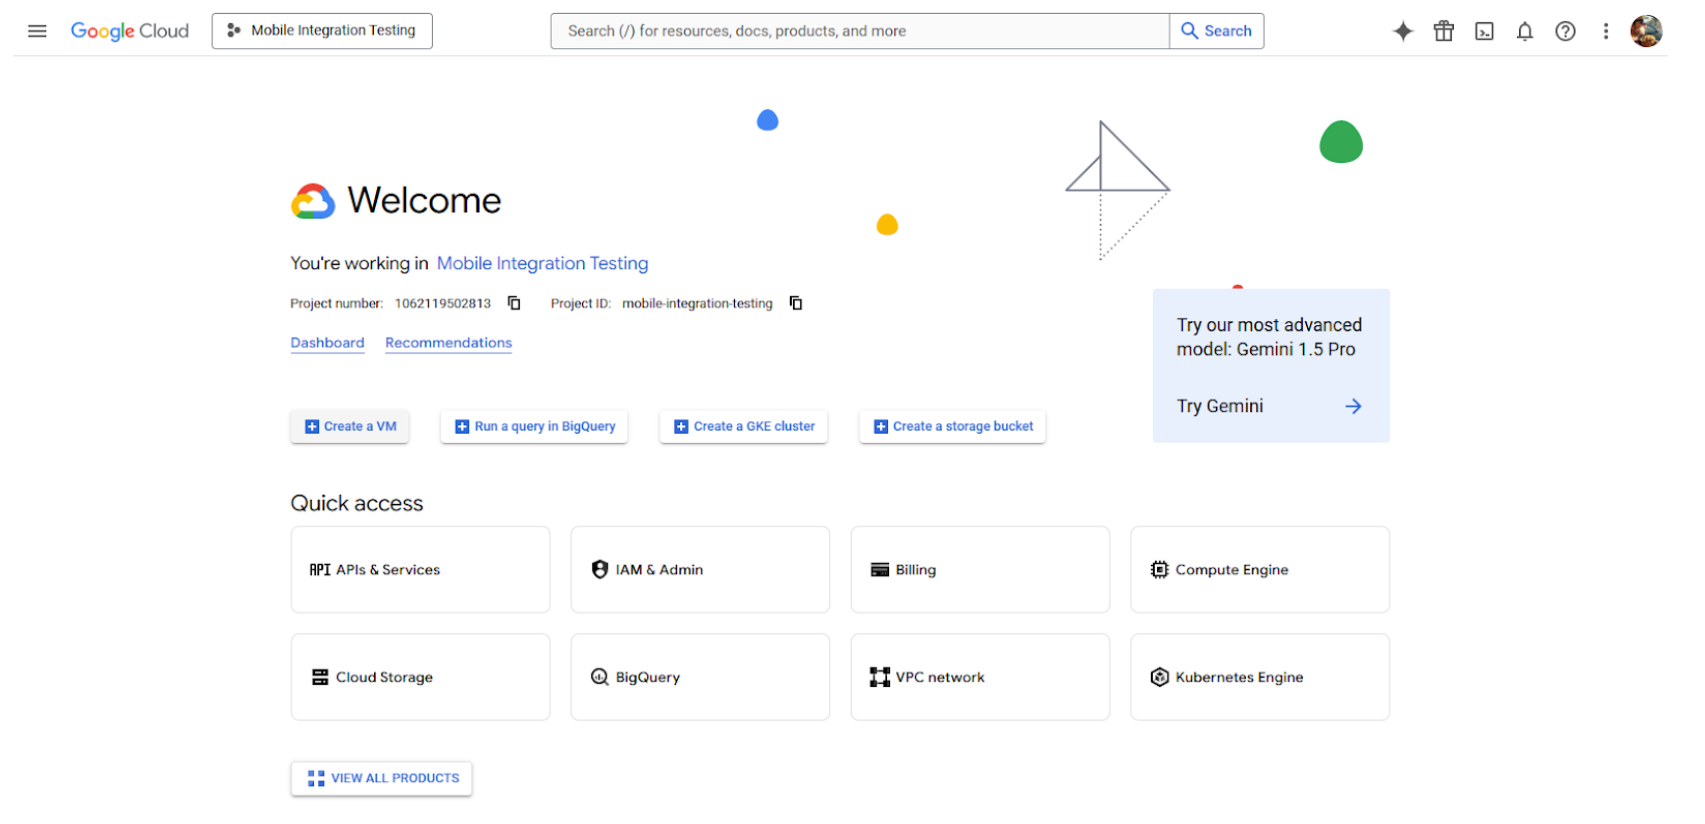
You probably already have a Google Cloud Project established for the app(s) you want to integrate with Centercode. However, if you don't, you might want to create one now to keep things more organized and secure.
Setting up your Service Account
From within your Google Cloud Project, you'll first want to create a dedicated Service Account for the Centercode Integration to use.
In the Quick Access section, navigate to IAM & Admin. You can also access IAM & Admin from View All Products and (likely) as a Pinned Product in the main hamburger menu.
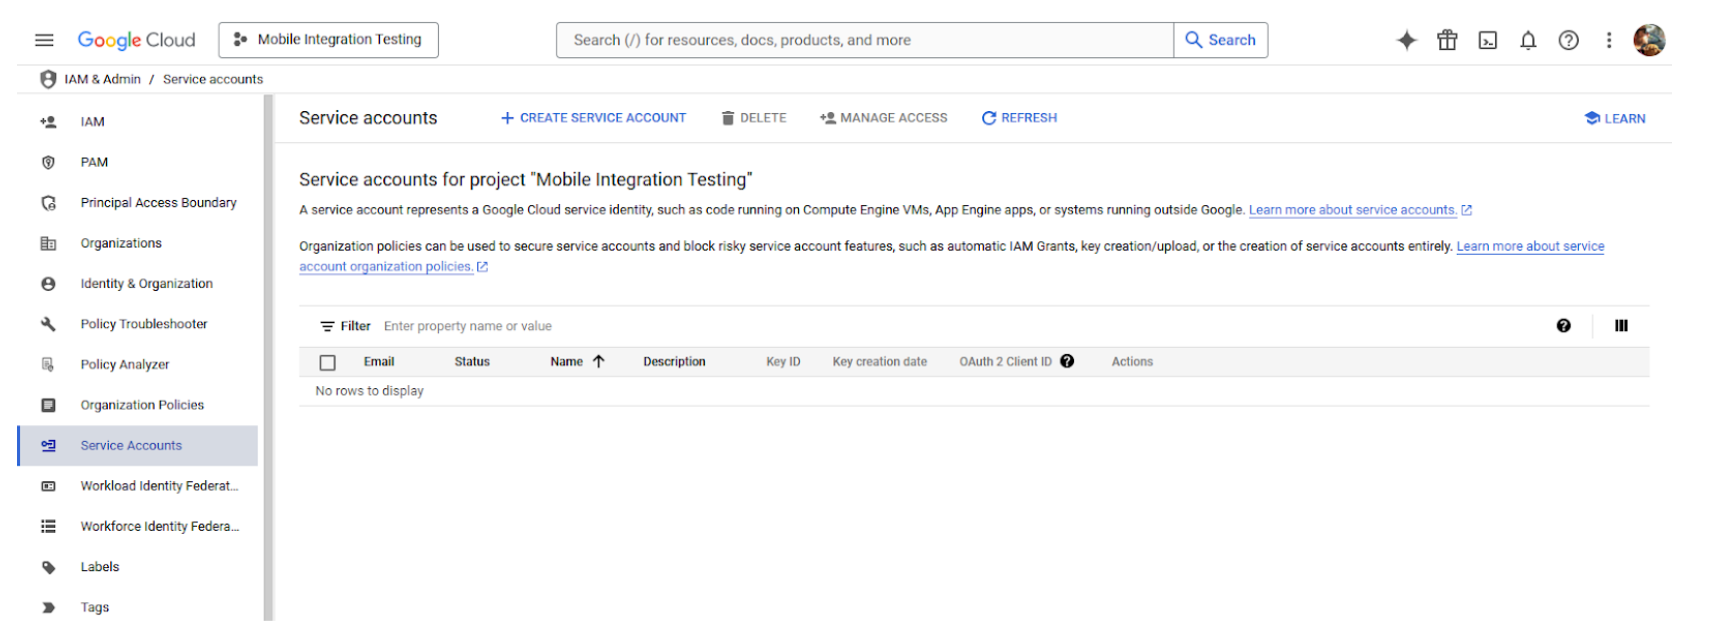
Once you're in IAM & Admin, select Service Accounts from the left-hand navigation menu, then click the + CREATE SERVICE ACCOUNT button.
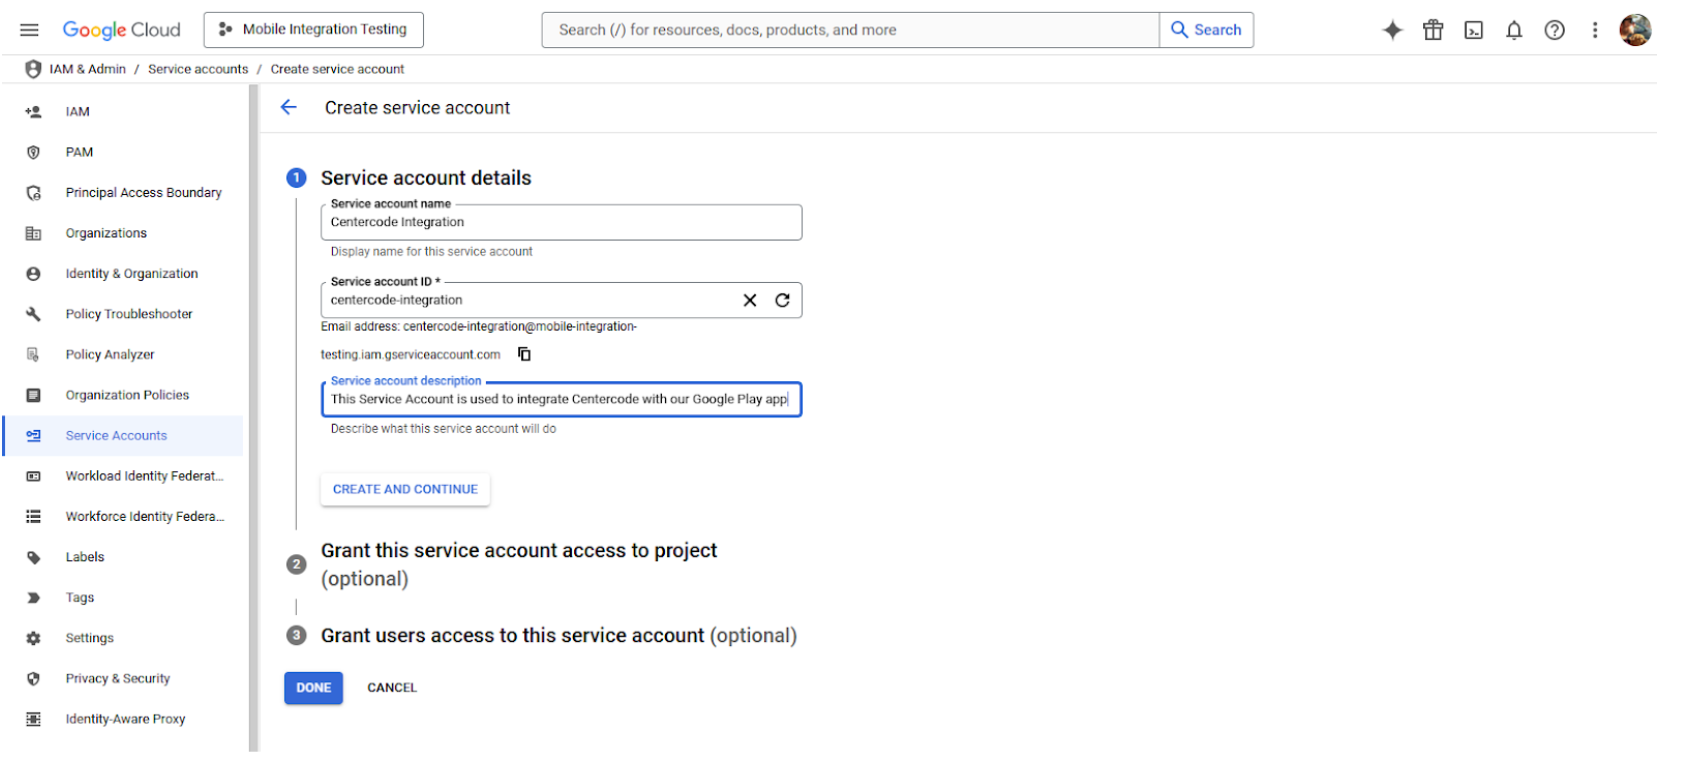
Proceed to filling out the Create service account form. You can skip steps 2 and 3 in that form.
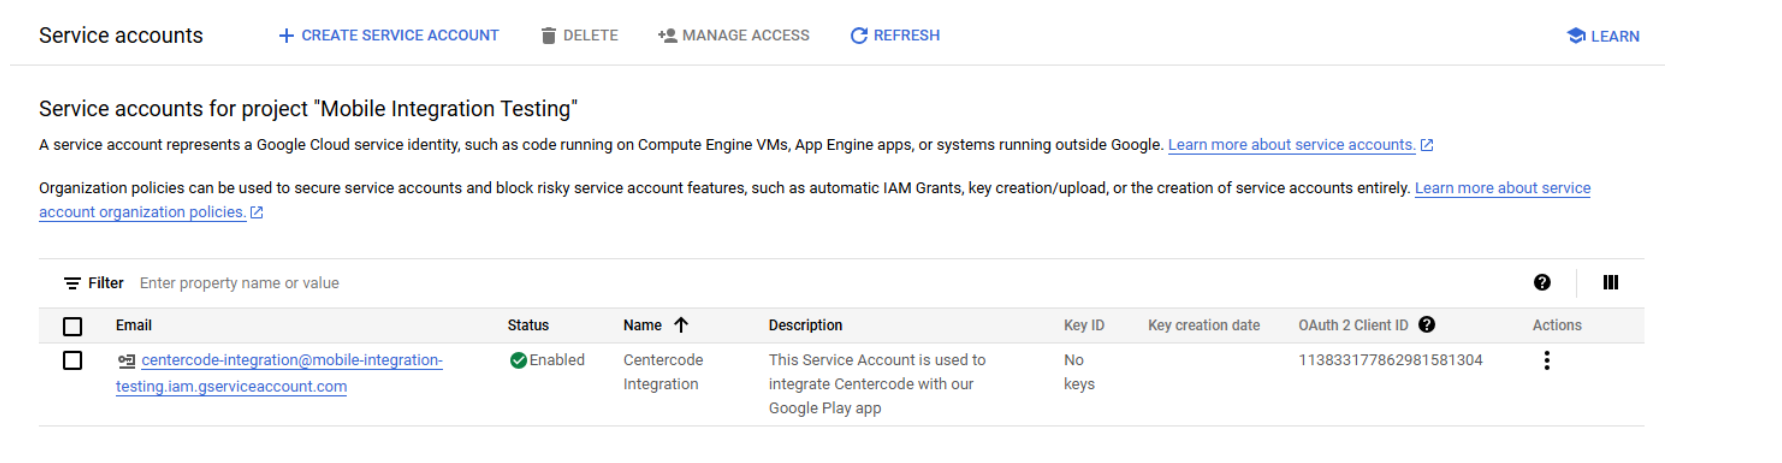
Once you've created the Service Account and it appears in your list of Service Accounts, click its email address to access the Service Account's management interface.
NOTE: You may want to copy this email address to a convenient location, because you'll need it later in this process.
From the management interface, click the Keys tab to create the credentials Centercode needs for the integration. Under the ADD KEY menu, select Create new key
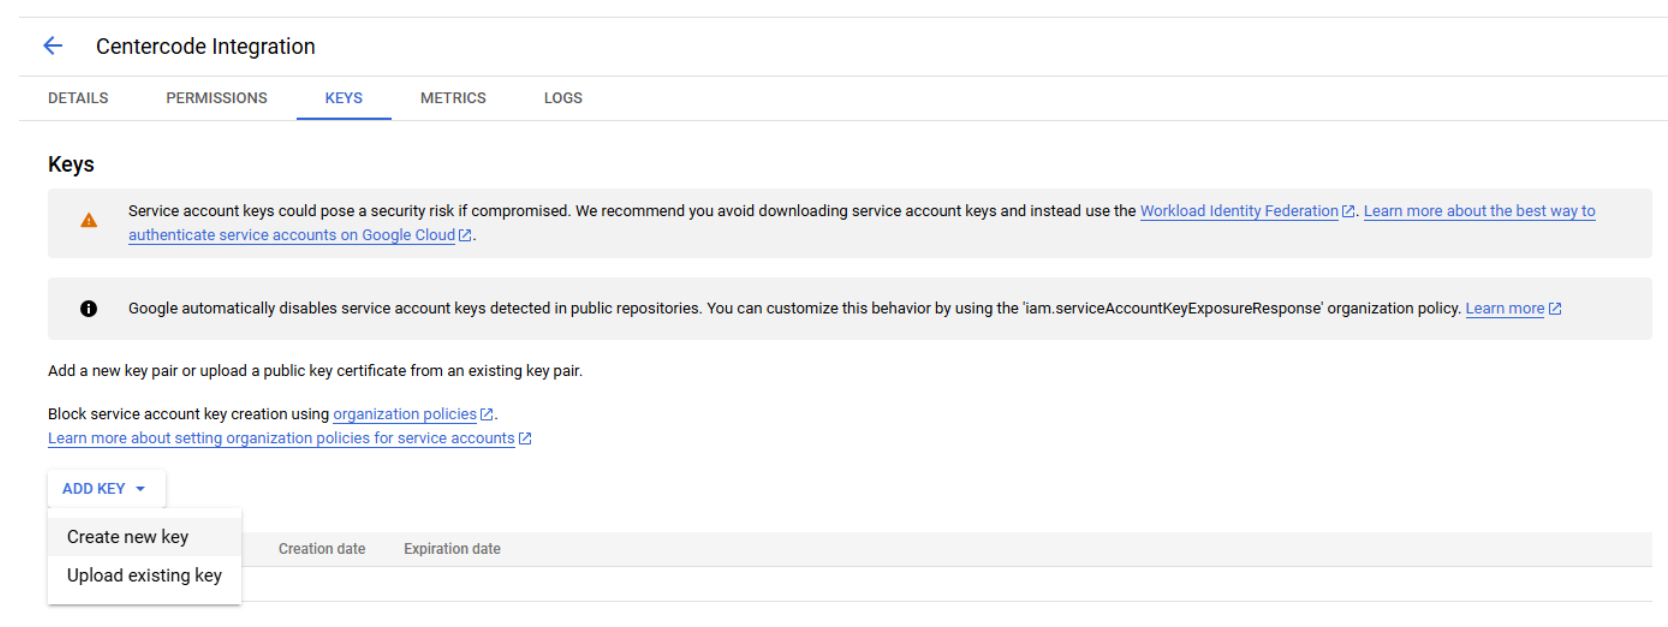
In the pop-up dialog, you need to select the JSON option. Centercode does not support P12 credentials.

You'll need to keep the JSON file you download until you've added your Google Play integration in Centercode's Integration Center.
Enabling the APIs
Now we'll ensure that your Google Cloud project has enabled the three APIs that Centercode needs:
- Google Play Android Developer API
- Google Play Developer Reporting API
- Google Cloud Identity API
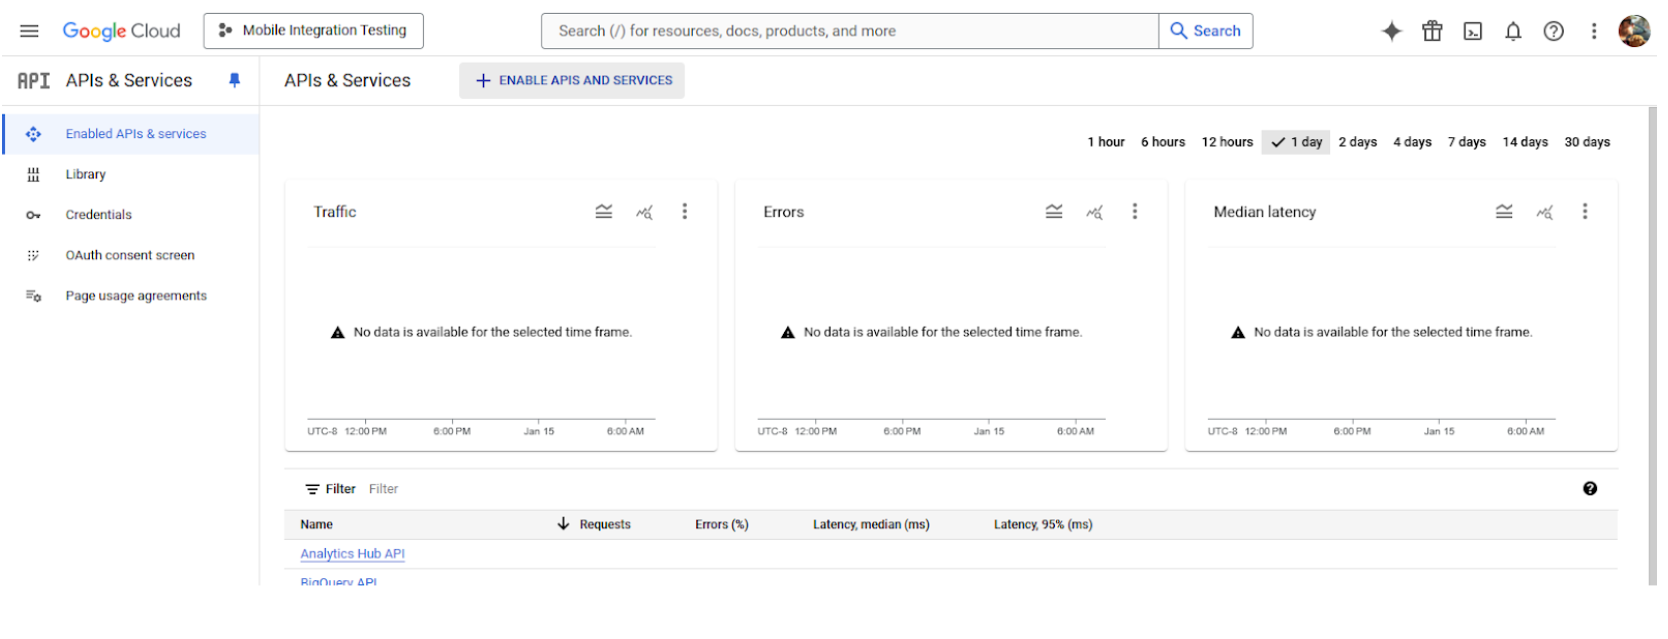
You'll want to go to the APIs & Services section of the Google Cloud console, which is accessible in the Quick access section of your Project's home screen, as well as the View All Products UI.
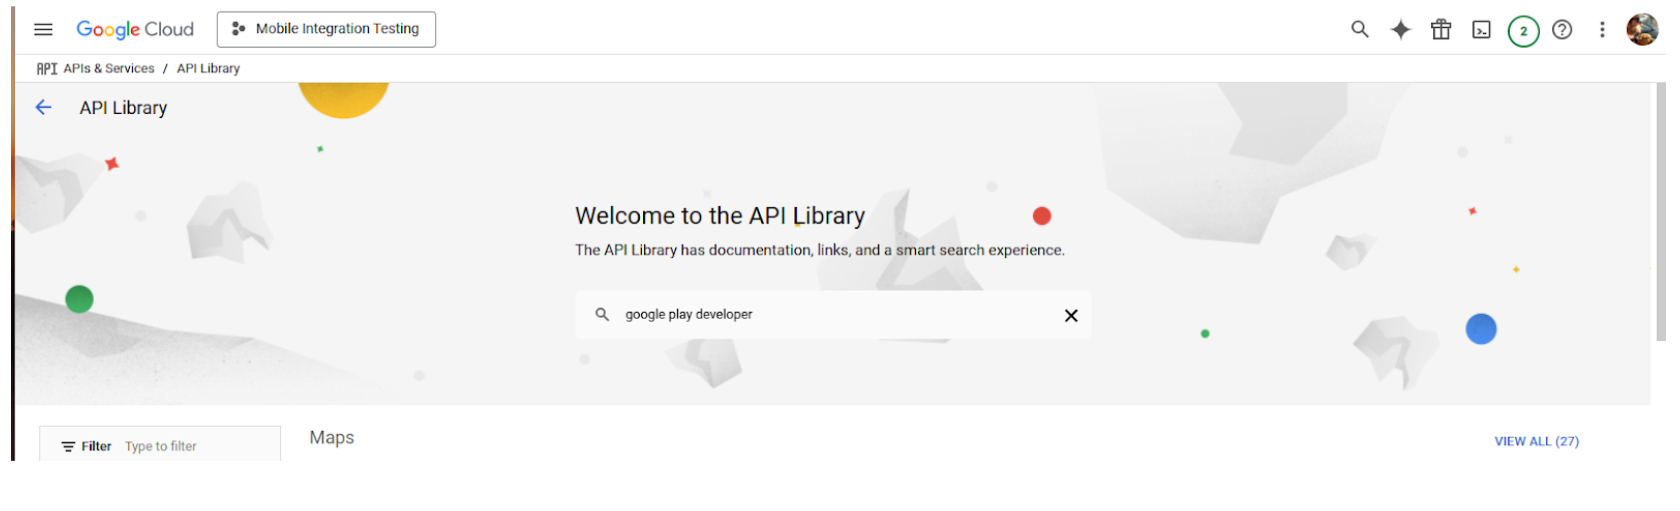
From here, click the + ENABLE APIS AND SERVICES button
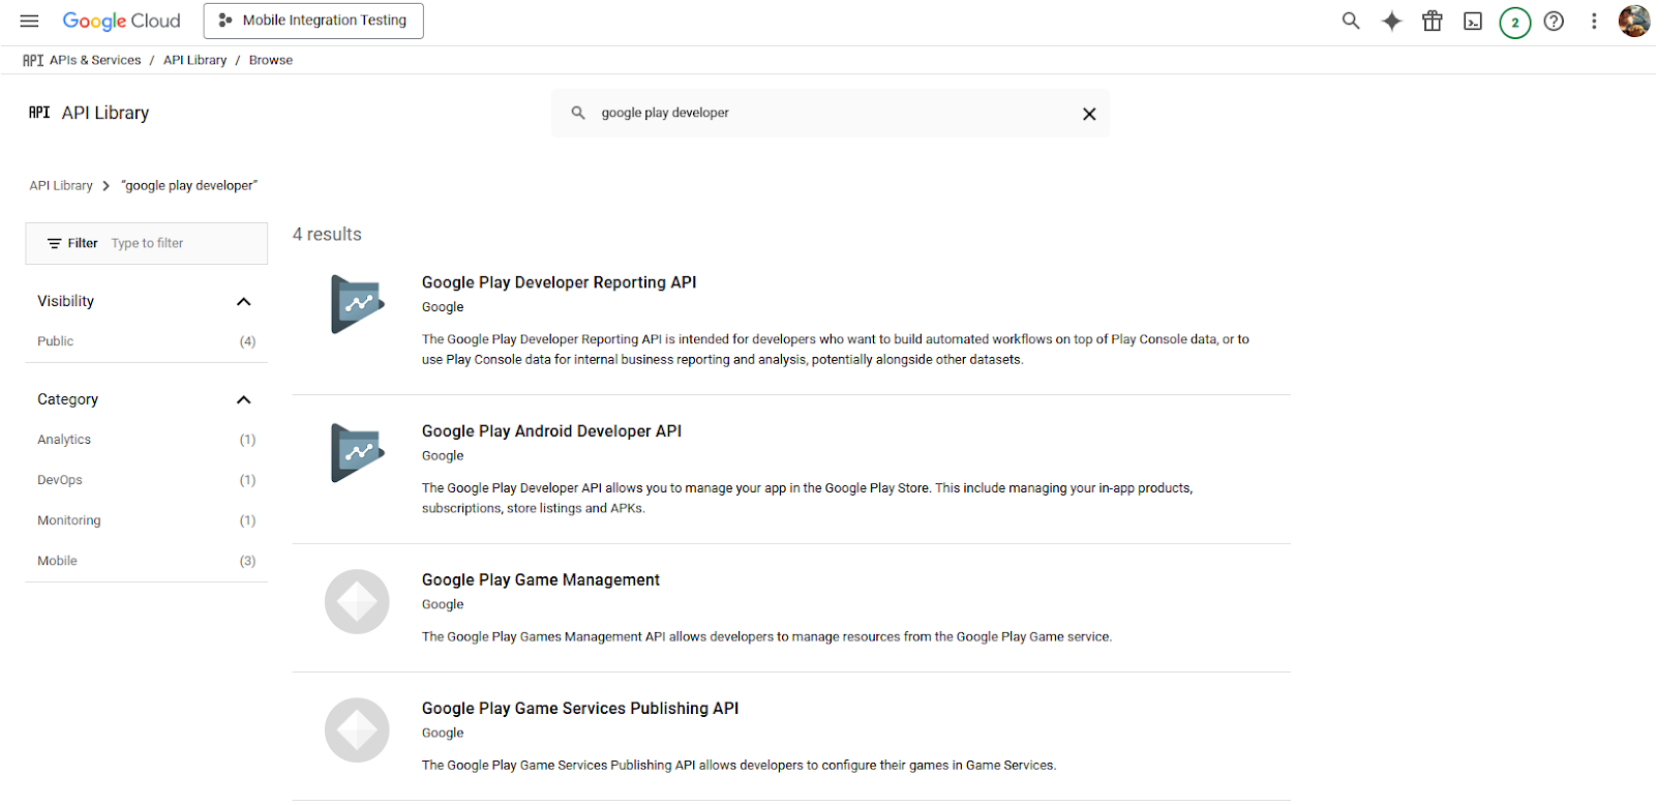
If you type google play developer into the search box, you'll get a filtered list of APIs
From this screen, you'll want to click on Google Play Android Developer API
Now, click Enable button to turn on this API for your project.
From the management page you're redirected to, click the Credentials tab. The Service Account you set up should appear in the Service Accounts section.
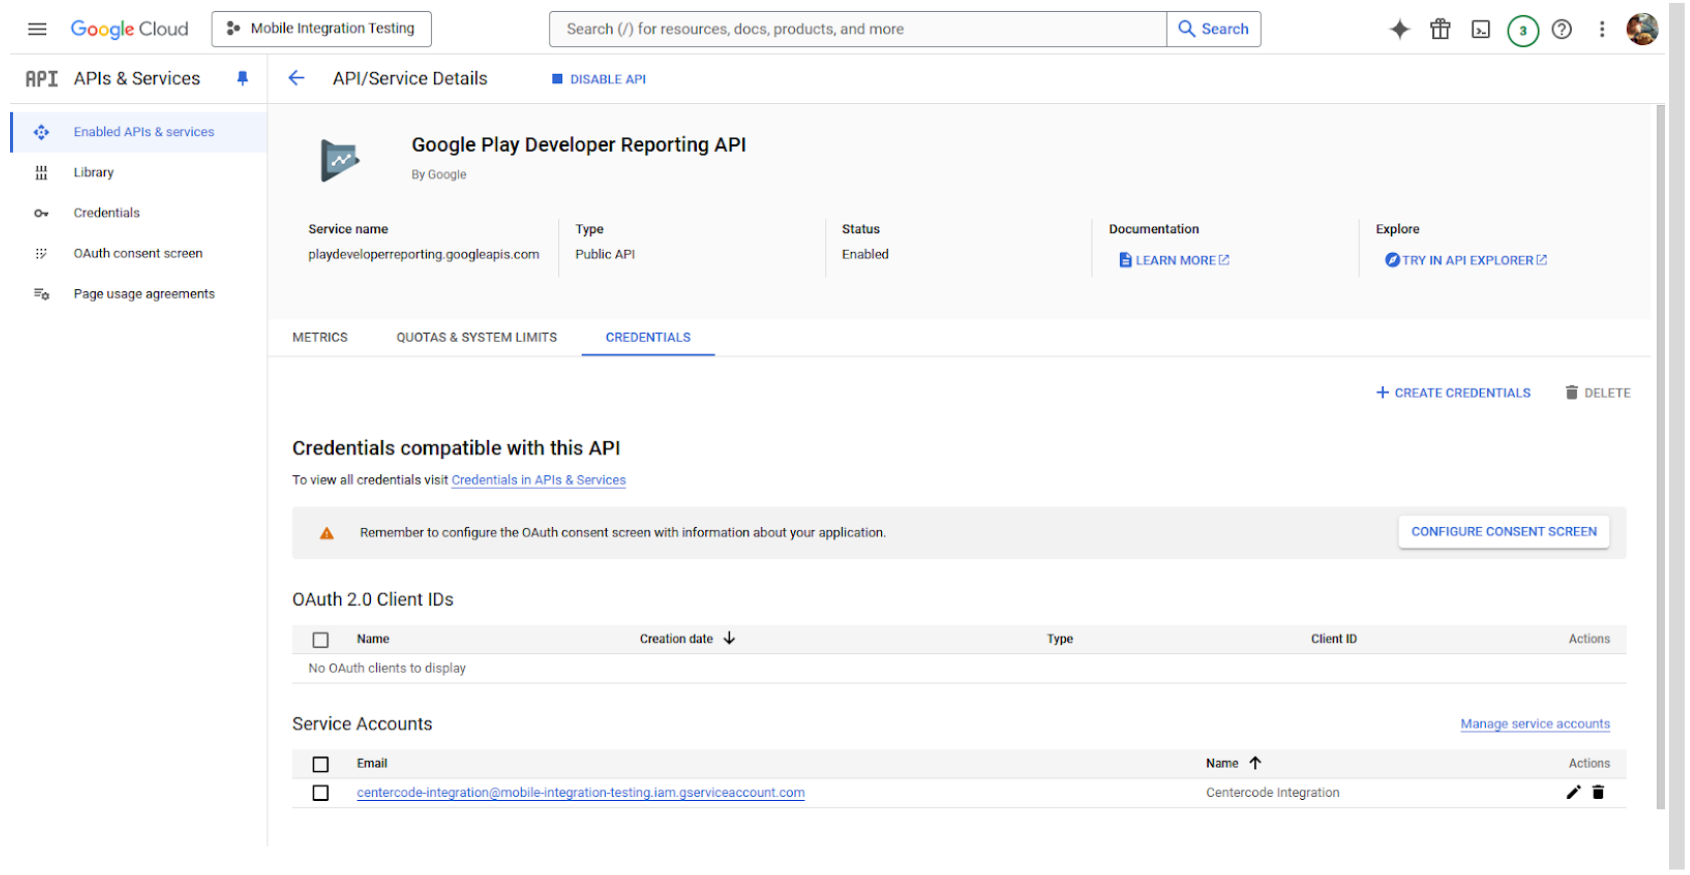
Once you've done that, go back to the filtered list of APIs and repeat the same process for the Google Play Developer Reporting API.
To add the Cloud Identity API, the process is similar, but either search for Cloud Identity or browse the list of Google Enterprise APIs. Once you find it, Enable the API and ensure your Service Account appears in the list.
(If, for some reason, Cloud Identity is not appearing in the API Library, you can try this link to get direct access for enabling it.)
Google Groups
Now we'll create an initial Google Group for use with Centercode's Google Play integration. For each Centercode Release Type you configure for Google Play automation, you'll need a separate Google Group.
NOTE: To keep things simple, we recommend not using these Google Groups for other purposes.
Creating your Testing Group
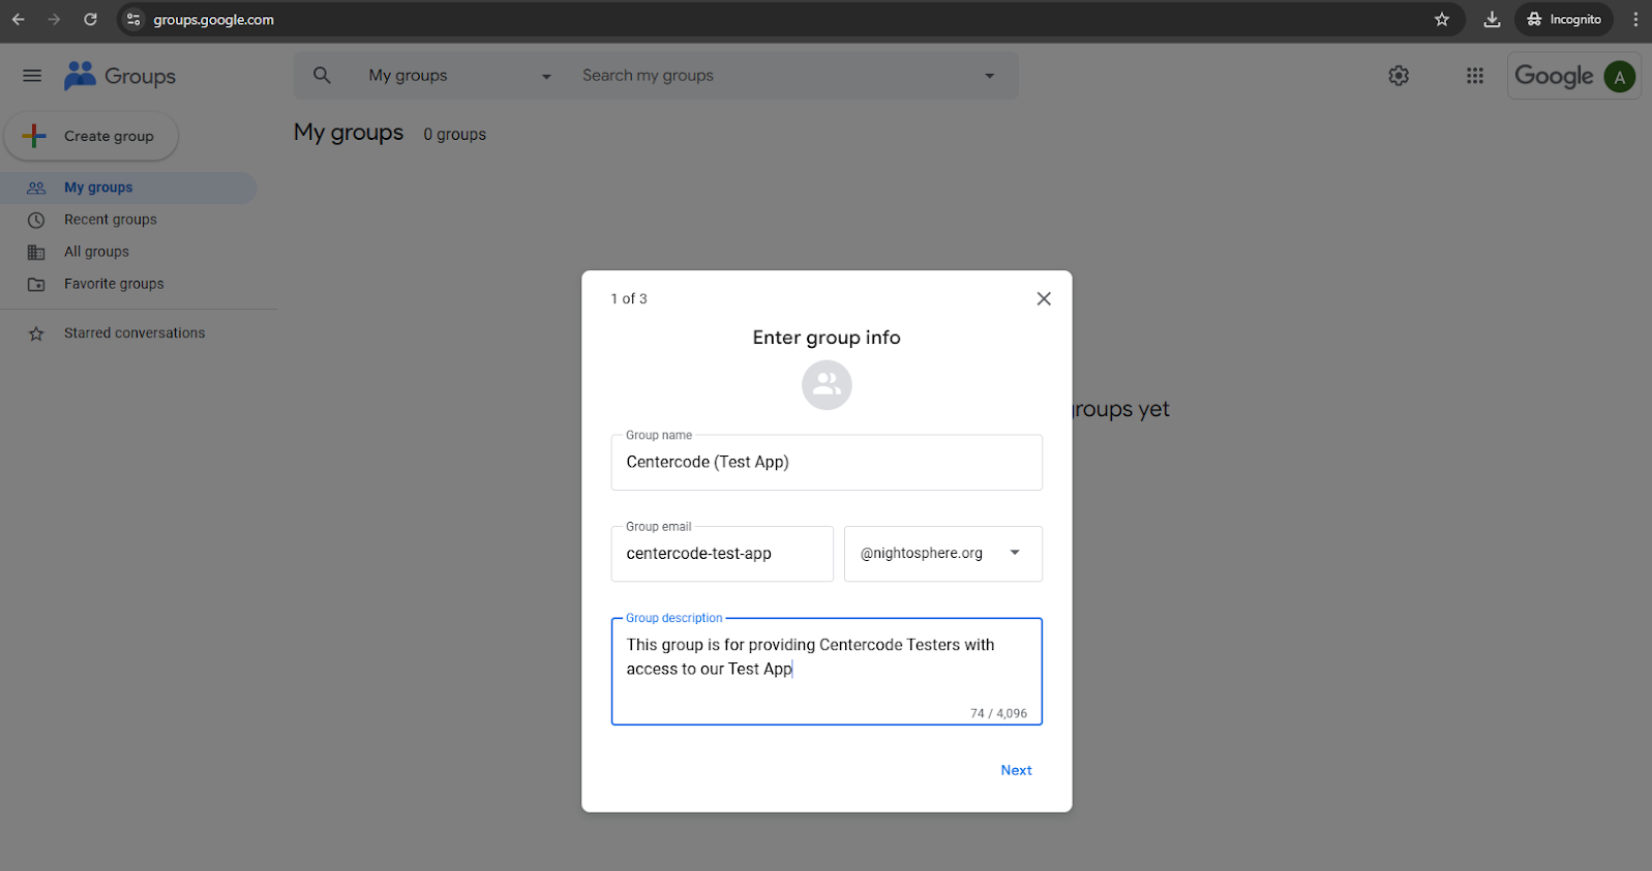
Navigate your browser to https://groups.google.com/ and click the Create group button in the left-hand navigation.
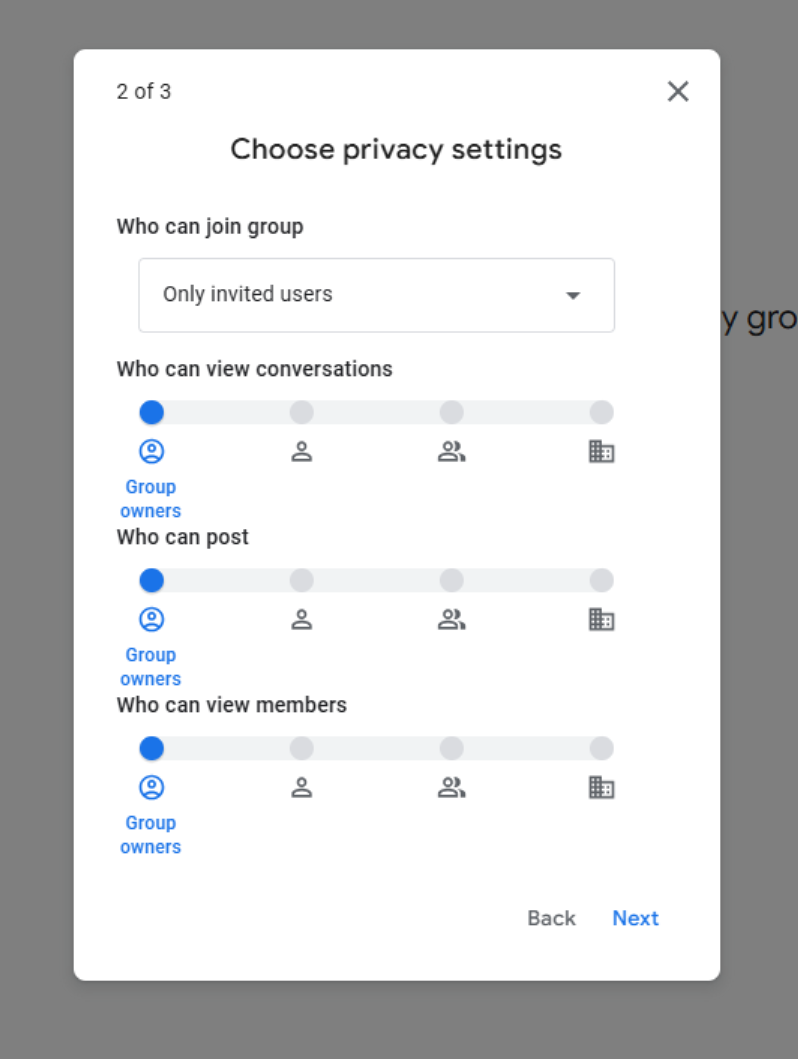
In the Step 2 of the wizard (Privacy Settings), we recommend making the following selections:
- Who can join: Only Invited Users
- Who can view conversations: Group owners
- Who can post: Group owners
- Who can view view members: Group owners
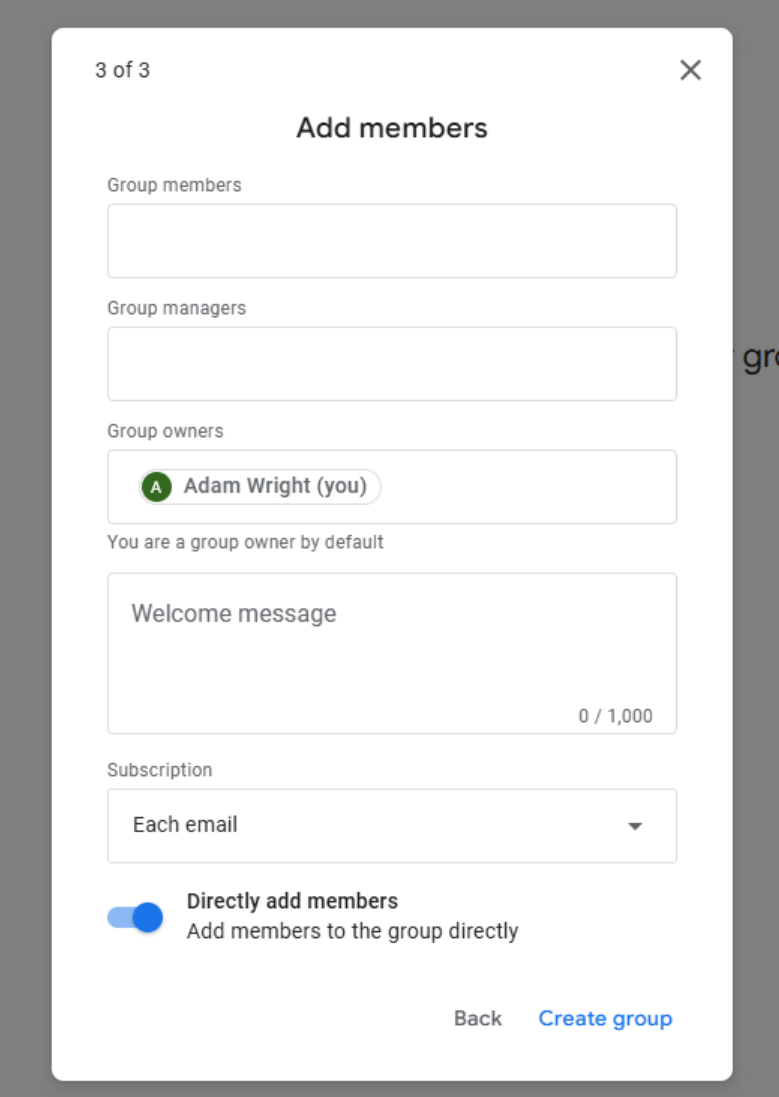
You can leave Step 3 (Add members) with the default settings and click Create Group
Additional Settings
Go to the Group after its creation, then navigate to Group Settings in the left-hand navigation.
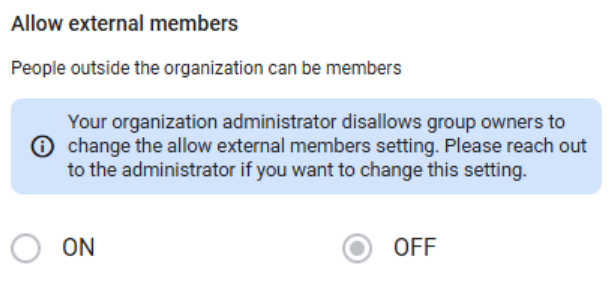
There are a variety of additional settings you may want to adjust on this screen, since this group isn't being used as a Mailing List, but the one you MUST change is Allow external members. This needs to be set to ON.
If you see a warning like this about Group Owners not being able to change the Allow external members setting, your Google Admin can either manually enable external members for this group in the Google Admin console or adjust the setting so that Group Owners can manage it.
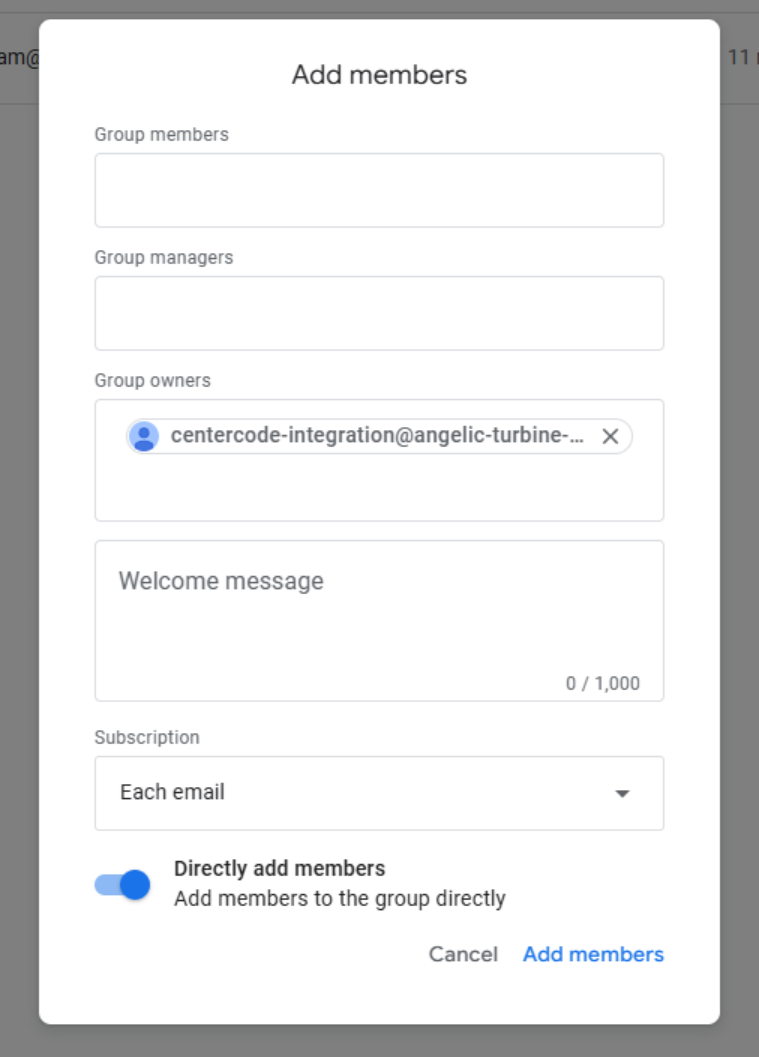
Once you can add external members to your new Group, you need to add your Service Account as an OWNER of this Google Group. Navigate to the People > Members interface from the left-hand navigation and click the Add members button at the top of the screen.
Now, add your Service Account's email address to the Group owners section and click Add members.
Now your Service Account will have the appropriate permissions for the API integration.
Google Play Console
We're in the home stretch of this setup process. We just need to make sure your Service Account has the appropriate access to your Google Play App(s) and set up a Closed Testing Track for Centercode to use.
Adding your Service Account
Log in to the Google Play Console and select Users and permissions on the left-hand navigation.
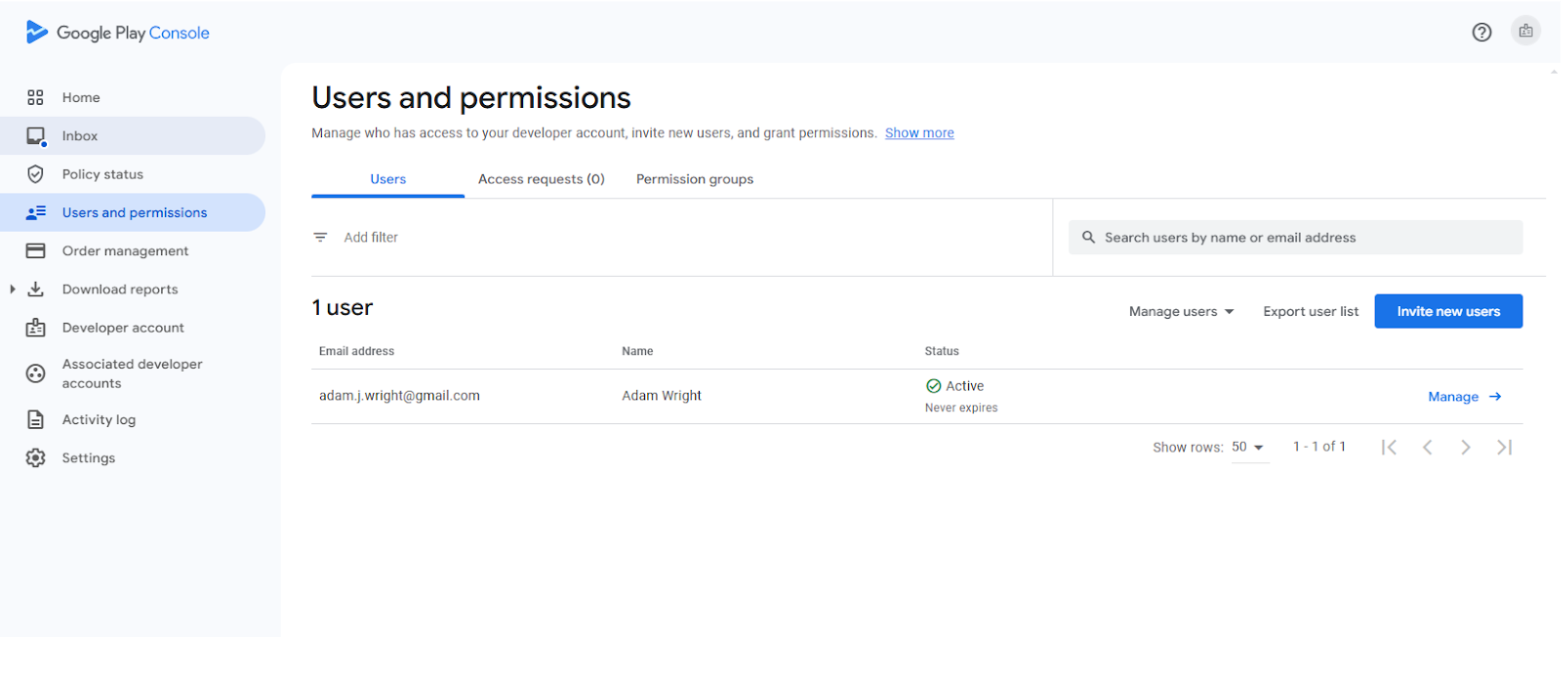
Now click the Invite new users button and enter your Service Account's email address in the Email address field.
If you want to control permissions on an app-by-app basis, click the Add app dropdown, select the desired app(s) and hit Apply. When prompted to select Permissions, the Centercode Integration needs:
- View app information
After selecting the Permissions, complete the process by clicking on the Invite user button.
Note that you also could have set up permissions on an Account-wide basis. That is up to you.
Creating your Closed Testing Track
As our final step, we'll want to create a Closed Testing Track for Centercode to use in the integration.
Technically, you could use an existing Closed Testing Track and just add your new Google Group to its Testers configuration, but it's probably useful to keep separation between Centercode releases and other closed testing you may want to perform.
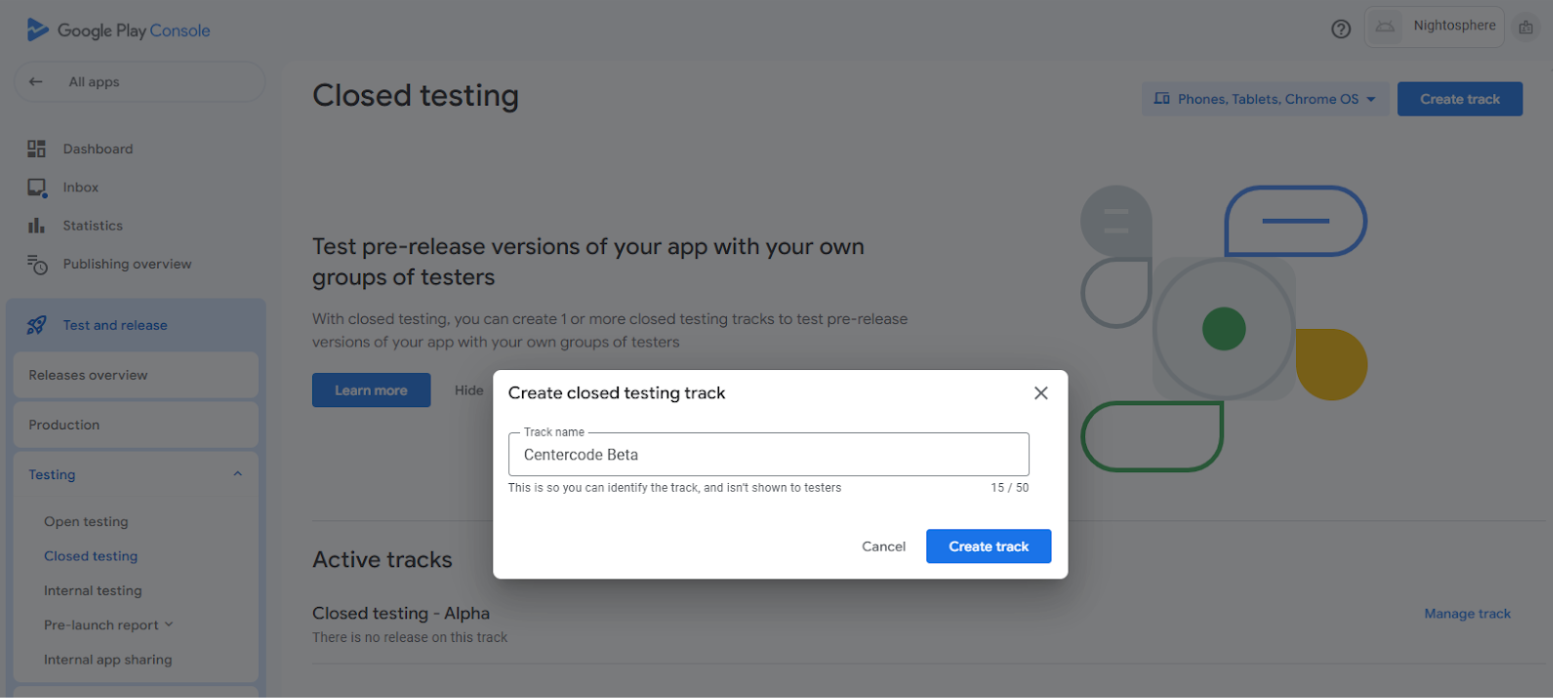
From the Google Play Console home screen, navigate to the App you want to manage, then select Test and release > Testing > Closed testing in the left-hand navigation menu

Click the Create track button at the top of the screen, then enter a Track name for your new closed testing track and submit that form.
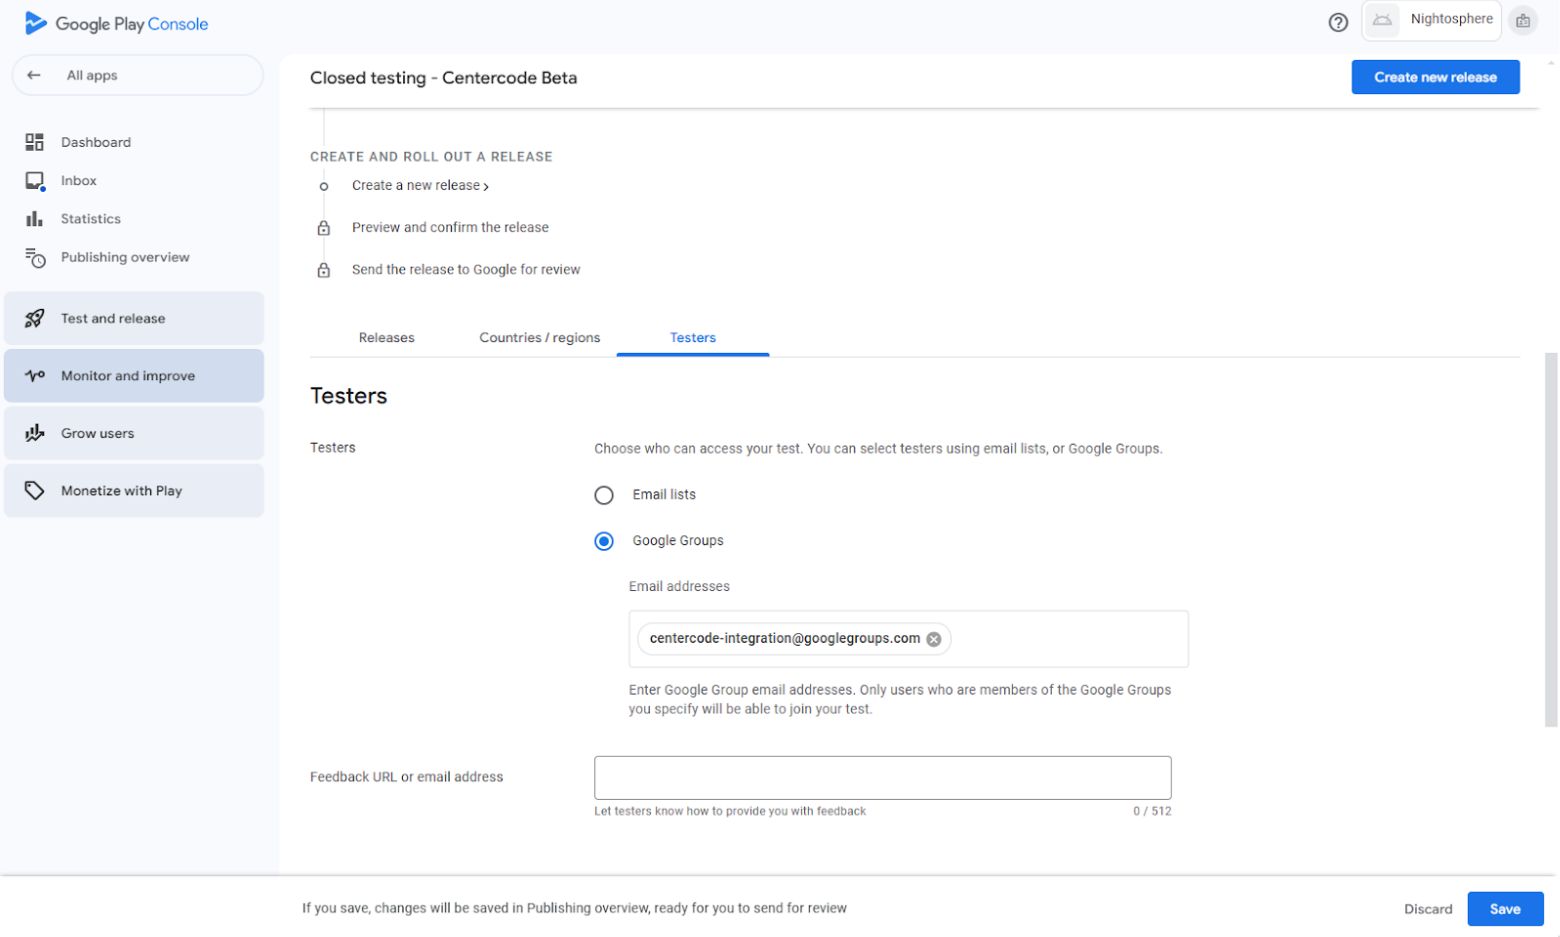
After submission, you'll be taken to the management page for your new Closed Testing Track. Find and select the Testers tab.
Now you'll want to change the Testers option to Google Groups and add the email address for the new Google Group you created earlier in the Email addresses box and hit Save.
Now once you publish these changes for your App, your new Google Group will have access to any releases you publish on this new testing Track.