Table of Contents
How Do I Change Global Fonts?
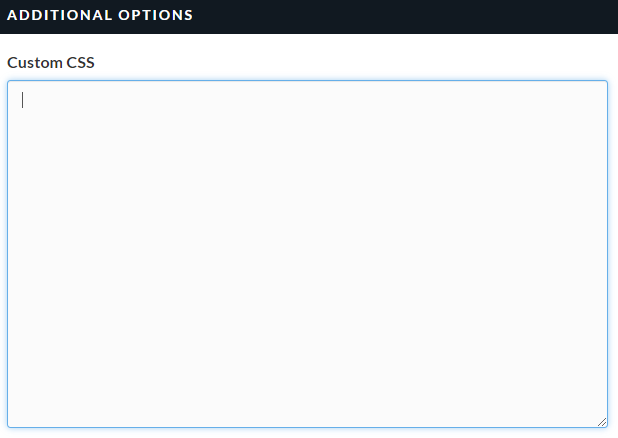
Global font customization is done via custom CSS in the Visual Theme tool. Community Manager access is required.
1. Click Community logo > Community configuration > Visual themes.
2. Select your current visual theme (indicated by a checkmark).
3. Scroll to the bottom of the page.
4. Add your custom CSS into the provided area.
5. Click Submit.
How Do I Edit My Favicon?
First, prepare your image file:
1. Create or crop an image with your logo or branding.
2. Save it as a JPG, JPEG, PNG, GIF, or BMP file.
3. Use an ICO generator (Centercode recommends Dynamic Drive) to convert your image to an .ICO file.
Then apply it to your theme:
1. Click Community logo > Community configuration > Visual themes.
2. Select your theme from the Names list.
3. Under Customize your site details, scroll to the Favicon heading.
4. Click Select a file, then Choose file and select your .ICO or .PNG image.
5. Click Submit to confirm.
I Can't See the Changes I've Made
You may be viewing a cached version of the site. A hard browser refresh forces your browser to load a fresh copy of the page. Use Ctrl+F5 on Windows or Command+Option+R on Mac.