Table of Contents:
How to reset an account's password
The Centercode platform offers two methods to reset account passwords.
- Users may trigger password reset from your Centercode implementation's homepage:
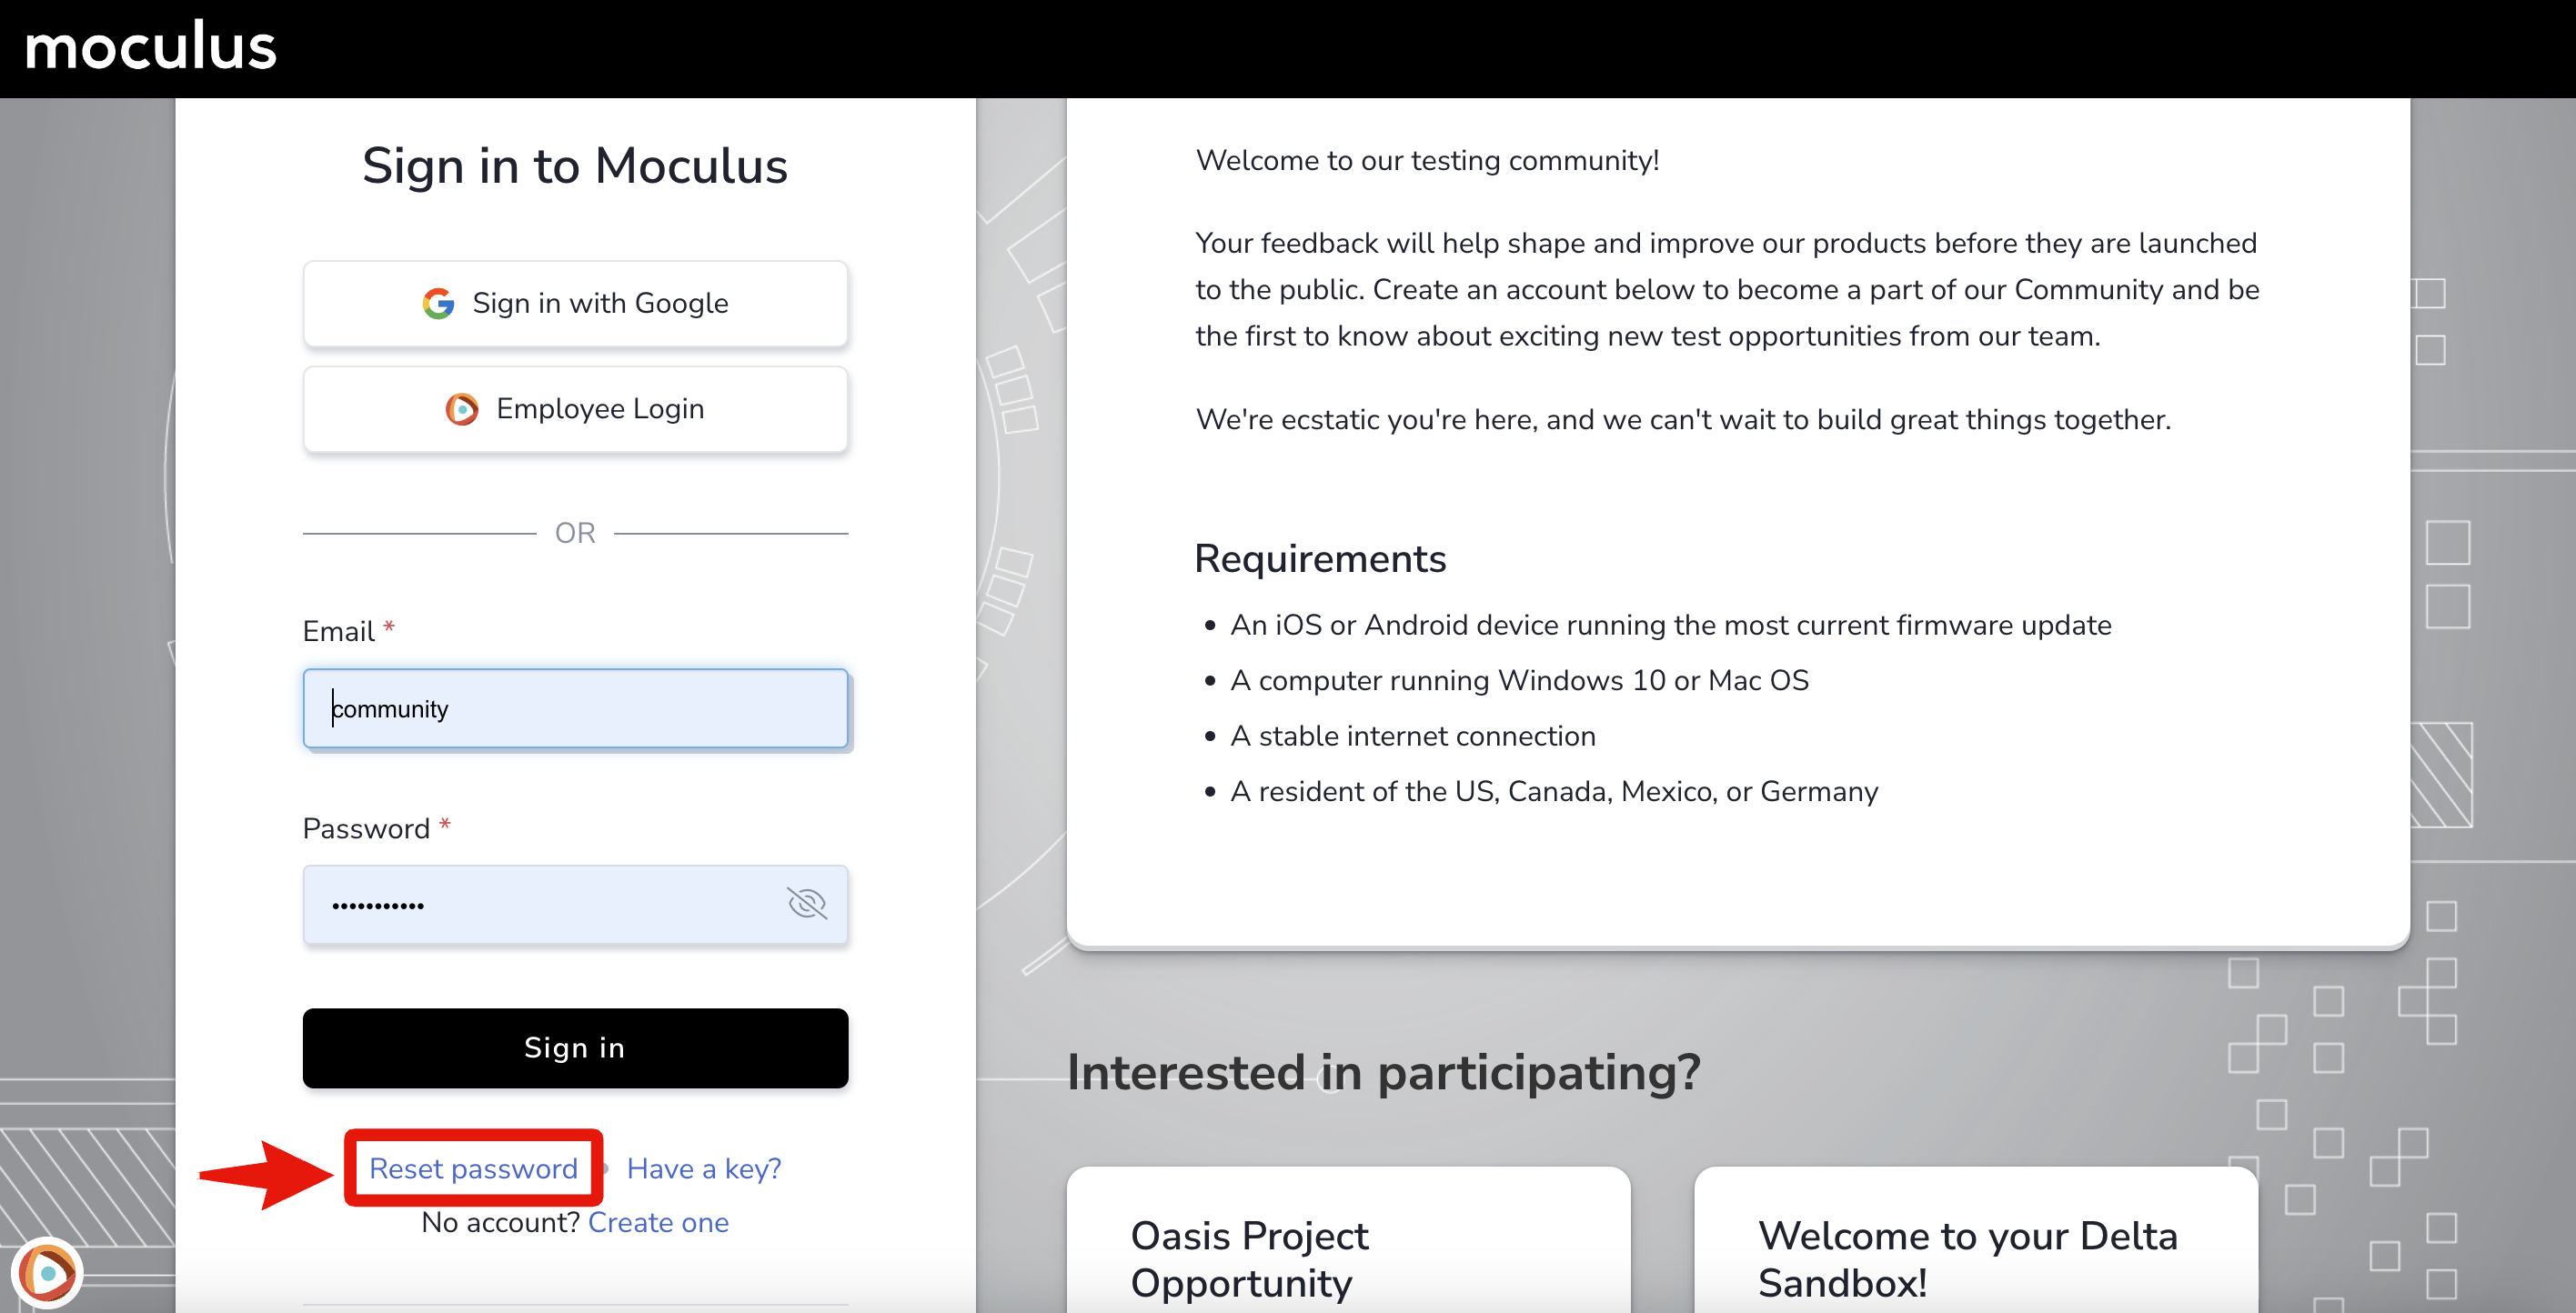
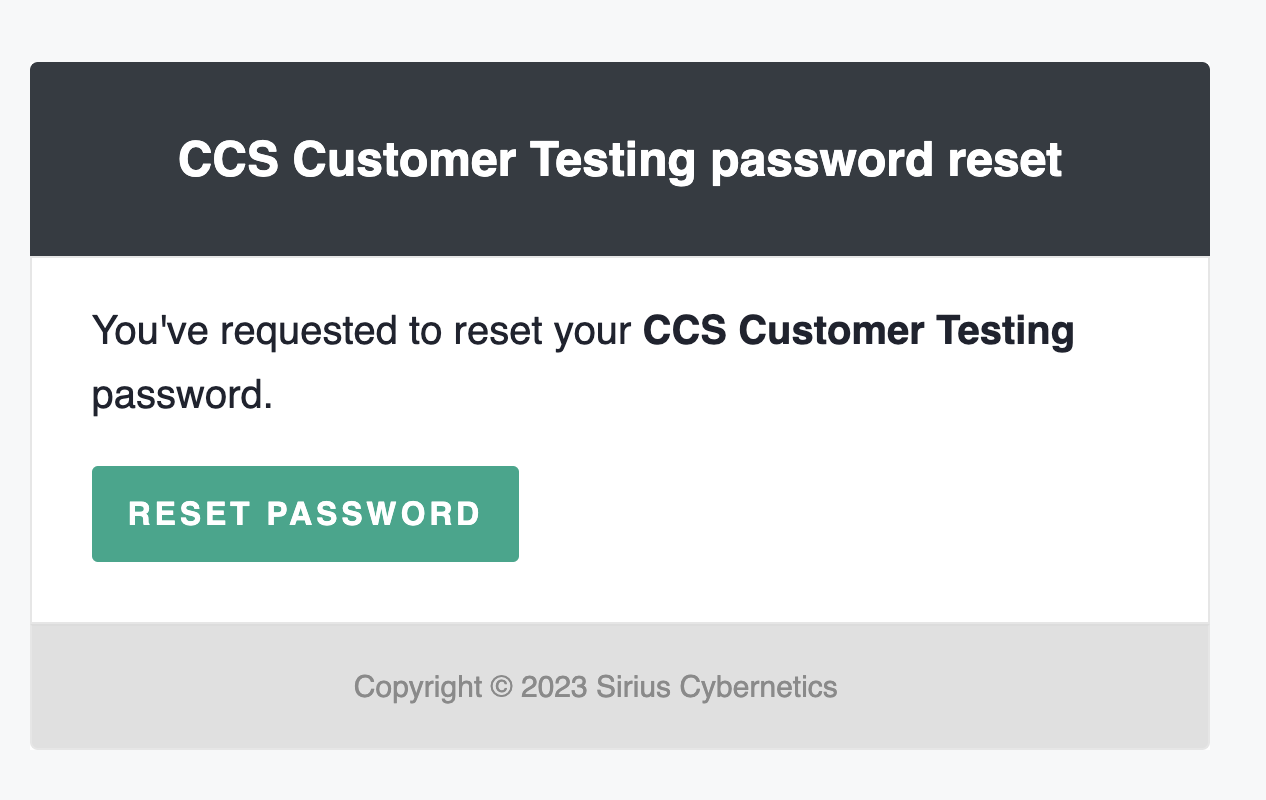
This is what the resulting email will contain:
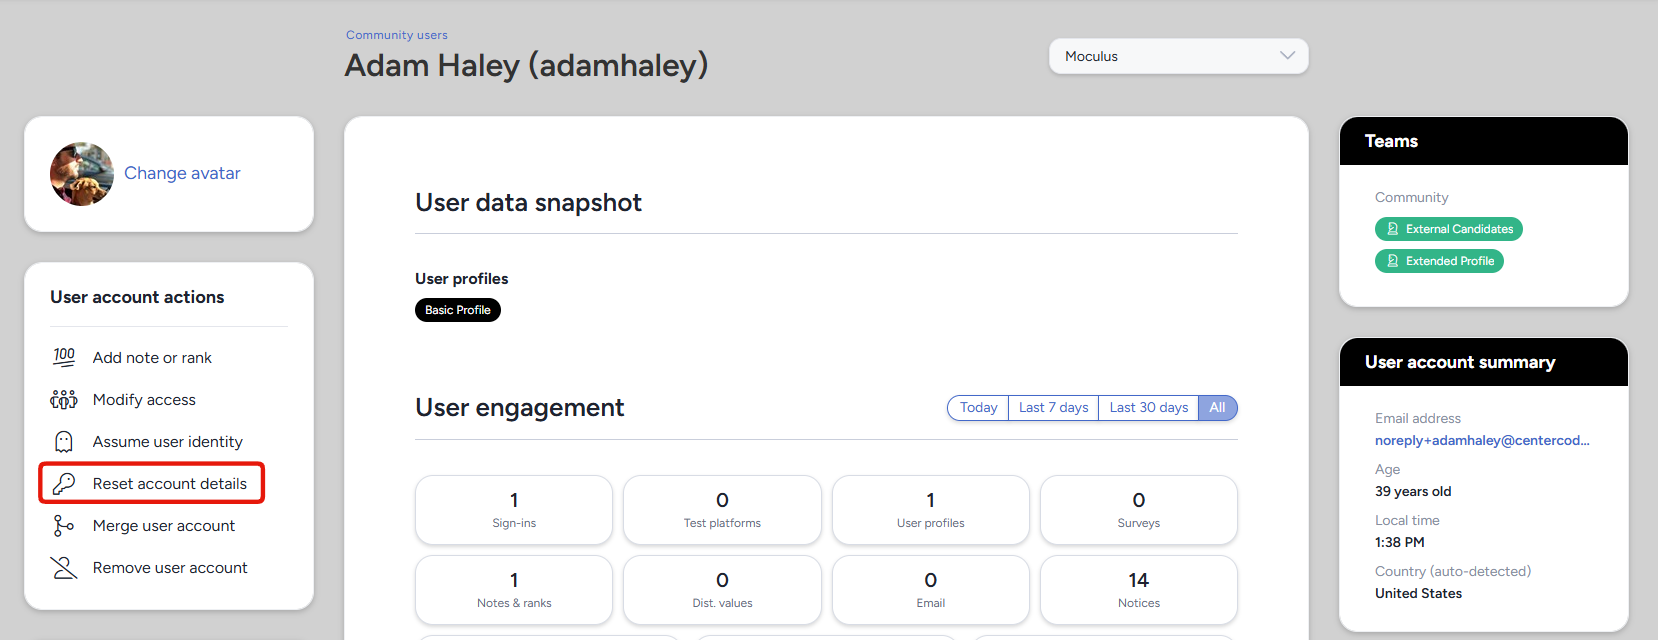
2. Administrator (with the Manage users role enabled) may trigger password reset via the user summary page.
User is unable to reset password
This occurs due to the following:
- Password reset email has been already accessed
- The password reset link can only be clicked once. Subsequent clicks will show the error:
"User is unable to reset password".
The User's email address may be under a layer of network security that's previewing or accessing the password reset email, resulting in it being invalidated.
- The password reset link can only be clicked once. Subsequent clicks will show the error:
- Password reset email has expired 24 hours after the request
- Multiple password reset emails have been triggered
- Each password reset email triggered invalidates the previous one. If multiple password reset emails have been triggered, only access the newest one.
Password Reset Notes
-
User must have an account with the requested email address in order to receive the password reset email.
-
For security purposes, the system will always say an email is being sent, even if there is no account with that email address.
Inactivity Timeout Windows
How it works
Centercode implementations begin with a 30 minute timeout window. As mentioned above, it can be extended upon request. Once the timeout is reached, the user will receive a Session Warning popup to allow the user to re-engage.
How can I request the inactivity timeout window extended?
You may request the window extended up to 2 hours without affecting platform functionality, such as user automation, Notices, Session IDs, etc. This is the maximum time we can recommend.
Please reach out to help@centercode.com with your contact information and Centercode implementation information and we’ll be in touch!
Can certain users have their timeout window extended while the rest remain unchanged?
Timeout windows are global. This means changes affect your entire Community and can’t be targeted towards specific users.
How to set an age requirement for your community
Confirming a user’s age can be essential for meeting legal requirements, segmenting users, and more. Using Centercode’s first-class Age Gate feature, you can set and maintain a strict age limit for all current and future users of your Centercode implementation.
How do I set a minimum age for my Community?
- Click the Community logo in the upper left corner of the navigation bar
- Navigate to Community configuration > User account settings
- Scroll down to Date of birth settings
- Select Age restricted from the dropdown menu
- Enter the desired minimum age for your Community
- Hit Submit to confirm your changes
You have successfully set a minimum age for your Community.
What will users who do not meet the minimum age see when they attempt to create an account?
When a user is creating a new account, they will be prompted to enter and confirm their date of birth. If this places them under the minimum age set for your community, no account will be created, and the user will receive a brief message informing them that the community is not currently accepting new members.
What will happen to already existing users when I set a minimum age for my Community?
If you did not have a date of birth set as required before, it will now be considered a requirement for creating an account.
Centercode’s Age Gate tool will automatically scrub through all of your existing user date of birth data, and you will be presented with a few potential scenarios depending on a few factors:
Scenario 1: Your Community contains users who are below the minimum age, but NONE of the users are participating in a project as a Project Manager, Support, Observer, or Participant
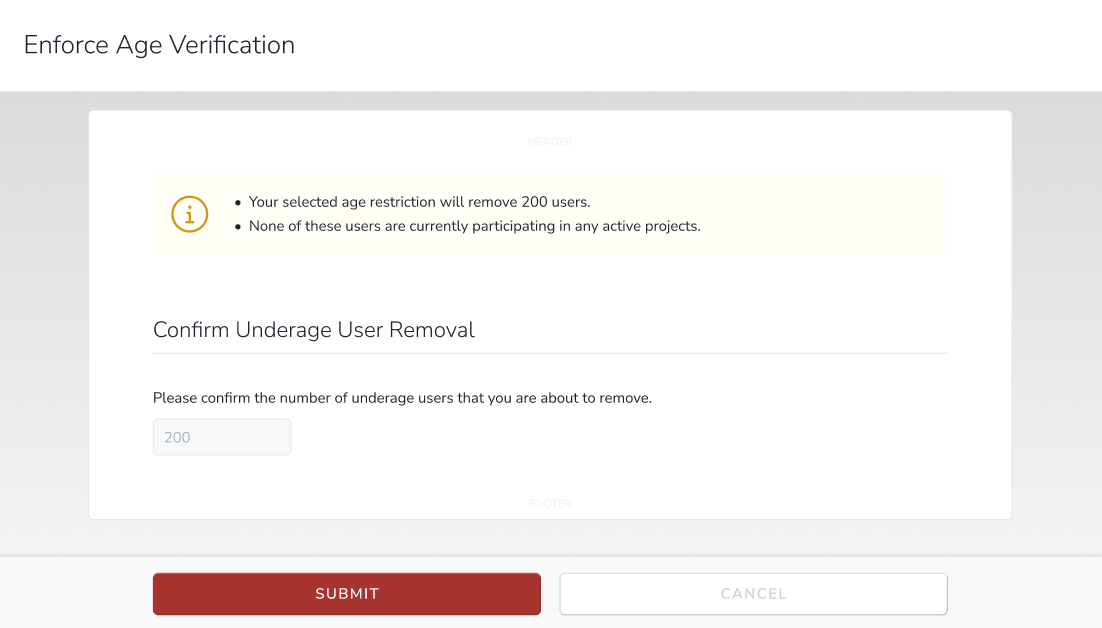
In this scenario, you will be presented with a simple confirmation screen asking you to confirm the number of users who will be removed from your community. Age verification will be enabled from this point forward.
Scenario 2: Your Community contains users who are below the minimum age, and are actively participating in a project
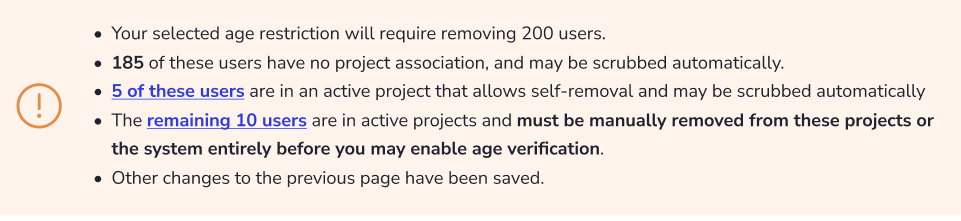
In this scenario, you will be presented with a breakdown of these users and the factors that qualify or disqualify them for automatic scrubbing. Before age verification can be enabled and existing unqualified users can be scrubbed you will need to manually remove any unqualified users who are members of projects that do not allow for self-removal. Age verification will not be enabled until these users are removed manually.
What will happen to existing users who enter an unqualified date of birth after I enable age verification?
Much like the above examples, two different scenarios can occur, based on if the user is currently a member of an active project or not:
Scenario 1: The user is NOT participating in any projects
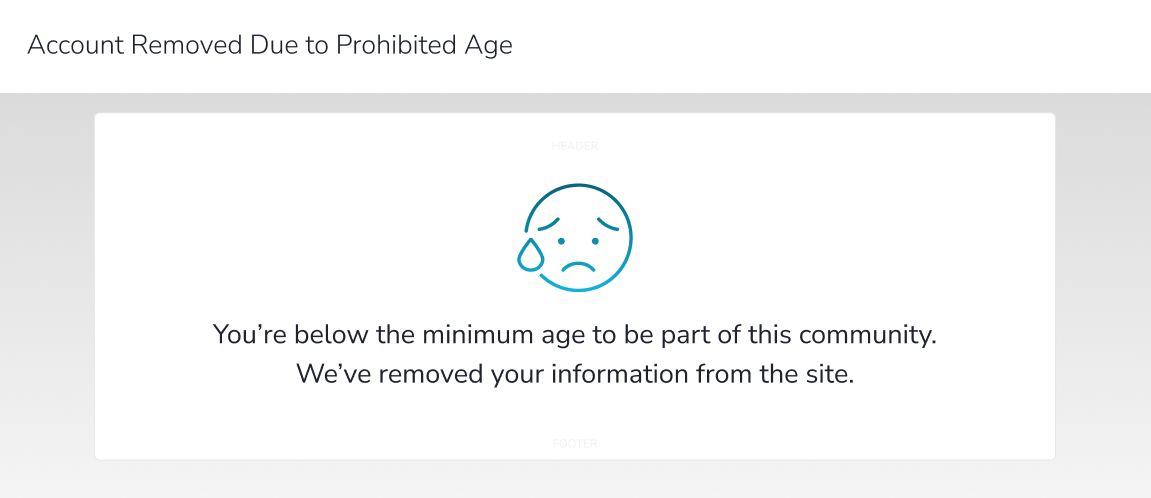 In this scenario, the user will be presented with a short message informing them that they are below the minimum age requirement and that their account is being removed. Their account will then be removed automatically.
Scenario 2: User is participating in at least one active project
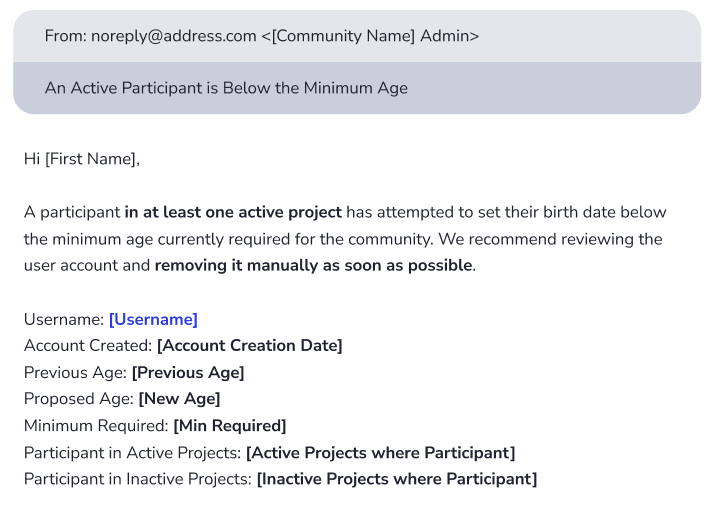
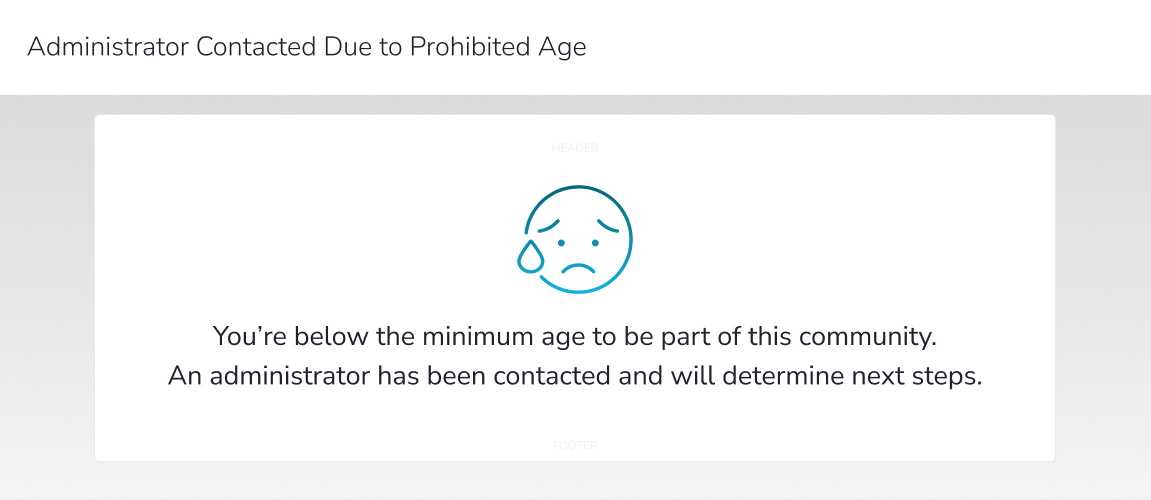 In this scenario, the user will be told they are below the minimum age for the community, and that an administrator has been contacted to determine the next steps. This will generate an email notification containing information about the user that will be sent to your Community Support email address.
How do I assume a user's identity?
With the appropriate level of access, you can effectively impersonate another user's identity within your Centercode implementation. This can be a helpful tool when trying to troubleshoot a particular in-site obstacle or to submit feedback or survey responses on their behalf.
From the Community or Project home:
- Type the username into the Knowledge Base search field, located in the upper-right corner of the page.
- A Quick Search page will open displaying all matching results.
- Hover over the table cell of the desired User and click the Assume icon.
You have successfully assumed a Project user's identity.
Requirements
- Assume user identity Role at the appropriate scope (Community or Project)
Notes
- Assuming is "scope specific" meaning that assuming at the Project level is specific to that particular project. Leaving the Project will un-Assume the user.
- It is important to make sure the Knowledge Base drop-down menu is set to Global or Users for your list of users to display as expected.
- Assuming a user will bypass the Notice Chain, and is therefore not suitable for simulating/testing the Project or Community level notice process.