This article applies to Team and Legacy editions.
What are Cross Project Labels?
Cross project labels let you create unified naming conventions for key resources like feedback types, content, releases, surveys, teams, and filters. These labels are defined at the community level and applied within individual projects—helping you organize and report on similar data, even when each project uses different terminology (e.g., “Bugs” vs. “Issues”).
Unifying cross project labels can be used with the following tools:
- Feedback types
- Content types
- Release types
- Surveys
- User management filters
- Feedback management filters
- Teams
How Do I Create a Cross Project Label?
Note: You must be a community administrator to access the cross project labels tool at the community level.
Although cross project labels are applied within projects, they're created at the community level. By default, Centercode will provide you with some very basic cross project labels as templates but you can create your own custom labels. To do so...
From the community homepage:
- Click the Community logo in the top-left navigation menu
- Select Community configuration
- Click Cross-project labels
- At the bottom of the page, select the New label type the drop-down list
- Enter the desired New label name
- Click the Add new label button at the bottom of the page
How Do I Assign a Cross Project Label in My Project?
Once you have created a few cross project labels at the community level, or have decided to use the basic templates that come pre-populated, you can then assign them to resource types, surveys, teams, feedback, or filters in your project.
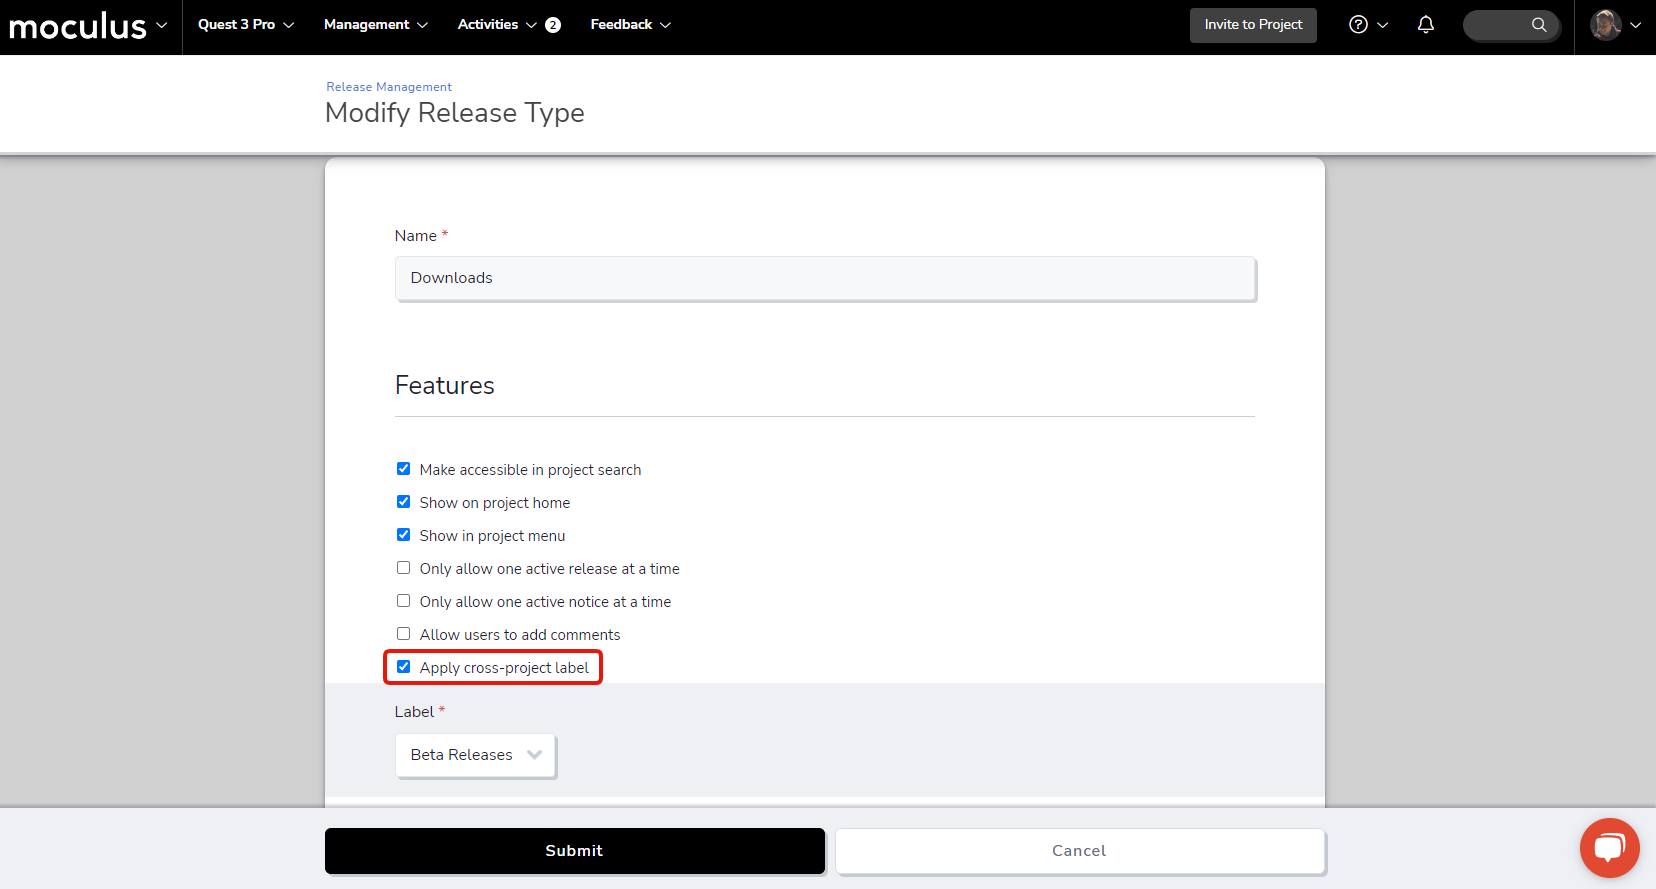
Assign to content types or release types
- Click on Management in the navigation bar
-
Click Content or Releases
-
Click the Content/Release Type you want to modify
-
Check the Apply cross-project label box
-
Select an option from the Label drop-down
-
Click Submit
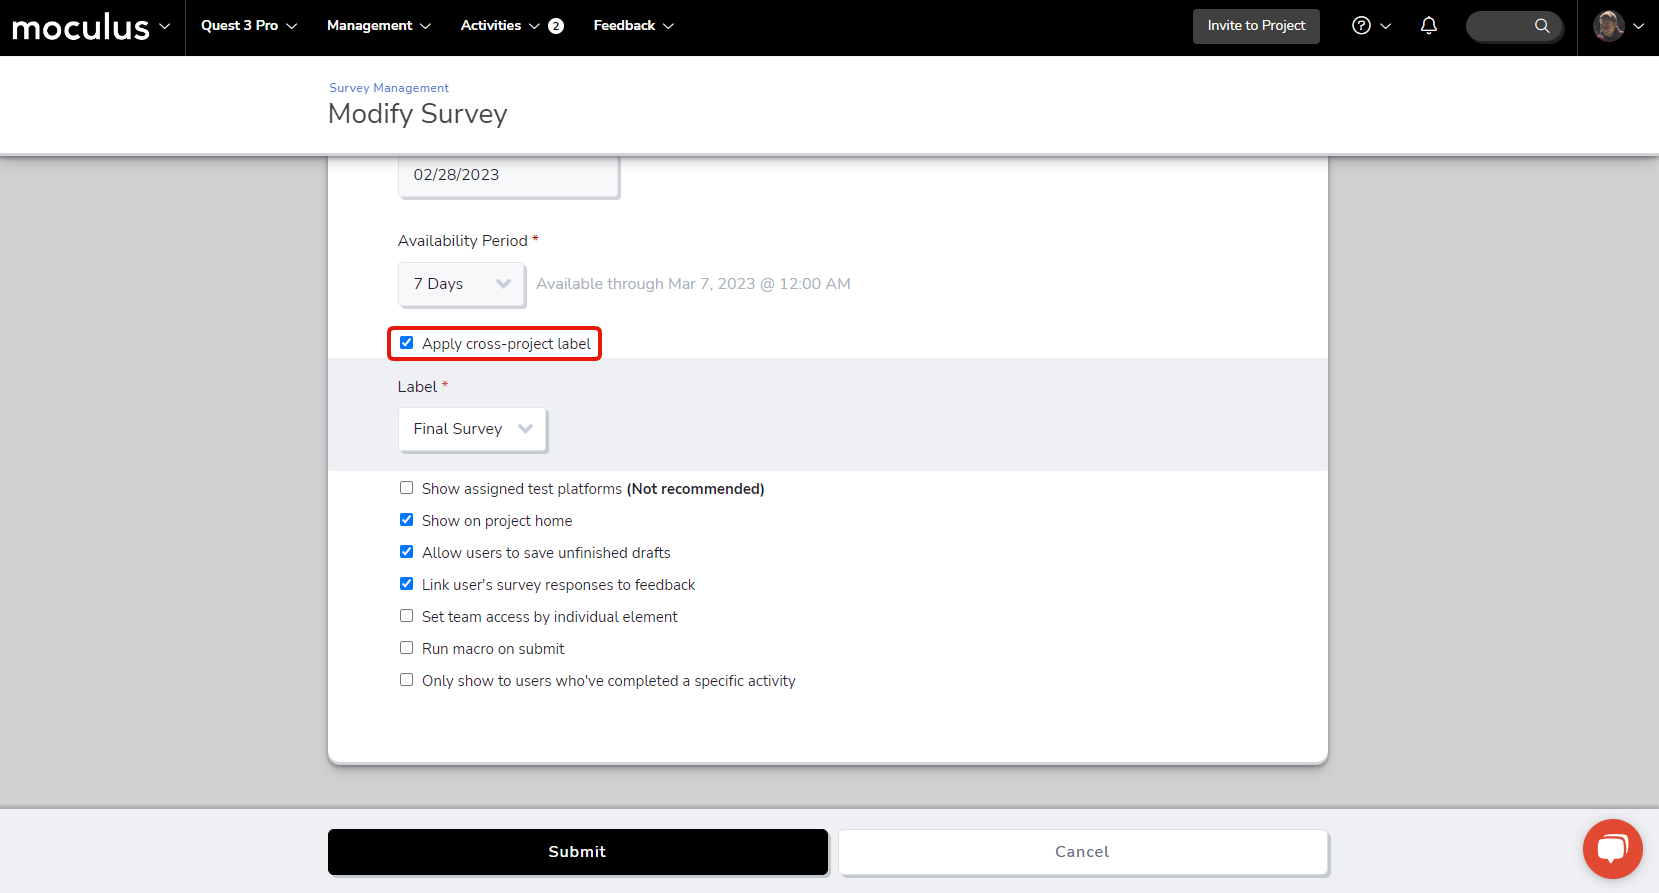
To assign a cross project label to a survey
- Click on Management in the navigation bar
- Click Surveys
- Hover over the Survey of your choice and click the Modify (pencil) button
- Check the Apply cross-project label box
- Select an option from the Label drop-down
- Click Submit
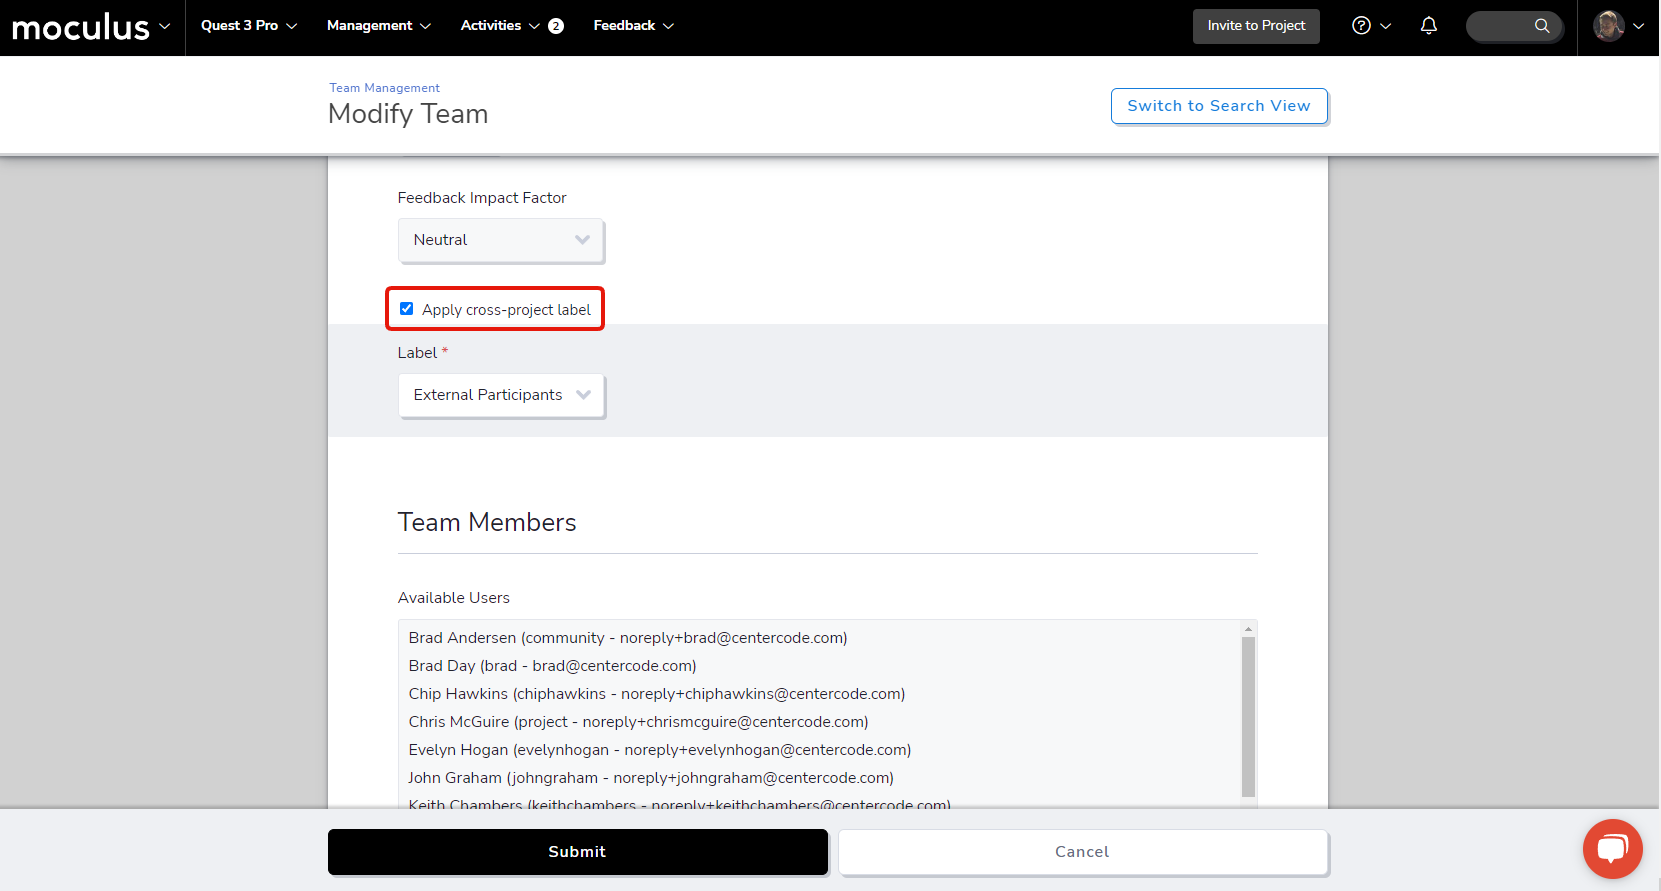
To assign a cross project label to a team...
- Click on Management in the navigation bar
- Click on Teams
- Click on the Team of your choice
- Check the Apply cross-project label box
- Select an option from the Label drop-down
- Click Submit
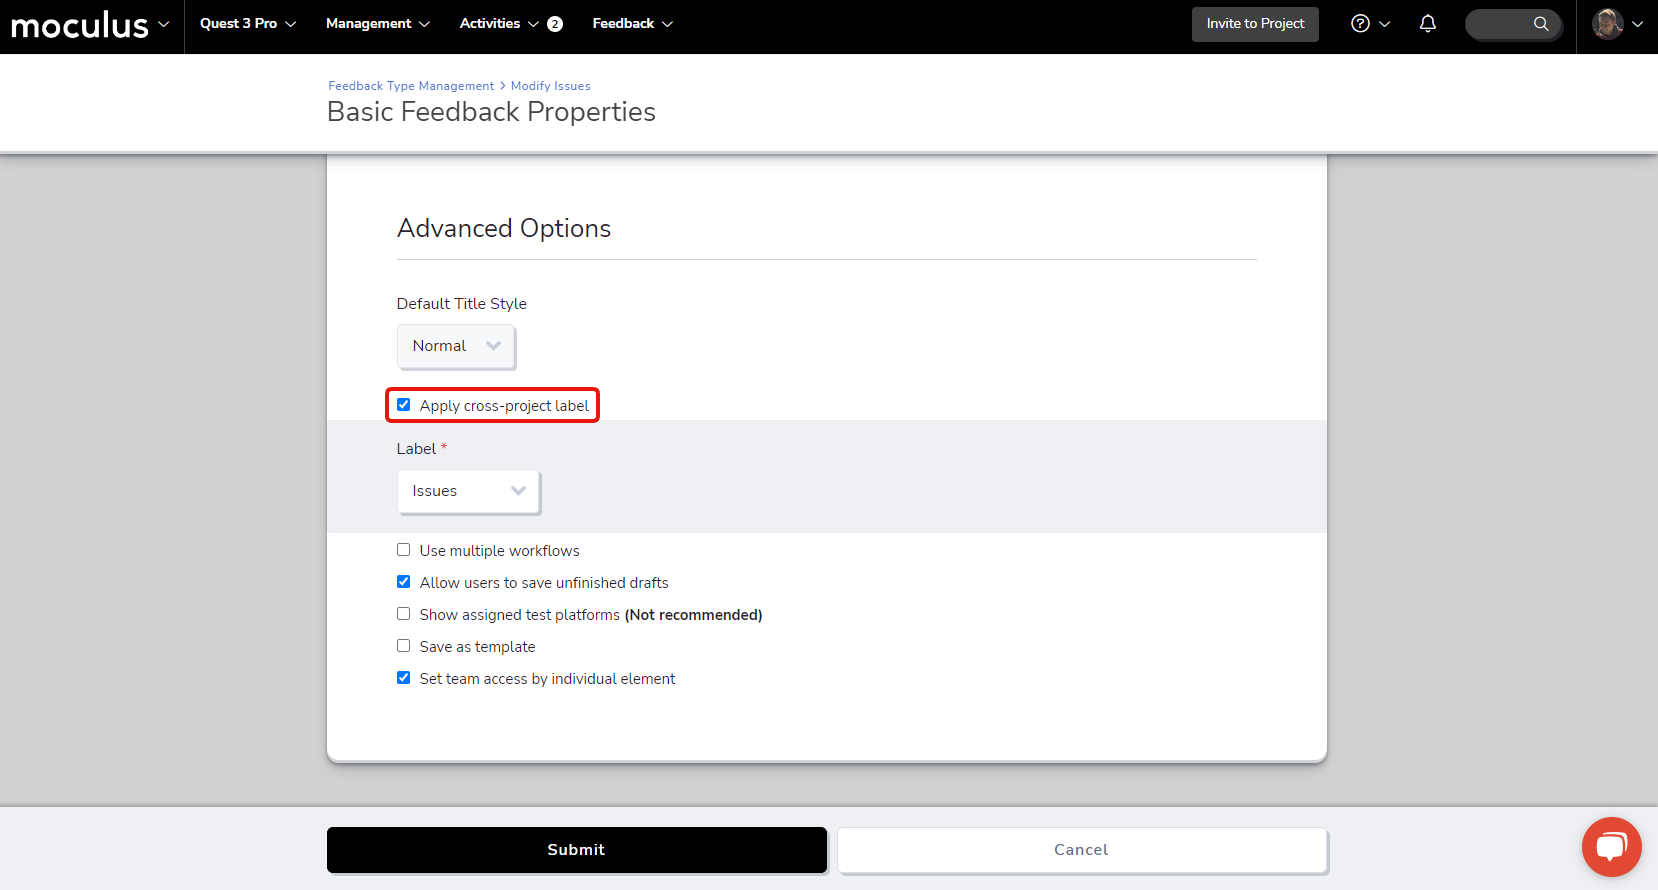
To assign a cross project label to a feedback type...
- Click on Management in the navigation bar
- Select Project configuration
- Click Feedback types
- Hover over the feedback type of your choice and click the Modify (pencil) button
- Click on Feedback properties
- Scroll down to the Customize section
- Check the Apply cross-project label box
- Select an option from the Label drop-down
- Click Submit
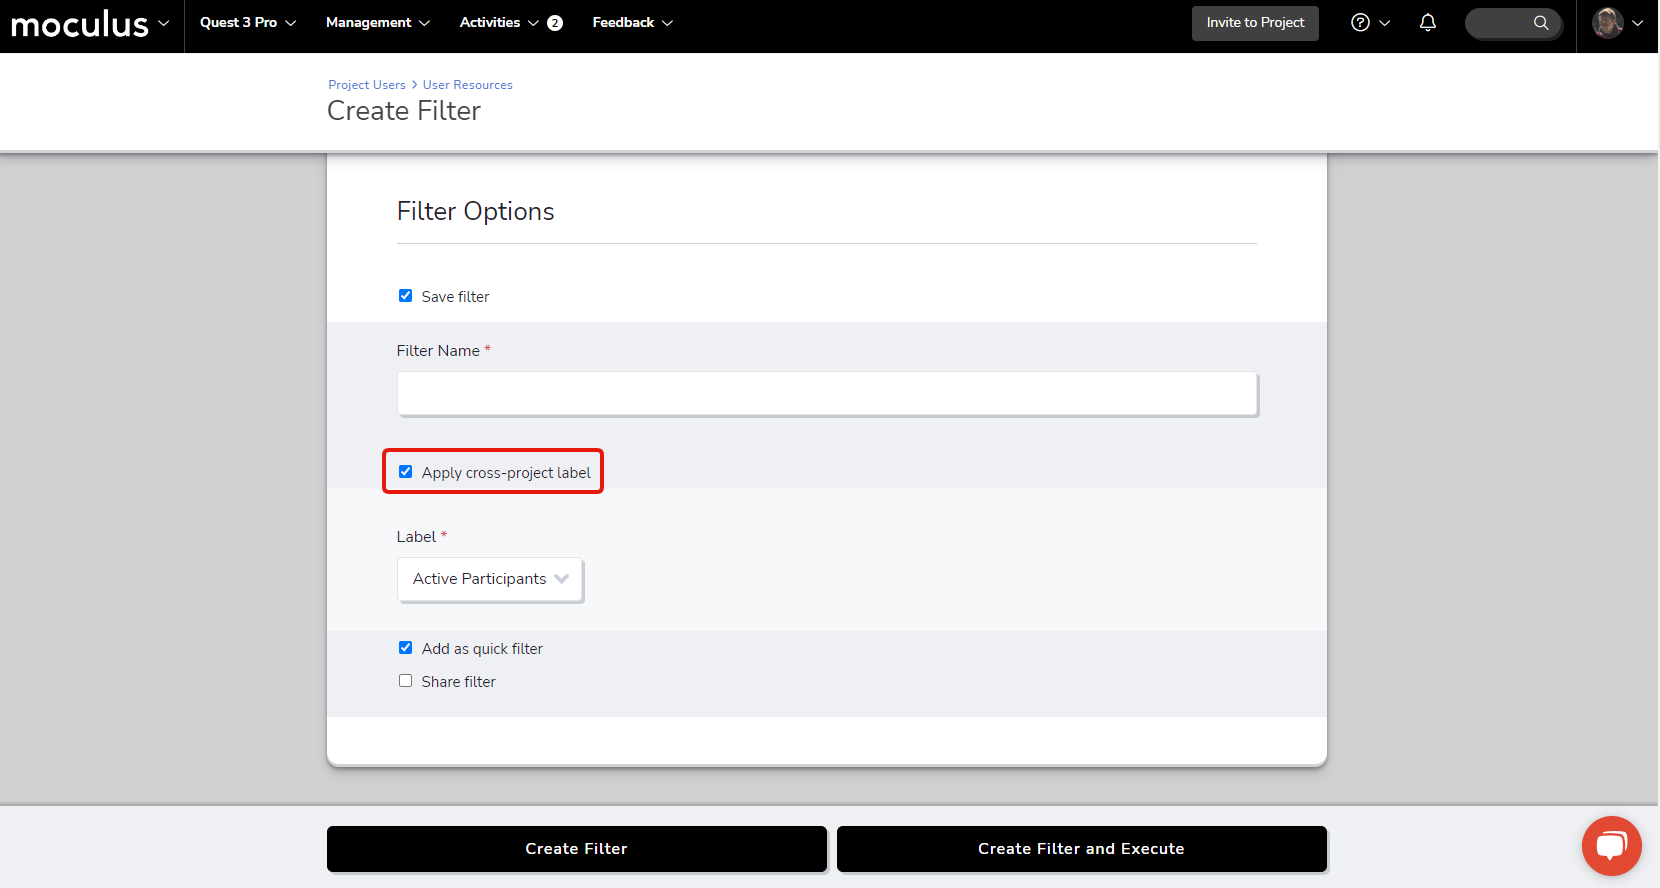
To assign a cross project label to a user filter or feedback filter...
- Navigate to User resources or Feedback resources in the User or Feedback type menus
- Create or select a Filter
- Click the Modify (pencil) button
- Scroll down to the Filter options section
- Click the Save filter box
- Check the Apply cross-project label box
- Select an option from the Label drop-down
- Click Submit
Reporting on Cross Project Labels
Once cross project labels have been created and configured into your projects, you can then create reports focused on metrics across those projects to compare, or even better, view the effectiveness of your program as a whole.
- Click the Community logo in the top-left navigation menu
- Select Community management
- Click Community reports
- Click Create a report element at the top of the page
- From the Choose a data source drop-down, select Projects
- Select your data - Add items to include in the report element. Different styles will be available based on the type and quantity of selected items. These are your columns of data.
- Add filter - Limit the report element to a specific subset of results. Continue with no filter for all results. These are your rows of data. A common filter is [Survey] Complete = Yes
- Pick a style - Visual presentation of your report element. Available styles are determined by the data items selected.
- Customize your results
- Show data count - Displays whole numbers next to or on top of chart segments
- Show percentages - Sets the total (e.g. Y axis) to 100% and displays segments as a percentage
- Include data points with zero results - Includes spaces for options not selected by any user
- Order by rank - Orders segments by most selections to least
- Reverse result order - Swaps the order of the chart segments
- Adjust element size - Manually change the size of the chart
- Show data count - Displays whole numbers next to or on top of chart segments
-
- Check the Save this to a report box
-
Name and save your element, either as part of a new or existing report
- Click Submit to save the element to your report
- Click Submit to save and generate your report.
Important notes:
- Once created, these labels can be applied to various items within a project, and then used within community reports to see data across your projects.
- Each unique cross project label can only be associated with one item in each project. If you assign a "Bug Reports" cross project label to your "Issues" feedback type, it cannot be assigned to any other feedback types in that project.
- When removing an existing cross project label, the system will show you where the label is currently in use and what will be affected if you remove the label. Be careful when removing an existing cross project label, as it could already be in use across many projects!