This article applies to Pro, Team, and Legacy editions.
Managing different types of content and resources efficiently is crucial for seamless project operations. This article outlines the various content types, access settings, and resource elements to facilitate effective resource management within projects.
Table of Contents
- Creating Resources (Content and Releases)
- Resource Access Style
- Resource Element Selector
- Resource Options
- Important Notes About Resources
- Additional Callouts
- Related Articles
Creating Content and Releases
For Community-level Content:
- In the top left of the navigation menu, click the community logo
- Click Community management
- Select Content
- Select Add content
For Project-level Content and Releases:
- In the top left of the navigation menu, click Management
- Select Content or Releases
- Select Add content or Add a release
Select a resource type: Choose the category that best fits your resource to ensure proper organization and functionality (Agreements, homepage resources, etc).Loading from an existing source: Duplicate a resource from a pre-existing template or project.Title: Assign a clear and descriptive name to your resource for easy identification.
Scheduled: Set a date for the resource to become available and limit availability to a set period. All expirations occurs at 12:00 am on the end date of the availability period you've selected, using Centercode’s server time zone, PST (UTC−7:00). Please keep this in mind when working with users in vastly different time zones.Project notice: Prompt this resource as a notice to users on project entry (see Resource Access Style section below).
Version (Releases only): Tracks changes and updates to a resource, allowing users to manage different iterations and ensure they are using the most current or relevant version.Include: Customize your resource by adding elements such as text, images, or file uploads (see Resource Element Selector section below).Team access: Define which team members or roles can view this resource and/or view it as a Notice.Preview then publish: Review your resource before finalizing to ensure accuracy and completeness.Save Progress: Save your current work to continue editing later without publishing.Never mind: Discard changes and exit without saving or publishing the resource.
Resource Access Style
When creating resources, it's essential to consider how users will access the content or release. Users will be able to access the resources with the following settings or Notice options available:
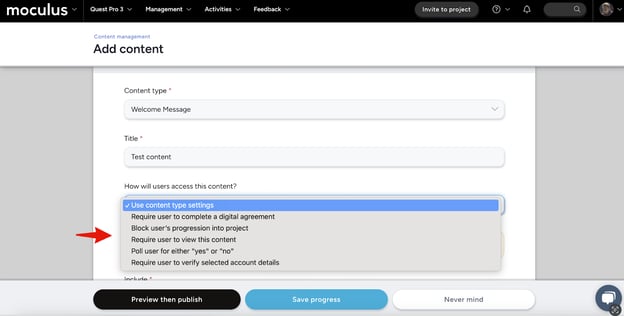
- Use content (or release) type settings: Accessible to users via menu, homepage, search, and direct link.
- Require users to sign a digital agreement (Digital agreement notice - applies to Content only) Users on designated teams will be prompted to sign agreements using their email and password. Accessible to users via agreement center, homepage, search, and direct link.
- Block user’s progression into project (Block notice - applies to Content only) Users on selected teams will be blocked from progressing once they reach this page.
- Require users to view this content (Click-through notice) Users on selected teams will see this content the next time they enter this project. They can progress by clicking/tapping a button. Accessible to users via homepage, search, and direct link.
- Poll user for either “yes” or “no” (Yes/No notice) Users on the selected teams will be required to answer "yes" or "no" to progress. Selecting "no" will trigger this content to show again at next sign-in. Accessible to users via homepage, search, and direct link.
-
Require user to verify selected account details (Account verification notice - applies to Content only) Users on the selected teams will be prompted to verify selected account details in order to progress, allowing you to ensure critical information is current before the project begins. Accessible to users via homepage, search, and direct link.
Note: When choosing an access option for your content or release, you'll be able to designate view and notice access for the intended teams based on your selection. If the Notice column appears grayed out, it indicates that a notice-type access option was not selected from the drop-down above.
Resource Element Selector
This will allow the user to select which types of elements to include within their resource (content, release, or feature).

Example of Rich Text
Example of Inline Images

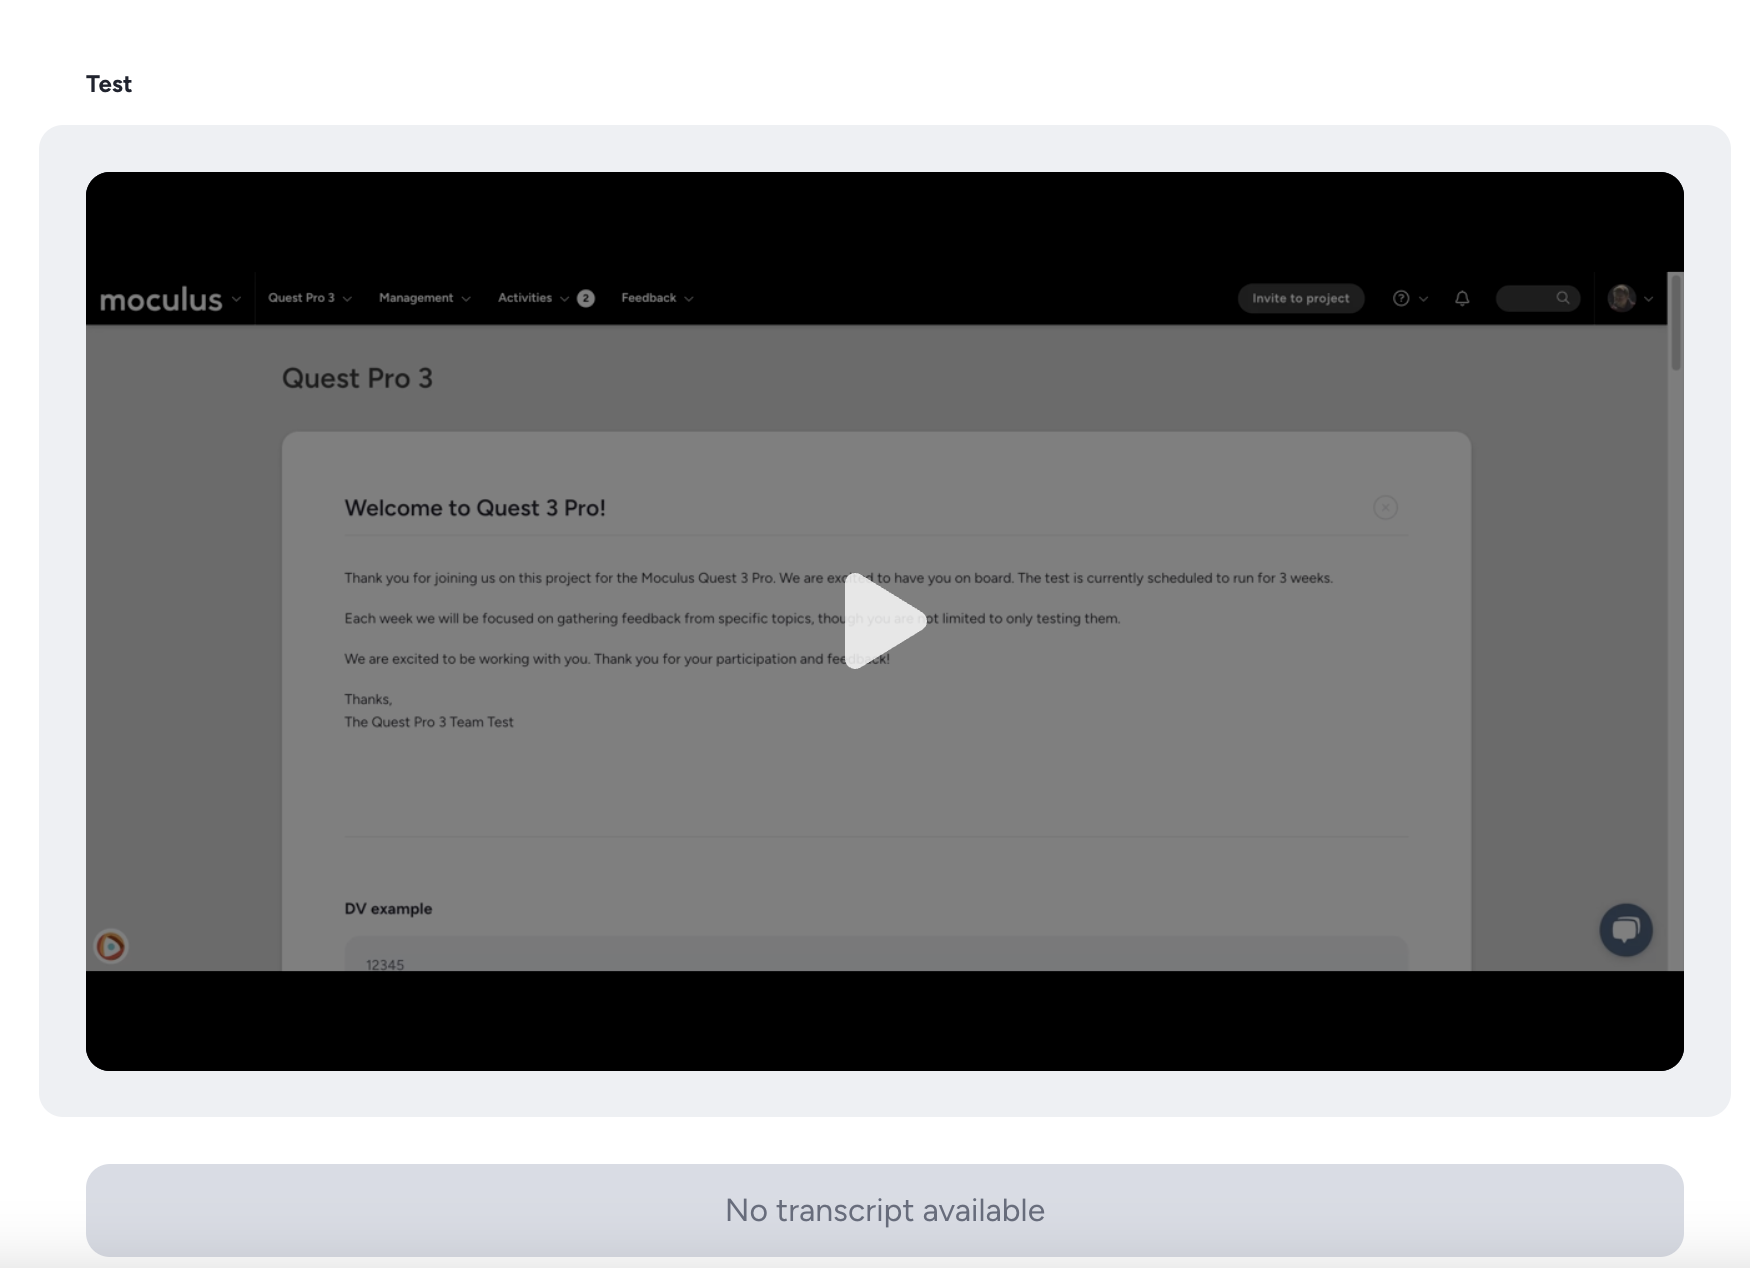
Example of Recording
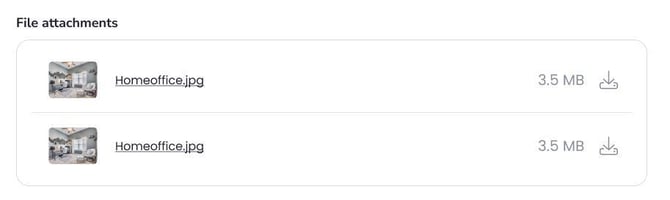
Example of File Attachments
Example of External Embed

Example of Distributed Values

Example of Internal Notes

Display Options
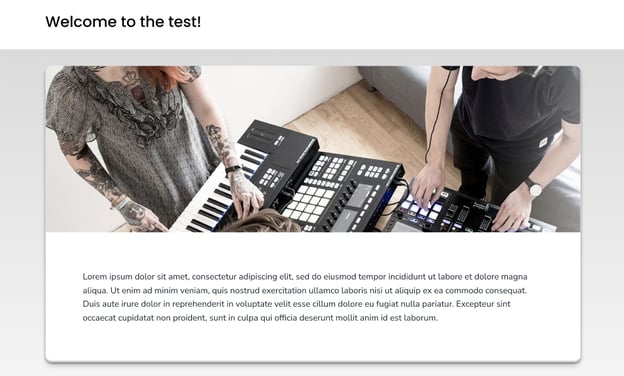
Hero image
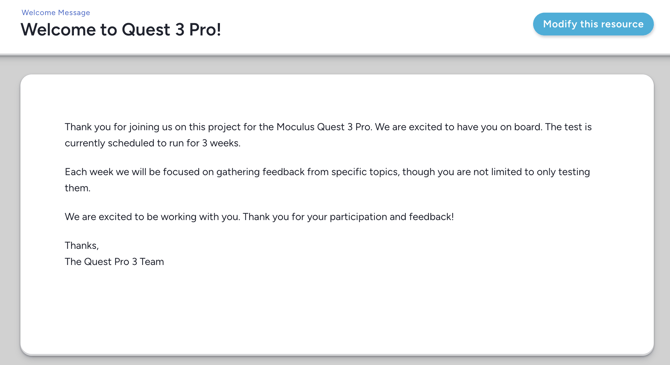
Selecting this option will allow you to attach an image which will be used across the top of your content or release.
Example of Hero Image
Remove padding
This option gets rid of any padding surrounding your text and images. This can be useful when creating heavily customized resources which need to look exactly right and may be thrown off by the default padding.
Full browser width
The "render edge-to-edge" option eliminates any white space surrounding content elements, providing a clean and immersive viewing experience where the content seamlessly extends to the edges of the center panel of the site. It's ideal for creating a visually striking presentation but should be used thoughtfully to ensure content remains readable and visually appealing.
Important Notes About Resources
License and Resource Type Impact:
- Your Centercode license and the selected resource type determine which features are available. Some elements may be unavailable based on your edition or feature set.
Cloning Details
Direct resource cloning:
- Title, body, and internal notes are cloned
- Resource options are not cloned
Project resource cloning:
- Title, body, internal notes are cloned
- File attachments are cloned
- Distributed value group is cloned, but not the values themselves
- Resource options are not cloned
Additional Notes
- Hero images, edge-to-edge, and variable width settings are ignored for homepage and single-page variants (Where multiple content pieces can be displayed). All objects are rendered just as they are on the normal resource pages.
- The option to use hero images will be disabled if you use the full browser width display option.