The Create a Macro page is split into three sections: basic identification fields at the top, a set of macro options in the middle where you define what the macro actually does, and a Customize section at the bottom that controls how and when the macro is available.
Basic Fields
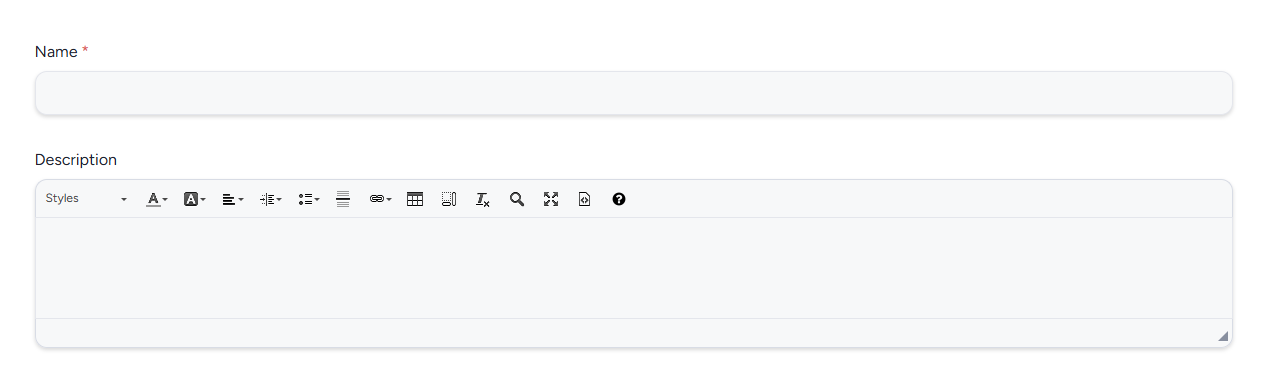
Name: The name that identifies this macro in User Resources and in any automation schedules that reference it. Choose a name that makes the macro's purpose clear to anyone who sees it in a list.
Description: An optional rich-text field for documenting what the macro does, when to use it, or any relevant context. The description is visible to admins managing the macro but is not shown to users when the macro runs.
Macro Options
Each option in this section is a distinct action the macro can take. You can enable any combination. When the macro runs, all enabled actions execute together.
Trigger Webhook
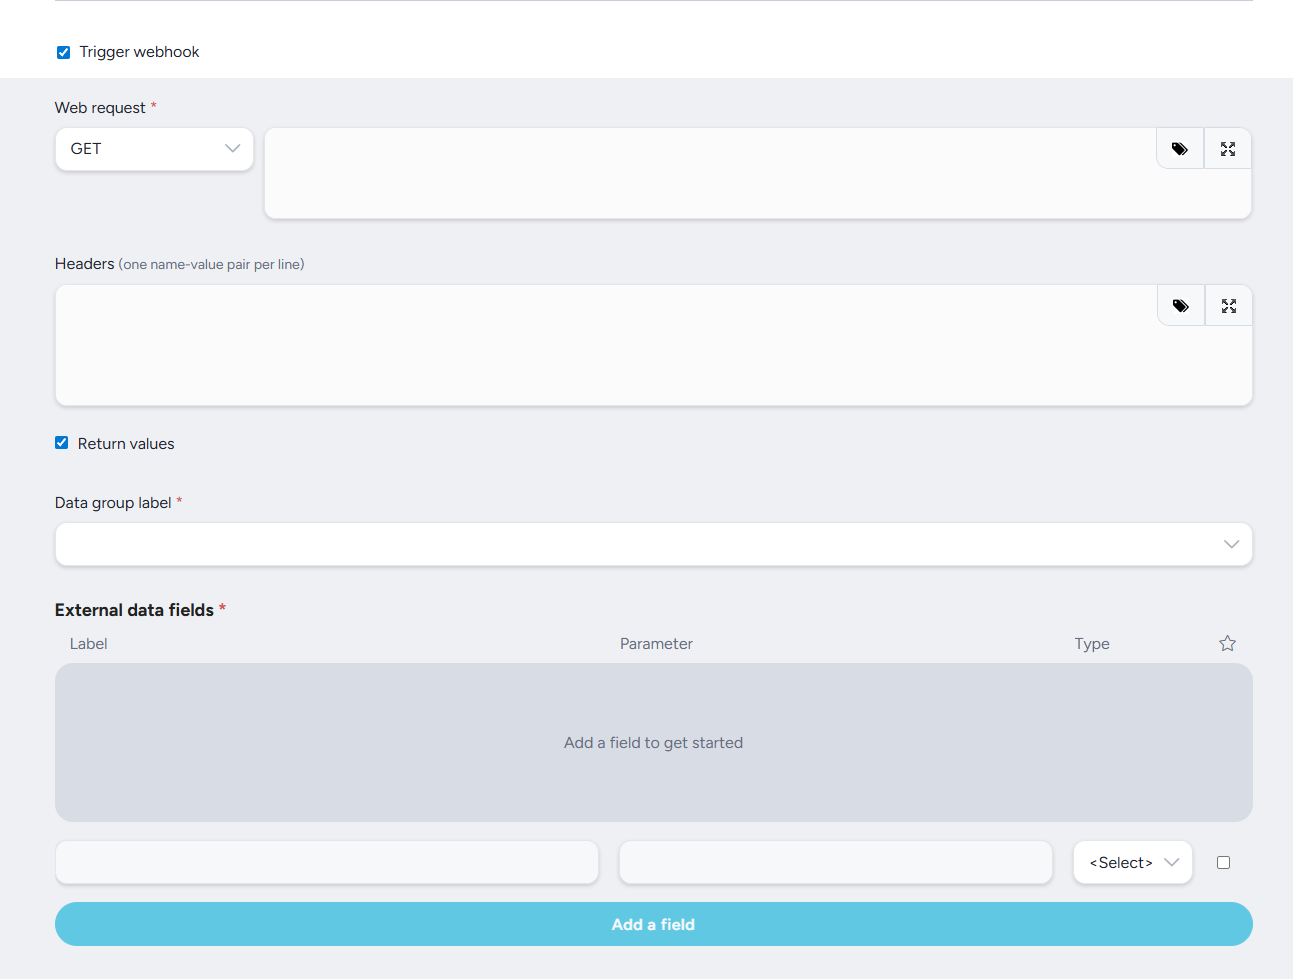
Sends a web request to an external system when the macro runs. Use this to push data to a CRM, notify a third-party service, or kick off an external workflow. See the Simple Guide to Webhooks for a walkthrough of how webhooks work in Centercode.
Web Request: The HTTP method and URL for the external endpoint. Use the method dropdown to select GET, POST, or another verb, then enter the destination URL. You can use variable tags to include dynamic data in the request.
Headers: Optional HTTP headers to include with the request, entered one name-value pair per line. Use headers to pass authentication tokens, content-type declarations, or other metadata required by the receiving system.
Return Values: When enabled, the macro captures data returned by the external system and maps it back into Centercode. Use this to pull in user data, confirmation tokens, or any other values the external endpoint sends back in its response.
Data Group Label: (required when Return Values is enabled) The label used to identify the data group where return values are stored in Centercode. Select the appropriate group from the dropdown.
External Data Fields: (required when Return Values is enabled) Maps fields from the webhook response to fields in Centercode. Add a row for each value you want to capture, then specify the label, parameter name, and data type for each one. Click Add a field to add rows to the table.
💡 Ted Tip: I recommend testing your webhook with a GET request to a simple endpoint before building out a more complex integration. That way you can confirm the connection is working before adding headers, return values, and field mappings.
Send Email

Sends email to one or more recipients when the macro runs. You can email the user the macro is being run on, additional individual users, or a list of fixed addresses.
Email User: Sends email to the community user the macro is running against.
Email Additional Users: Sends email to a separate set of users using the selected template.
Email Addresses: A comma-separated list of fixed email addresses that will receive a copy of the email every time this macro runs using the selected template.
Heads up: Any addresses listed here receive a copy of the email every time this macro runs, not just the first time. If you run the macro against 50 users, every address in this field gets 50 copies. Use this field for distribution lists or oversight addresses where repeat delivery is intentional.
Apply a User Rank

Assigns a rank to each user the macro runs against.
Rank: The rank to apply. Select from the dropdown, which lists all ranks configured in your community along with their point values. The rank is applied to each user individually at the time the macro runs. (Read more here)
Add Note to User Summary
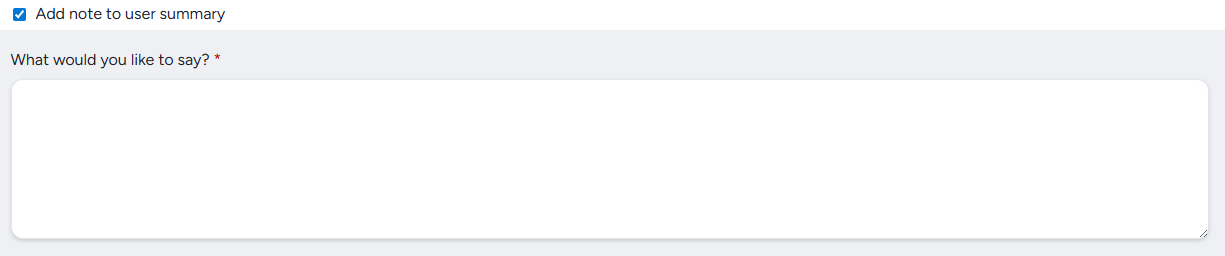
Adds a text note to each user's summary when the macro runs.
What would you like to say?: The note text to add to each user's summary.
Adjust Teams
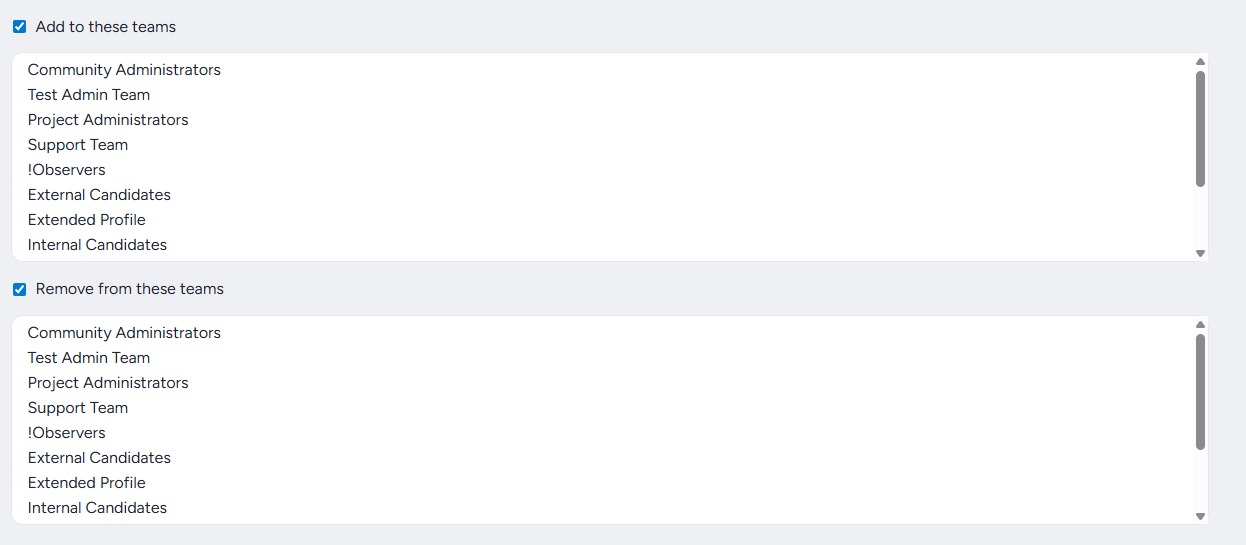
Adds users to or removes users from one or more teams when the macro runs.
Add to These Teams: Adds each user the macro runs against to the selected teams.
Remove from These Teams: Removes each user the macro runs against from the selected teams.
Remove User from Community/Project
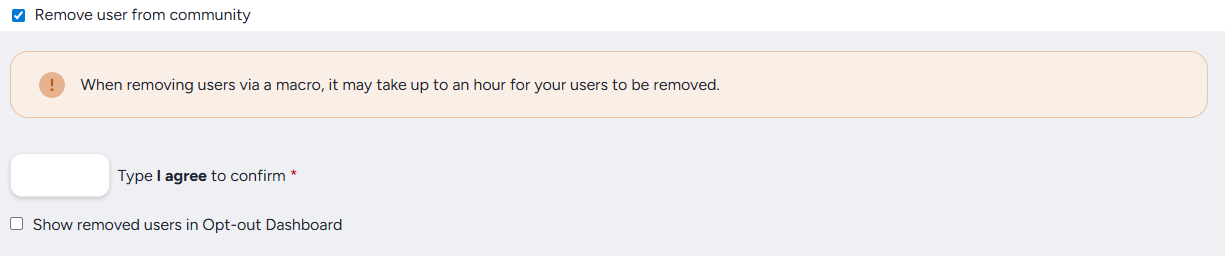
Removes each user the macro runs against from the community or project entirely.
Type I agree to confirm: A confirmation field that must be filled in before you can save a macro with this option enabled. Type I agree to confirm that you understand users will be removed.
Show Removed Users in Opt-out Dashboard: When checked, users removed by this macro are logged in the Opt-out Dashboard. Enable this if you want a record of macro-driven removals alongside other opt-out activity.
Note: When removing users via a macro, it may take up to an hour for removals to process.
Customize
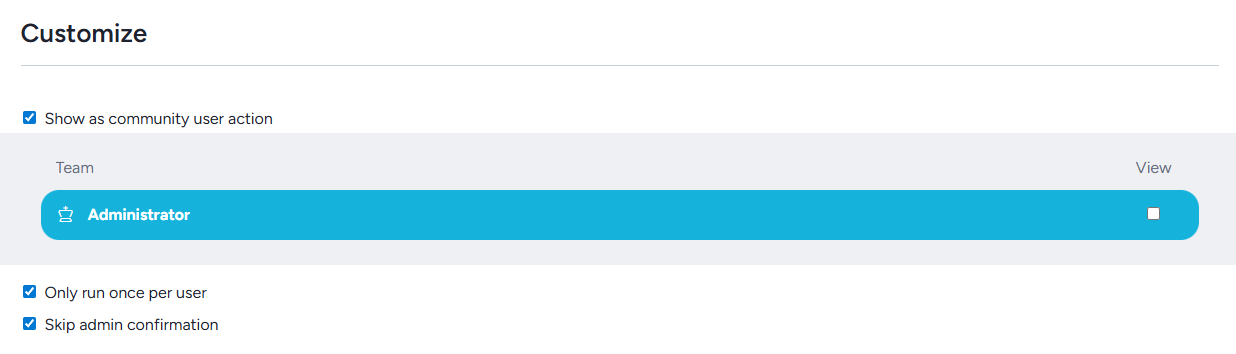
These settings control where the macro appears and how it behaves when triggered.
Show as Community User Action: When checked, this macro appears as an available action in User Resources. Uncheck it to keep the macro available for automation and schedules only, without surfacing it as a manual action.
Only Run Once per User: Prevents the macro from running against the same user more than once. Useful for onboarding actions, one-time rank grants, or any macro where repeat execution would cause unintended results.
Skip Admin Confirmation: When checked, the macro runs immediately when triggered without prompting for admin confirmation. When unchecked, admins see a confirmation dialog before the macro executes. Disable confirmation for trusted manual actions you perform frequently where the extra step isn't needed.
💡 Ted Tip: I recommend leaving Skip Admin Confirmation unchecked while you're testing a new macro, especially one that sends email or removes users. Once you've confirmed it's behaving correctly, you can enable it for smoother automation.
Notes
- Macros can be created at both the Community and Project scopes. Community macros cannot be used in projects, and vice versa.
- For a full reference on what user macros can automate, see What Can User Macros Automate for Me?
- For webhook setup guidance, see the Simple Guide to Webhooks.